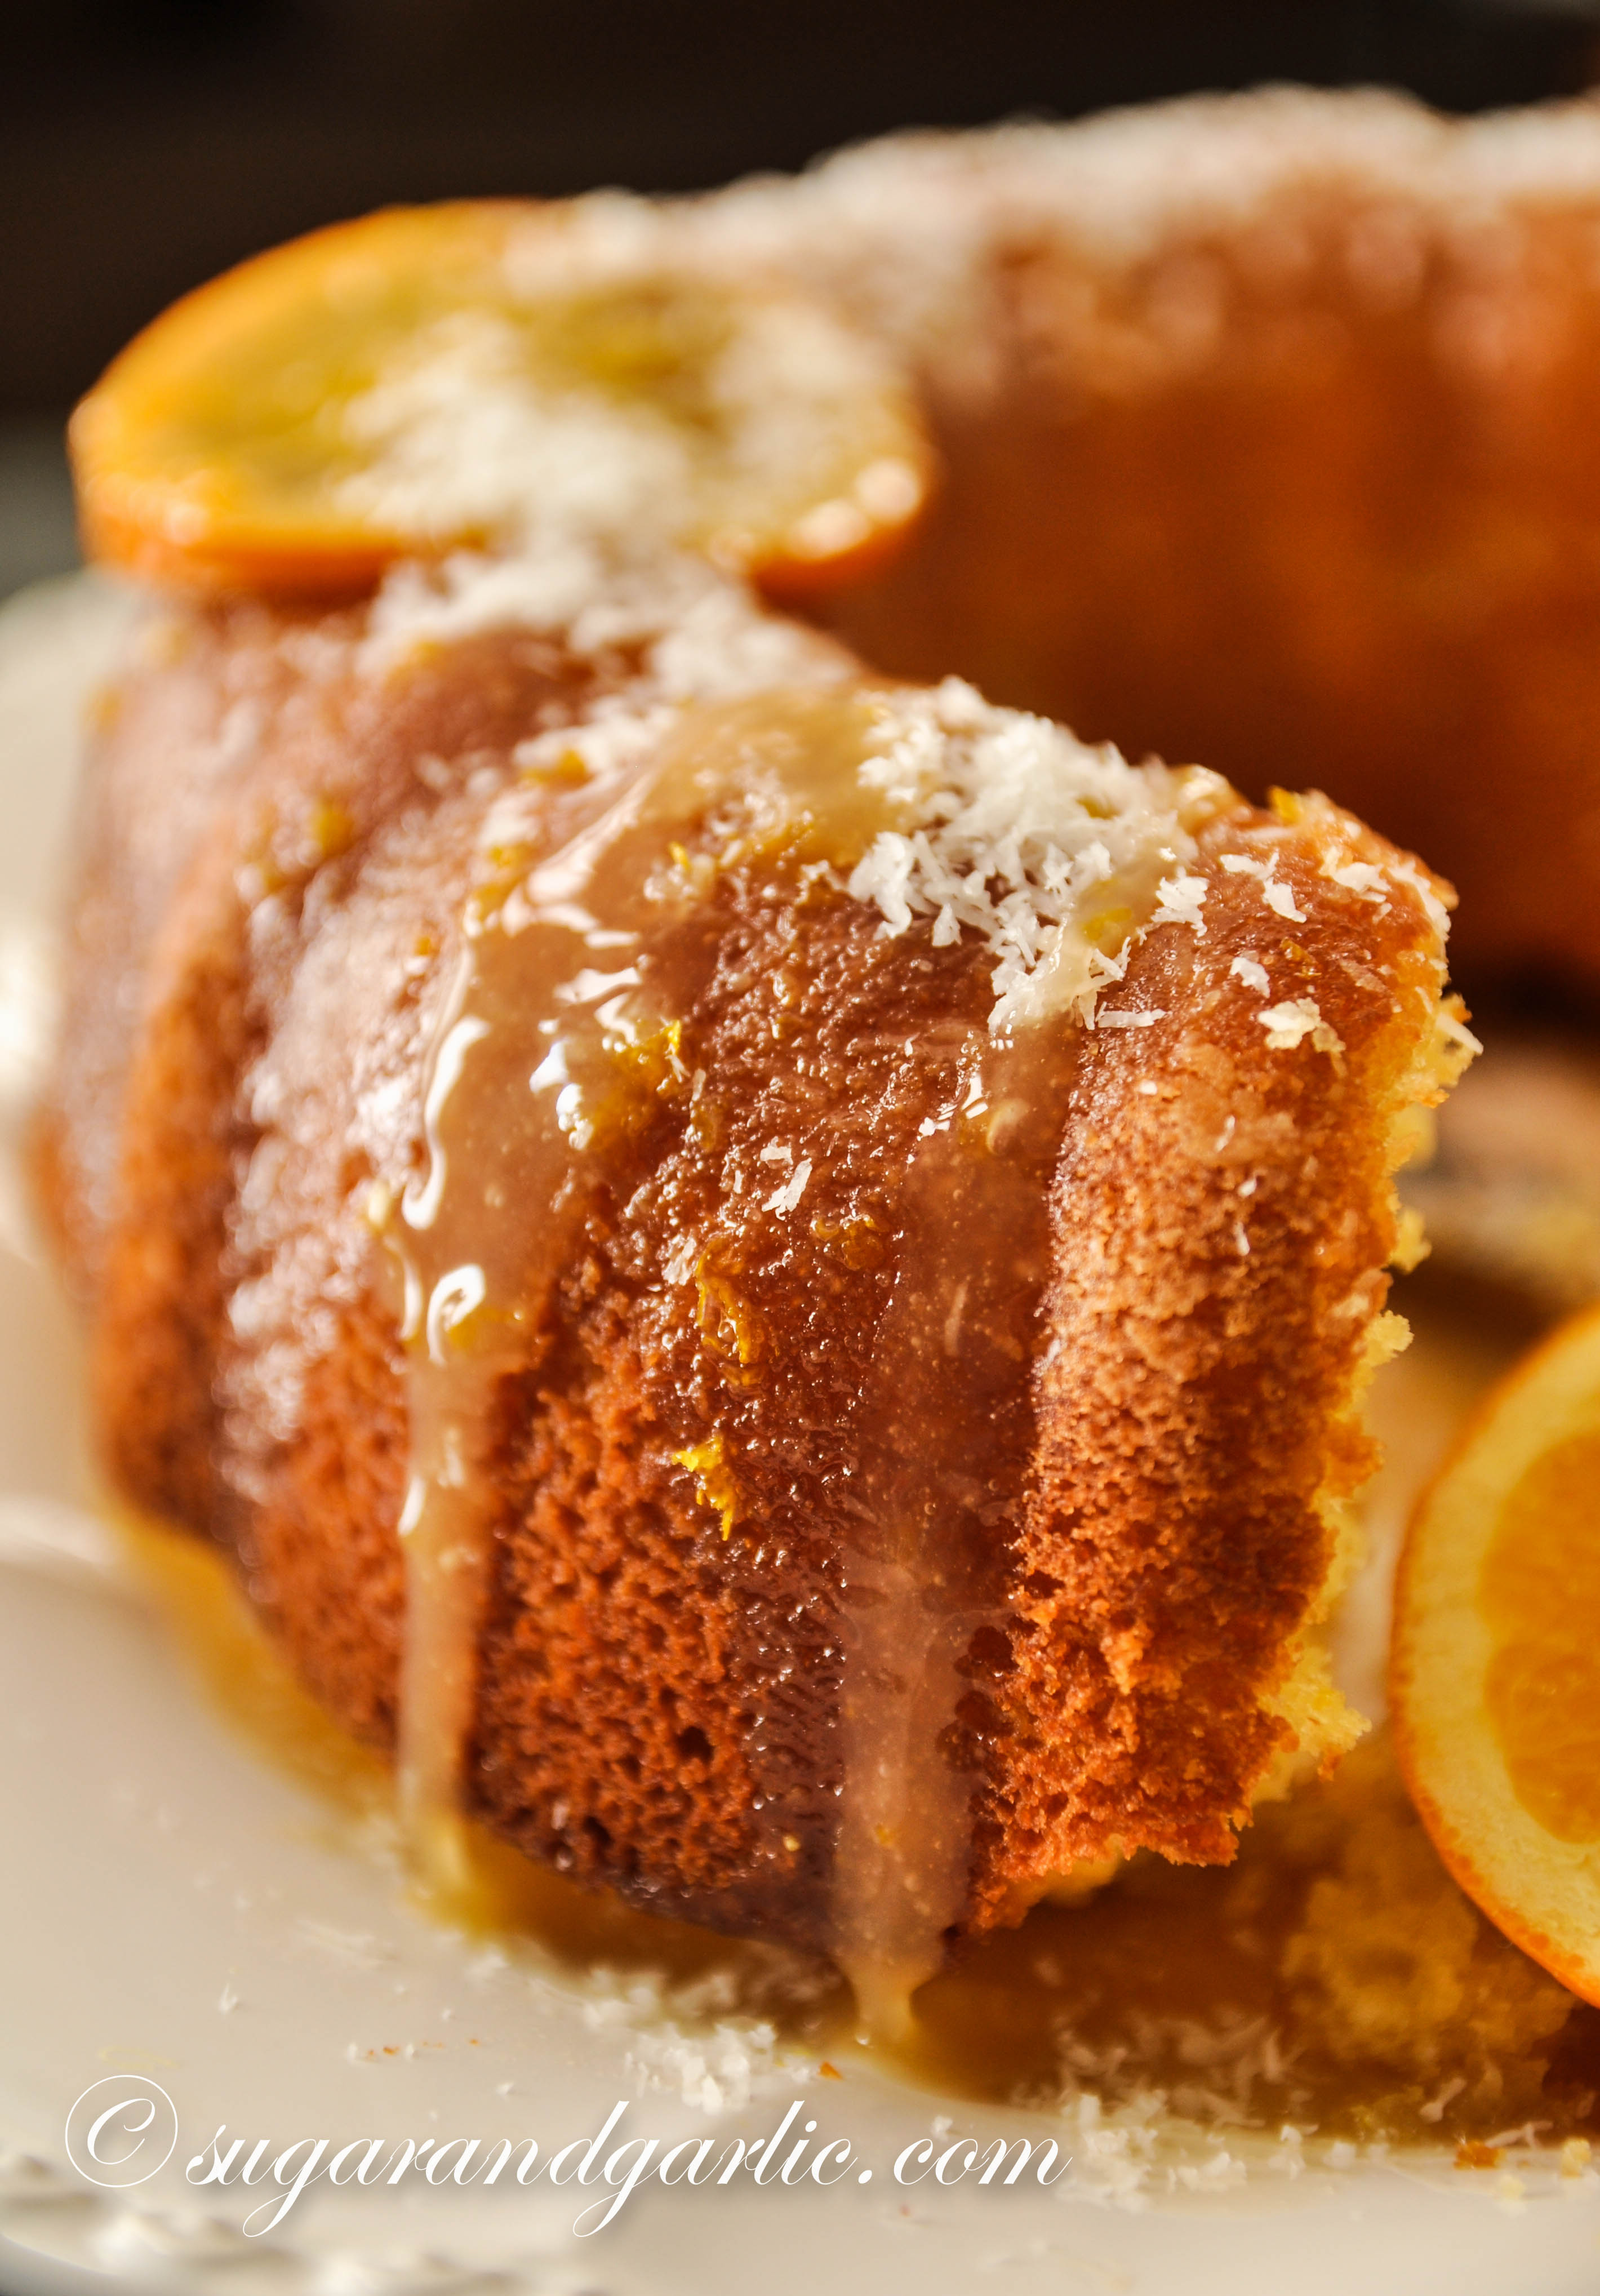
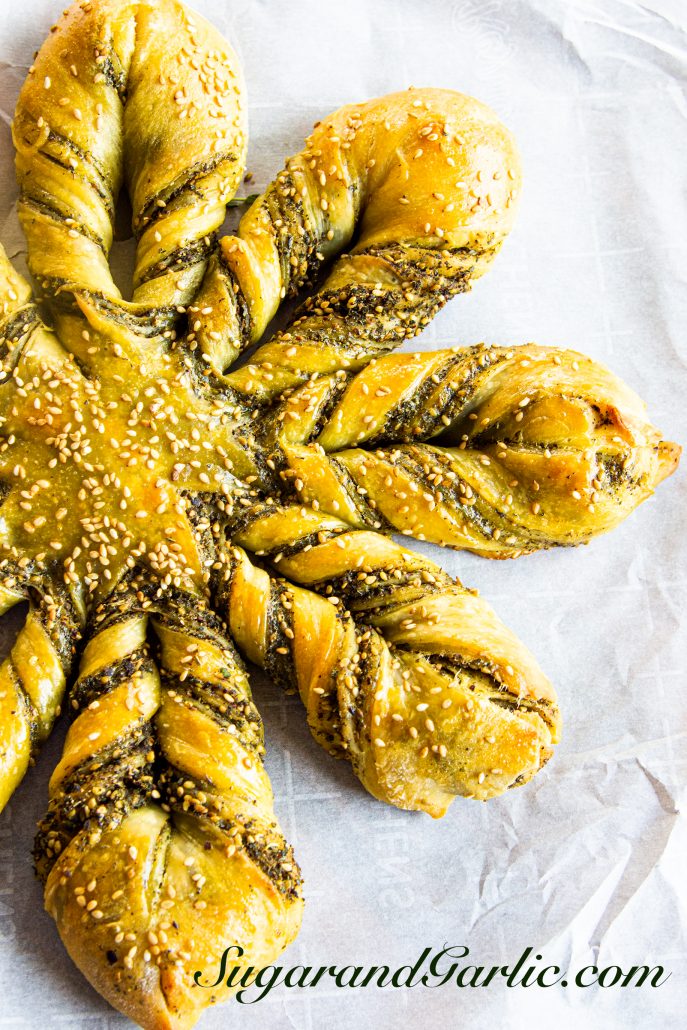
This is a beautiful and festive bread shaped like a snowflake that I thought would be perfect for a gathering of friends during the winter season. It is known as star bread, but as my daughter said, “the star name sounds better for a tile, but it really actually looks like a snowflake.” Whatever you call it, we love it and how simply beautiful it is! This gorgeous bread can be seen everywhere online during the holidays and all over Instagram or Pinterest with all sorts of sweet fillings such as raspberry preserves, cinnamon and sugar, or yummy Nutella. I chose to make a savory version with a Middle Eastern spin by spreading the dough with a delicious spice and herb blend of zaa’tar. This zaa’tar star bread pairs perfectly with a colorful cheeseboard or a Mediterranean brunch spread.
What is Zaa’tar?
Zaa’tar (pronounced zah-tahr, with a guttural throat emphasis on the first aa sound and a roll of the ending sound rrrr) is a common Middle Eastern herb blend of savory thyme, oregano, toasted sesame seeds, and sumac. You can pick up zaa’tar spice mix from any Middle Eastern market, and it is even better if you can buy some freshly made. If you ever happen to visit a Middle Eastern country, be certain to pick up a fresh batch because the thyme that grows out there is very different from the one we grow here in the States. Zaa’tar spice mix should be green in color and while the flavor will vary based on the ratio of thyme, to sesame, to oregano, you can always adjust it to your liking with more sesame or sumac as I do. Zaa’tar is a truly amazing concoction of earthy flavors that you can sprinkle onto everything from breads, to roasted vegetables and salads, to poultry, meat, and fish. Food blogger Ali provides an easy recipe for this delicious savory spice mix for anyone to make their own zaa’tar on her website, Give Me Some Oven.
Making the bread
To make the dough of this bread, I used a seriously easy recipe by bake blogger, Sally from Sally’s Baking Addiction. She kept posting about this bread and insisted the recipe is super easy, and even filmed a how-to video to show you just how easy it is. She was right. I never ever made bread in my life, aside from one demo class I watched two years ago at a book shop. So getting out all the ingredients (yikes, yeast?! That was a first for me) and tools in a minimalist kitchen like mine, I thought it would be useful for you all to show you how a non-baker like me can easily attempt such a friendly bread recipe. Sally suggested using Platinum All Star Yeast, so I did. It worked like magic. I also followed all of her tips. I also- added more tips from my perspective of zero bread making experience. Trust me, it is a great and easy recipe and her video is very helpful! See my own video below implementing it!
My overall impression of this bread, while it was easy to make and the perfect dough consistency for zaa’tar, is that it can afford to be a bit softer. It is deliciously luscious warm out of the oven, especially if you are careful not to over bake it. I loved the ease of this recipe and I feel like I can whip it up any time! This would be an ideal bread to fill with cheese and zaa’tar mixed!
My next step is to try a fluffy challah bread recipe for the star bread. I think the sweet and soft challah just might prove an even better combination. I will be trying Zoe Bakes challah recipe for star bread next. Stay tuned!
Feedback on baking bread from a newbie baker
So this recipe is simple. It entails mixing the flour and other other dough ingredients with the yeast mixture and letting it rise for an hour or so and then shaping the bread. The rise time is technically 60-90 minutes and I usually don’t have the time to stay at home or in the kitchen long enough to prep the dough, let it rise, and then shape it and bake it because I have so much going on. So I prepped the dough mix, let it rise, had 2 meetings and a conference call and then I had to take my kids to tae kwon do. So I had to put the risen dough in the fridge. Sally advises how to do this and to let the bread sit on the counter for 20 minutes after removing from the fridge. Although I tightly covered the dough in the fridge I have to report it was a bit hard. I could still work with it, but it seemed a little dry to me. Everyone thought it tasted great nonetheless.
But I wanted to know what it would be like if I let it rise in a warm oven and then shaped it right away without fridge time. Again, I had to head out for some errands, so it rose for 3 hours instead of 60-90 minutes. Hah, really do working adults or busy parents ever have the luxury to count on 4 uninterrupted hours? I struggle with that. But I am happy to report that I simply punched the dough down, and shaped it, and it was so luscious and soft. Baked beautifully, and tasted even better than the fridge version. Is this safe to do with dough that sat for 3 hours rather than 90 minutes? I think so. Mama says it’s fine.
So from my trials, I would advise:
- If the dough is too sticky after mixing, add 1-2 tbsp of flour so that it is less sticky, but still soft (check my video).
- Do not refrigerate the dough if you do not need to, the texture will be better this way.
- For the zaa’tar mix, be sure to use my ratio of oil so that it is not too moist on the dough like it was in my first trial, making it difficult to shape. The zaa’tar mixed with oil should be a thick paste, not a liquid spread.
- When shaping the dough into circles, roll it out into a ball, press down into a circle, and then roll it flat into a thin, large 8-9″ diameter. The first time I rolled out the circles they were too small and thick, and so was my end snowflake bread too small and thick. Think large thin circles here! Again, see the video.
- Be sure to use an egg wash on the top of the shaped dough BEFORE baking as it truly lends a gorgeous glossy and golden crust. Trial 1, I forgot and brushed the egg wash on after 10 minutes of baking, and it didn’t make such a glossy, smooth crust as expected.
- Check the bread after 20 minutes, depending on the oven it may be ready. The first trial, I over baked the bread to a more golden brown crust by 25 minutes. The second trial, I checked it at 20 minutes and it was perfect by 22 minutes.

Happy Baking!
Zaa’tar Star Bread
Ingredients
- 1 recipe of star bread from Sally's Baking Addiction or any preferred bread dough
Zaa'tar filling
- 1/3 c extra virgin olive oil 45 grams
- 1/2 c zaa'tar mix 45 grams
- 1/2 tsp salt ,more to taste
- 1 tsp ground sumac
Instructions
- Prepare the bread dough according to Sally's recipe linked here.
- On a lightly floured surface, roll the dough into a ball and divide it into 4 quarters.
- Roll out each dough quarter into a thin and large 8" circle.
- Lay the first circle of dough onto a baking sheet lined with parchment paper. Spread the zaa'tar mix onto the circle of dough, starting at the center and spreading all the way out to the edge, leaving only about 1 cm of dough without the filling. Then lay the next dough circle on top of it. Repeat spreading the zaa'tar onto each circle of dough. Do not spread zaa'tar onto the last layer of dough (you will likely run out by now anyway.
- Press the 4 layers of dough gently so they are all together and lined up. Use a pizza cutter or knife to trim the edges of the dough circles to make it as symmetrical of a circle as possible. The scraps can be twisted together and baked on the pan and eaten too! 😀
- Use a small round shape such as a cup to press a 3.5" circle indentation into the center of the dough. This acts as a marker for where to cut the star lines up to. (See the video for this!)
- Use a pizza cutter or knife to make 16 even wedge slices. Start by cutting 4 even quarters, and then cut each quarter in half to create eighths. Proceed to cut each eighth in half to create 16 wedges total. See the video for this step as well, it will make it very easy!
- Now, be sure you watched the video for this part, as it is much easier to see it than it is to describe. Take every 2 wedges, twist them outwardly, away from one another 2-3 times and then join them at the ends and press to create a beautiful point of the star/snowflake. The zaa'tar filling will appear in lovely swirled lines. Repeat this for every 2 wedges until you have 8 points in the star or snowflake total.