Author: Noha

Citrus Herb Turkey

Citrus Herb Turkey

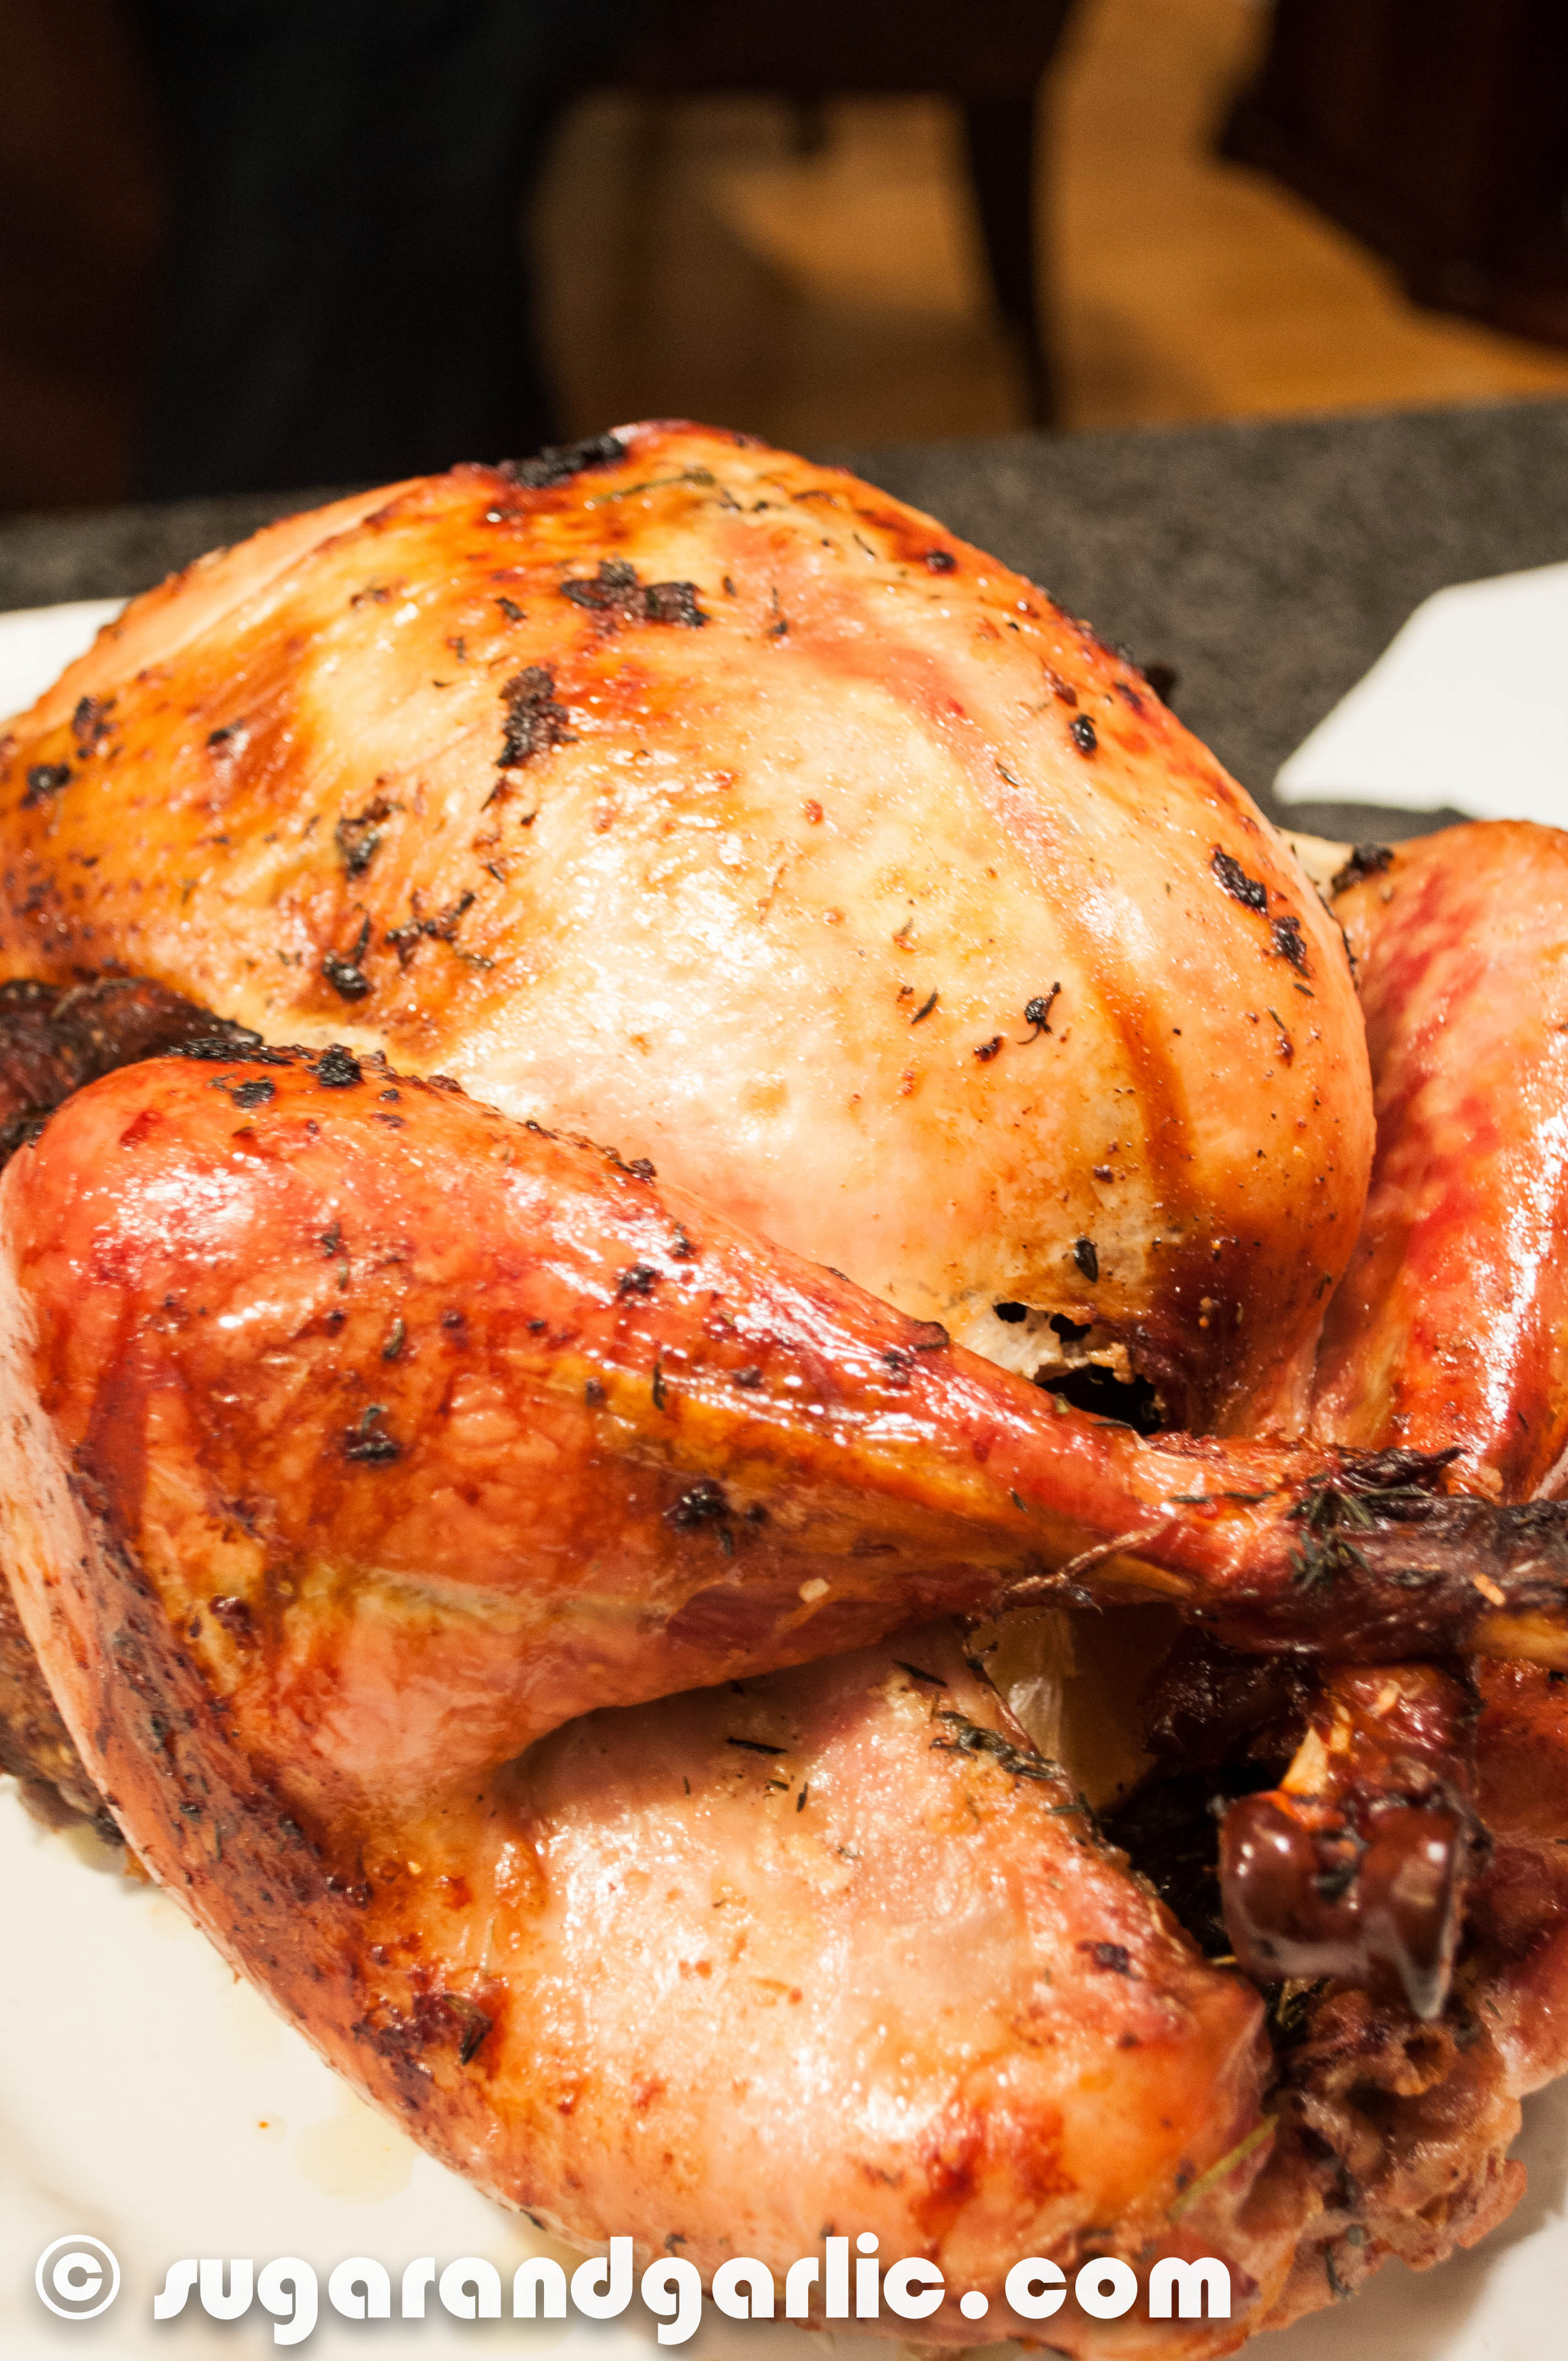
The biggest food day of the year is just around the corner. Chefs and newbies everywhere are rolling up their sleeves to prepare a delicious (we hope!) roast of turkey to set on the table. With this fool proof recipe, you are sure to satisfy…
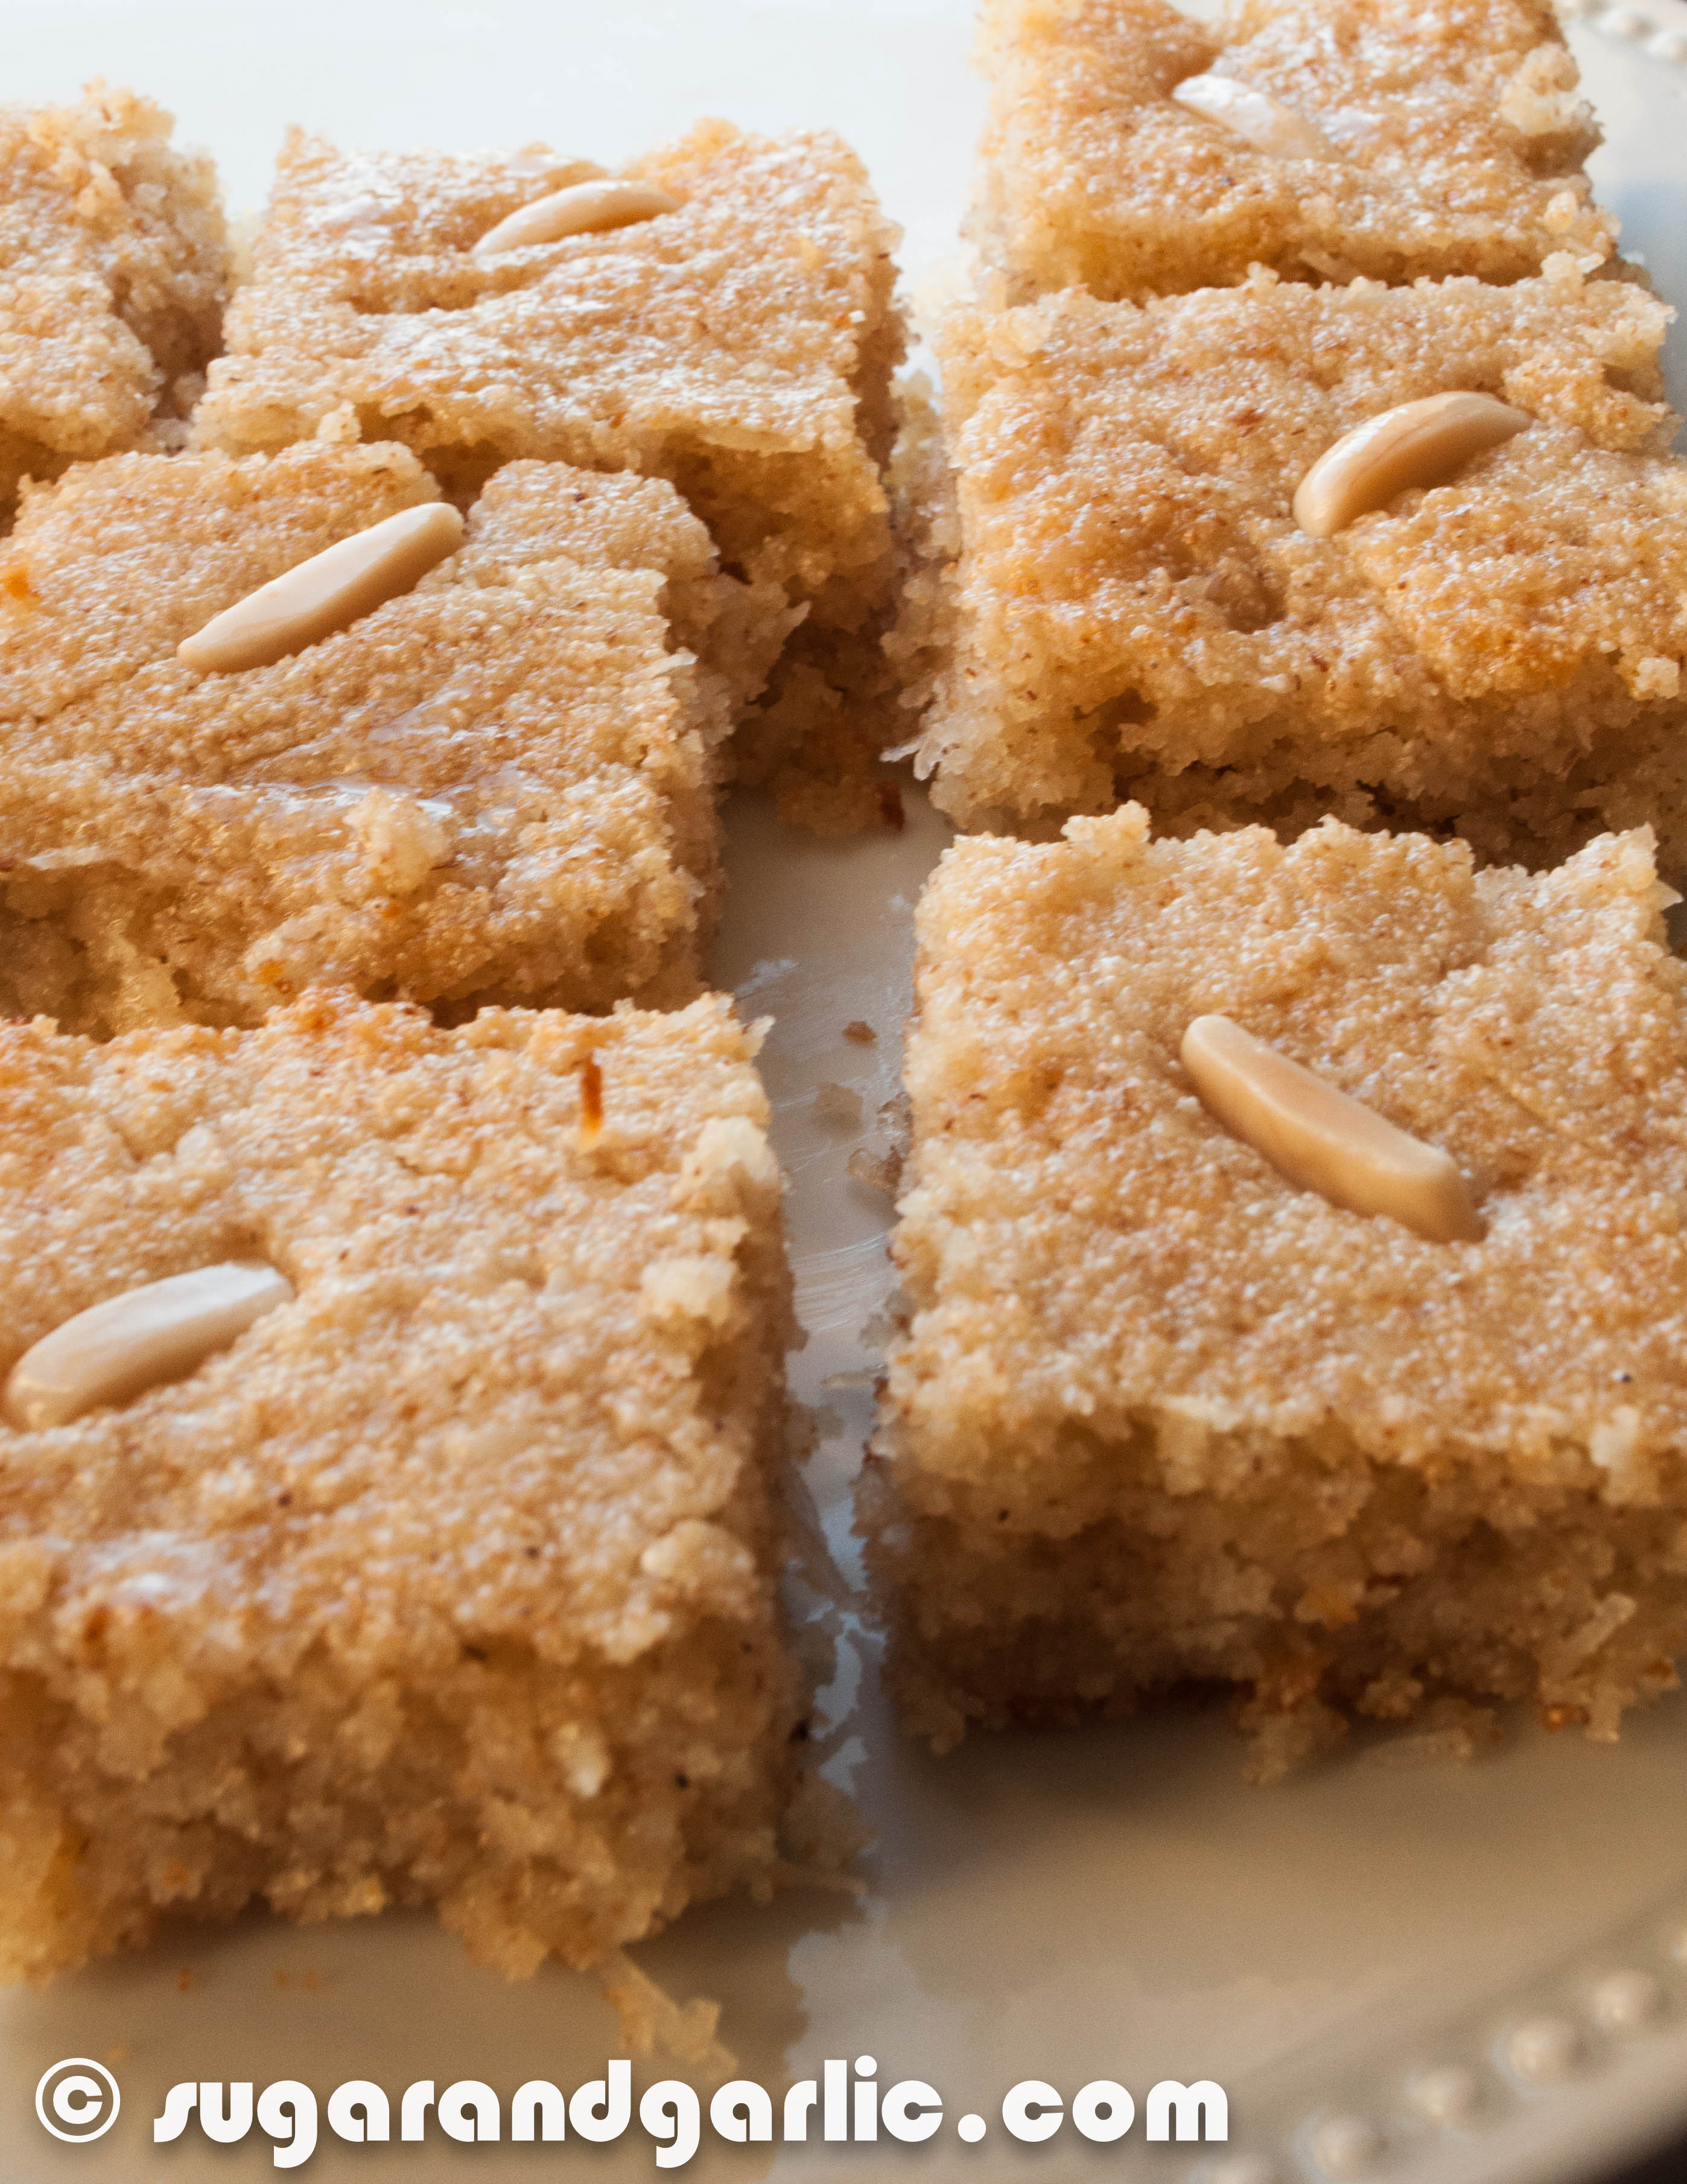
Harissa aka Basboosa (Semolina Cake)

Harissa aka Basboosa (Semolina Cake)

Harissa is a typical Middle Eastern dessert very popular in Egypt. It is a dense, moist cake, gooey with a fragrant simple syrup. Harissa, also known as basboosa is a semolina sweet cake with a delicate balance of citrus notes, coconut, optional rose notes, and…

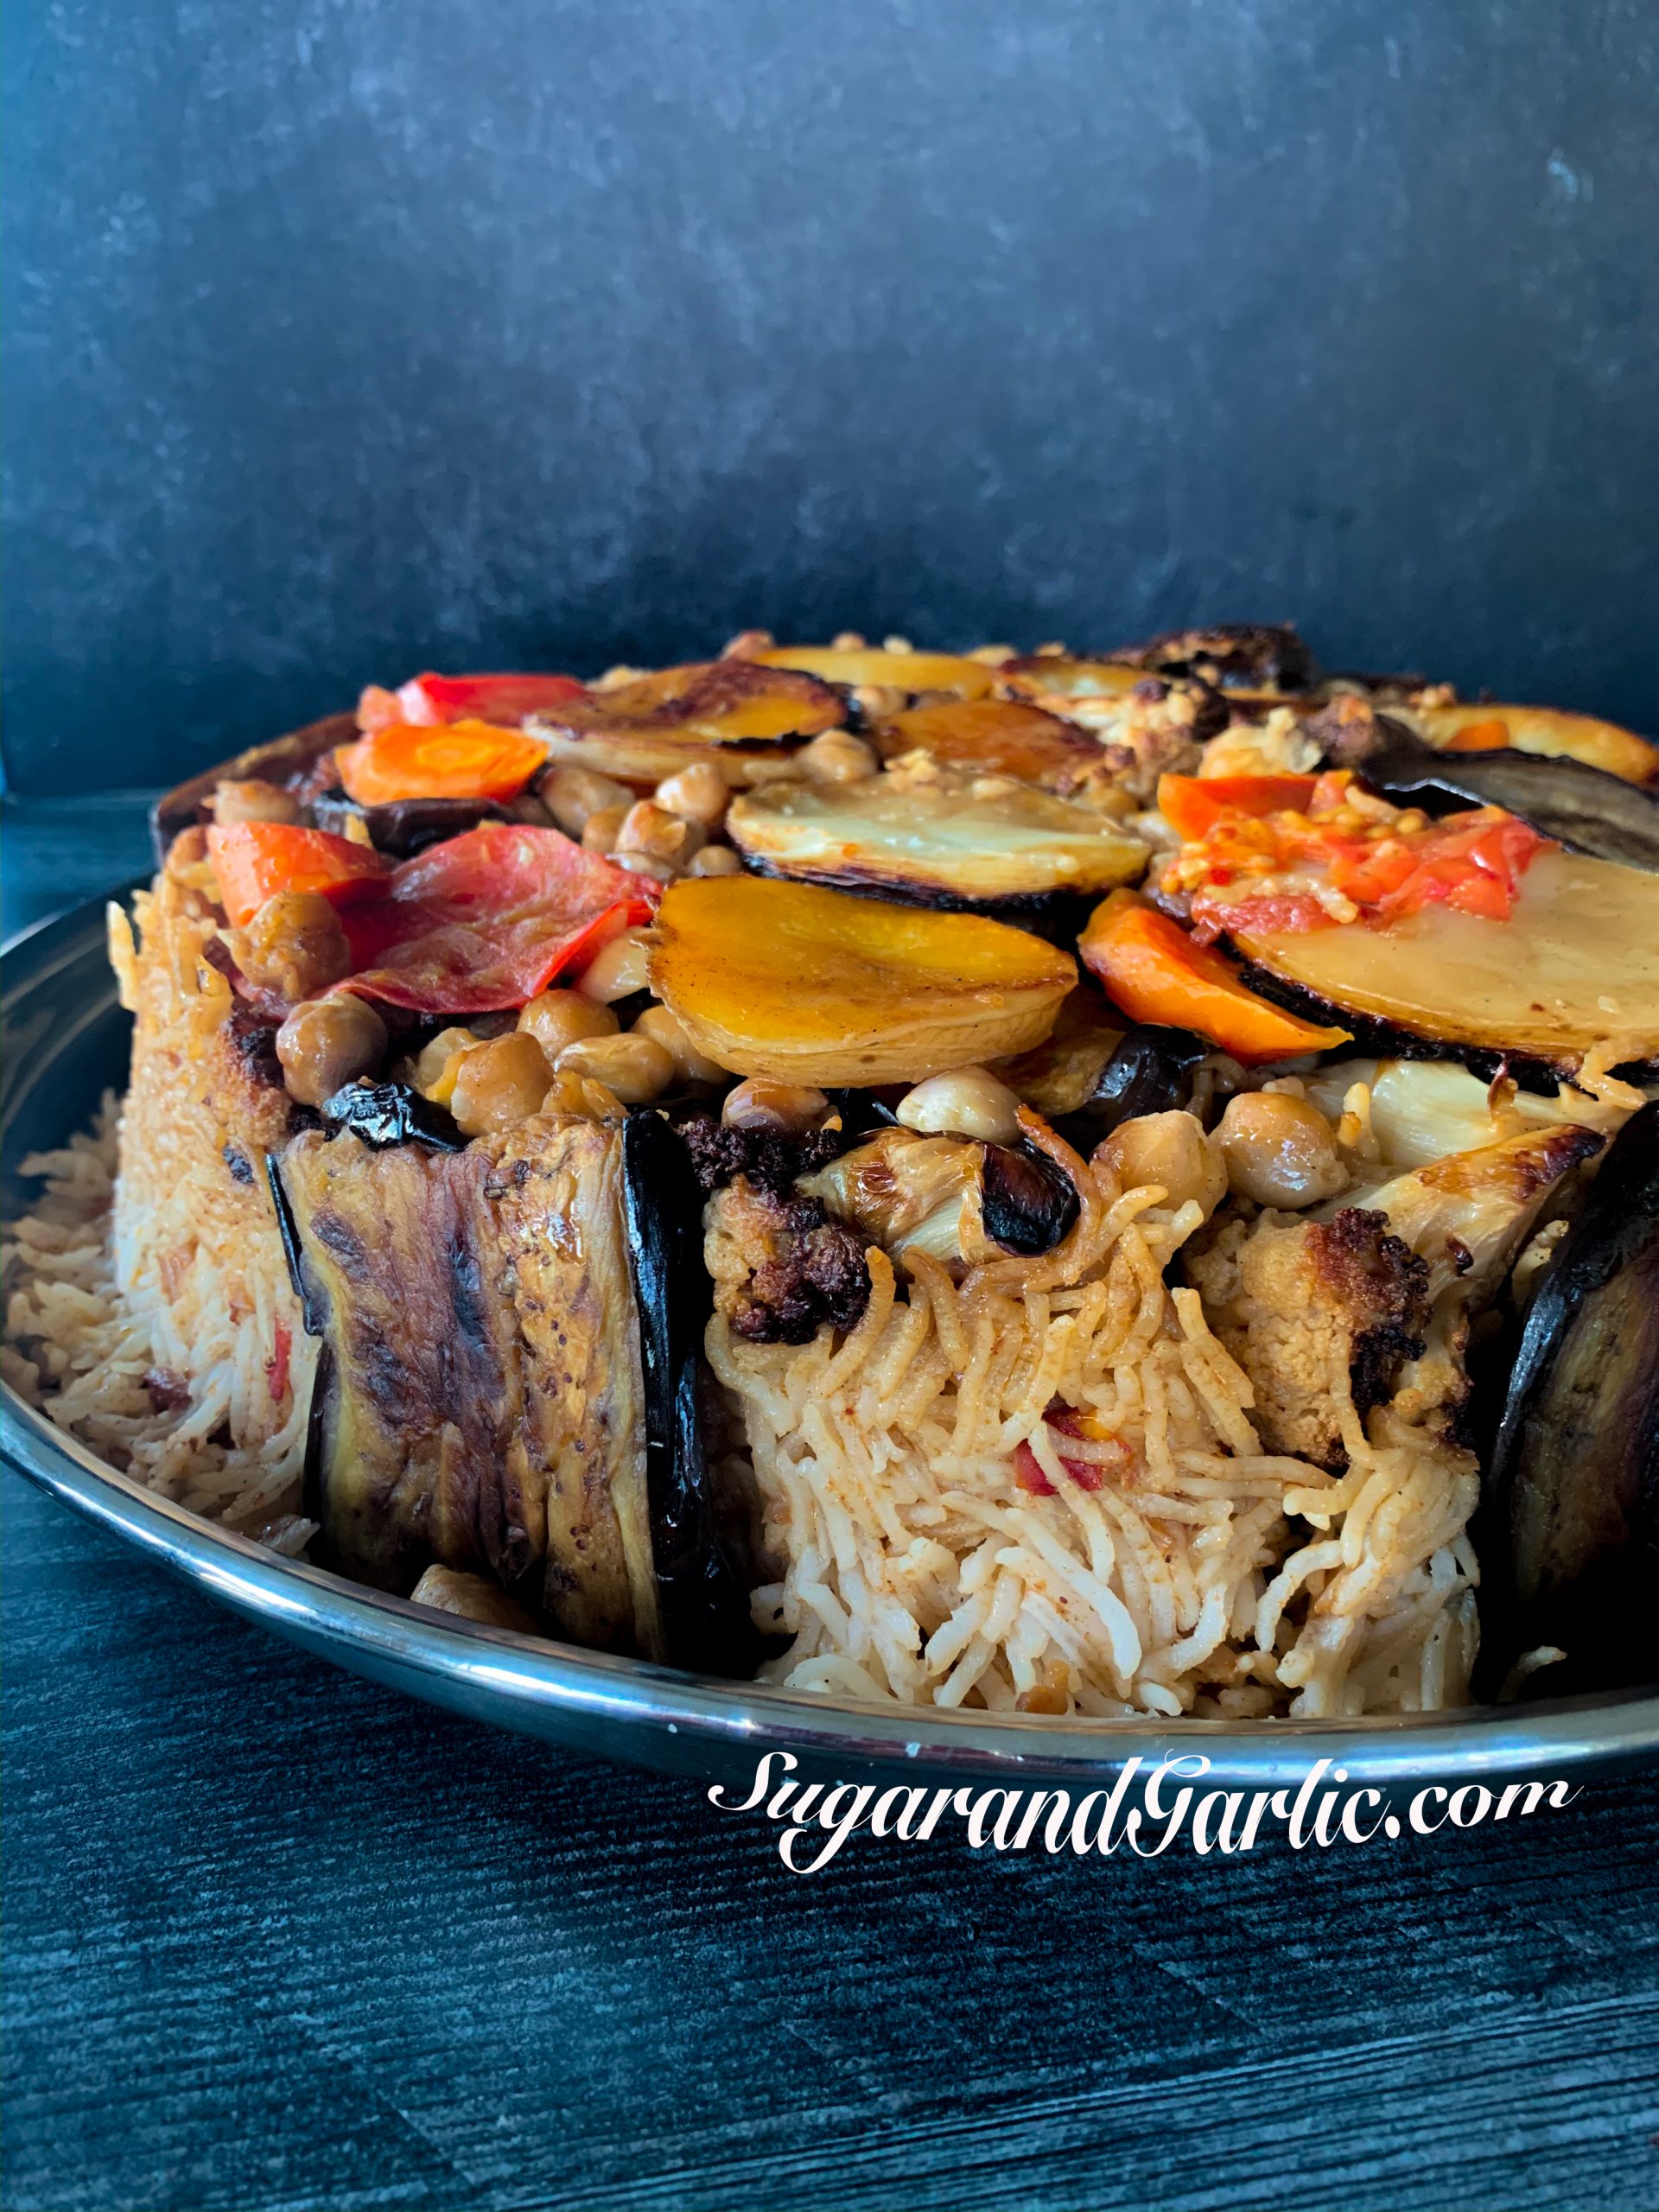
Maqlooba

Maqlooba

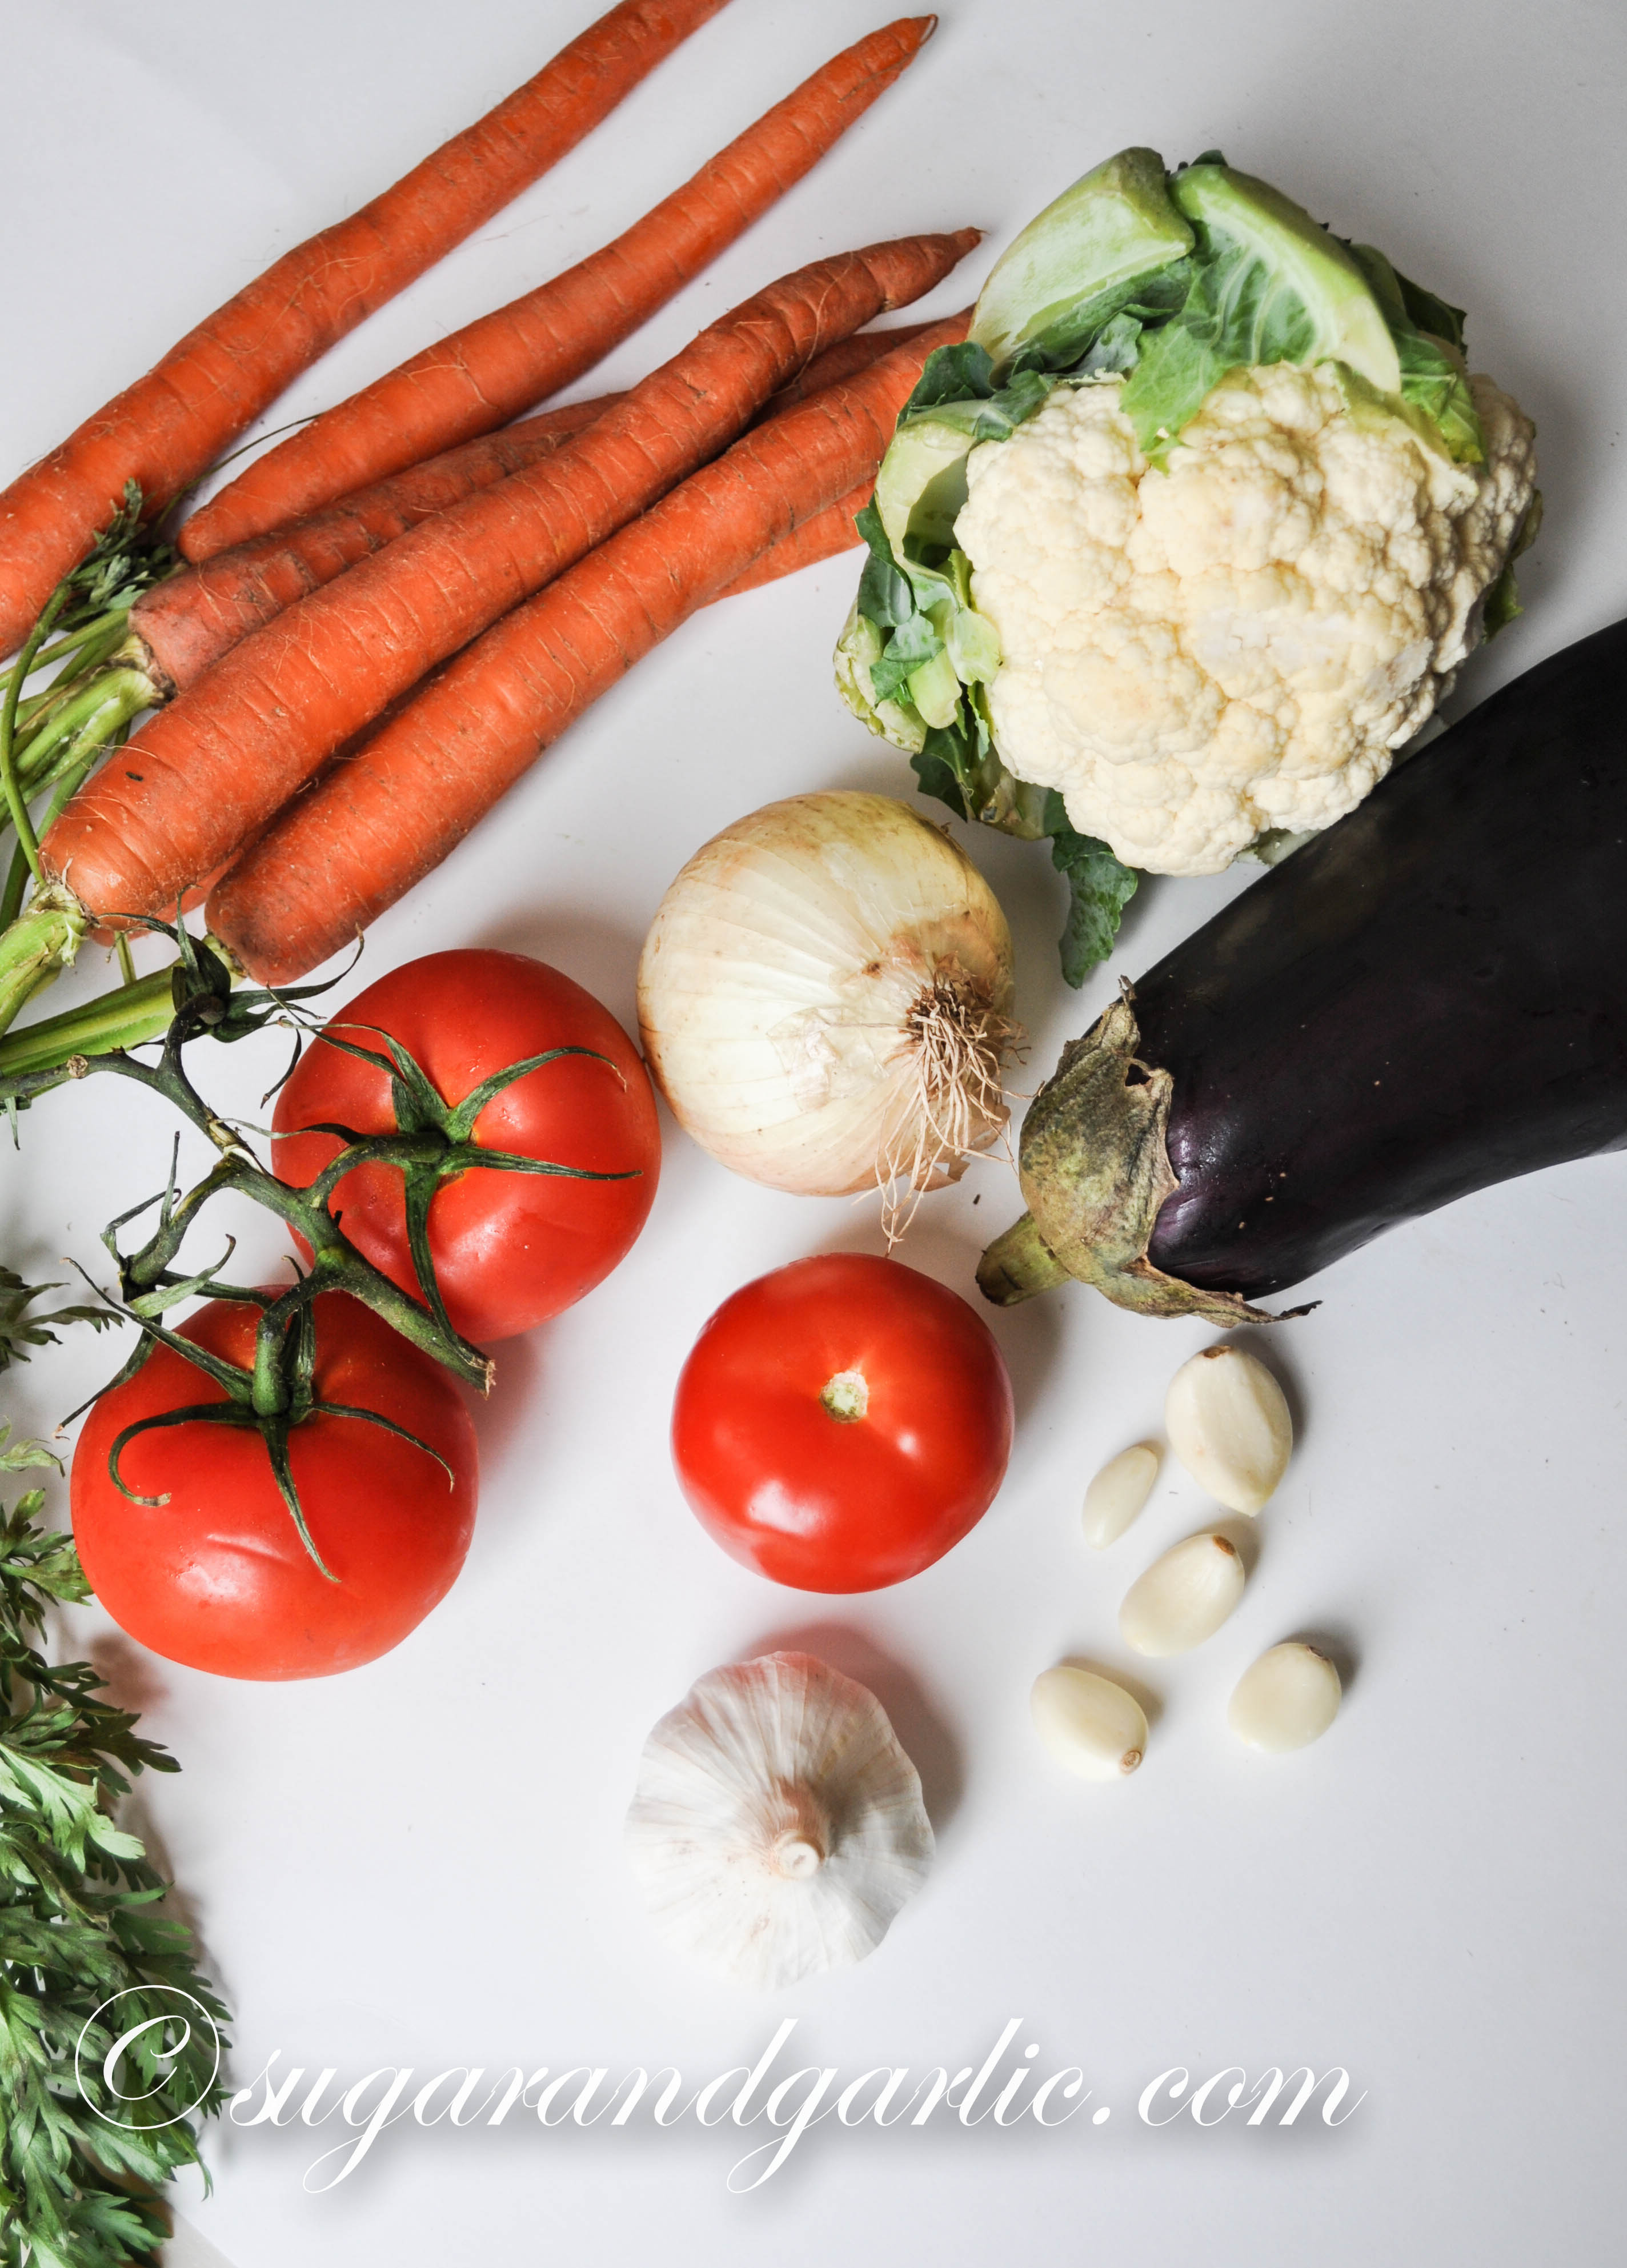
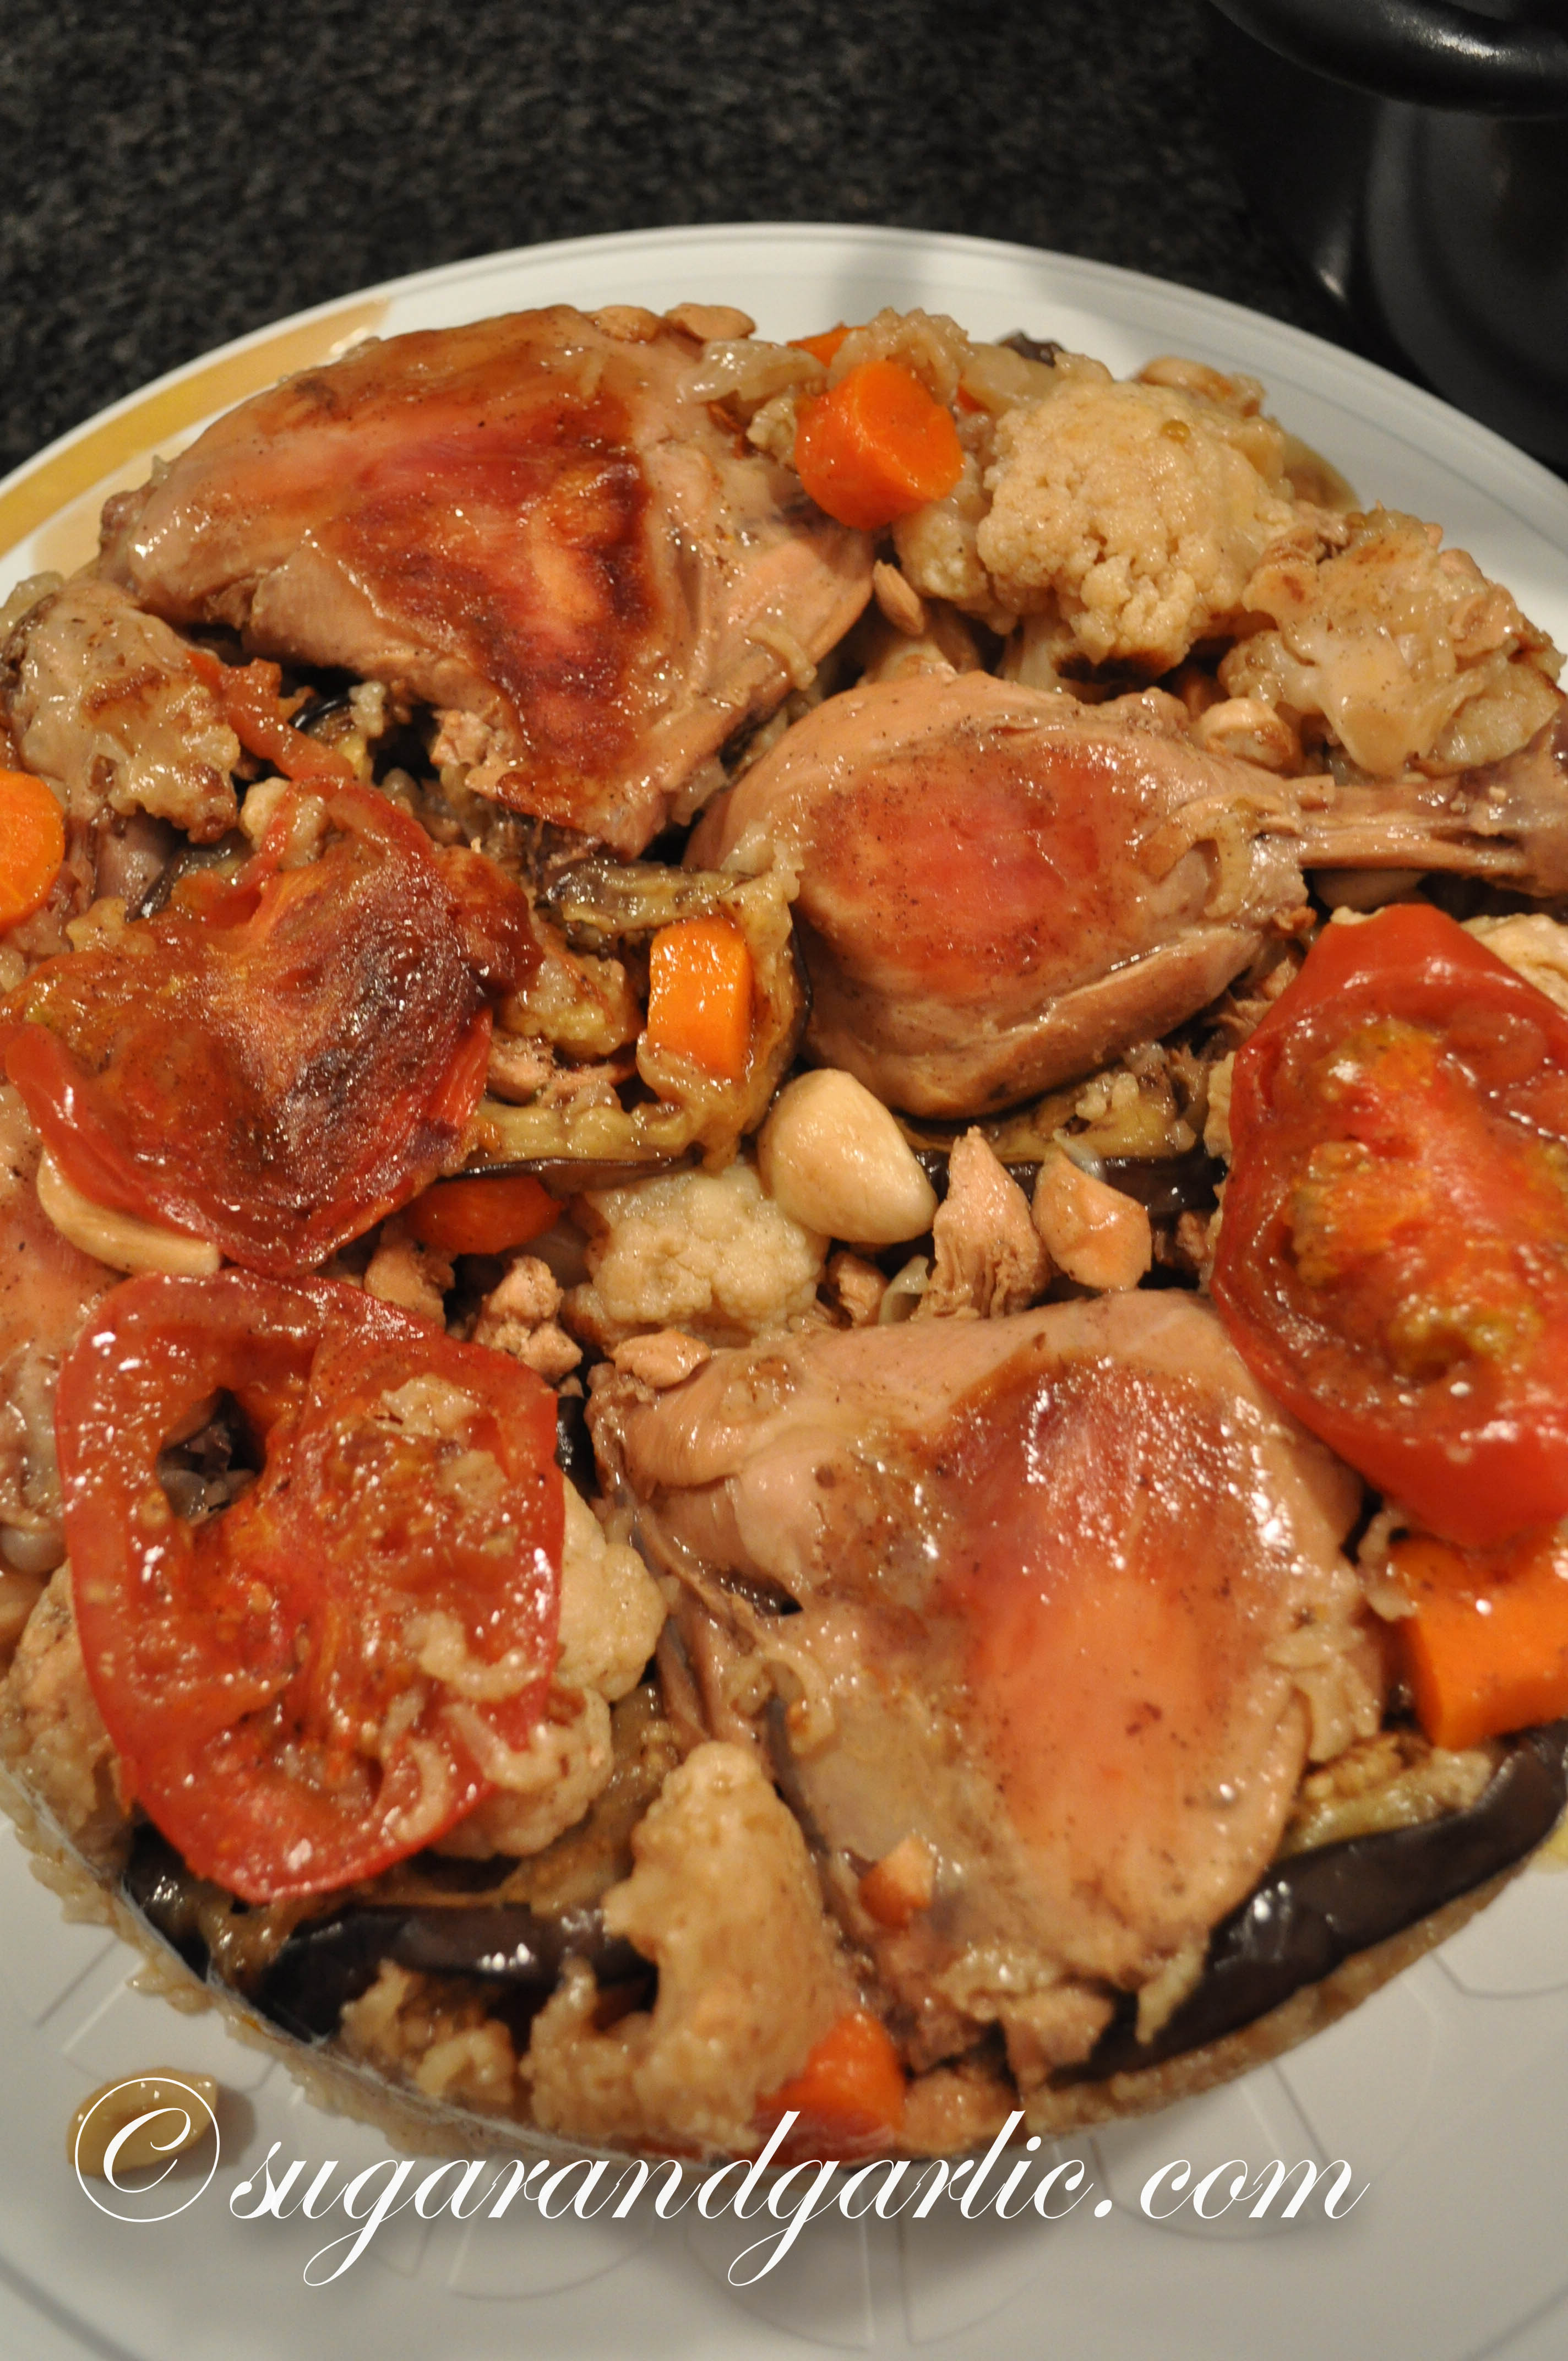
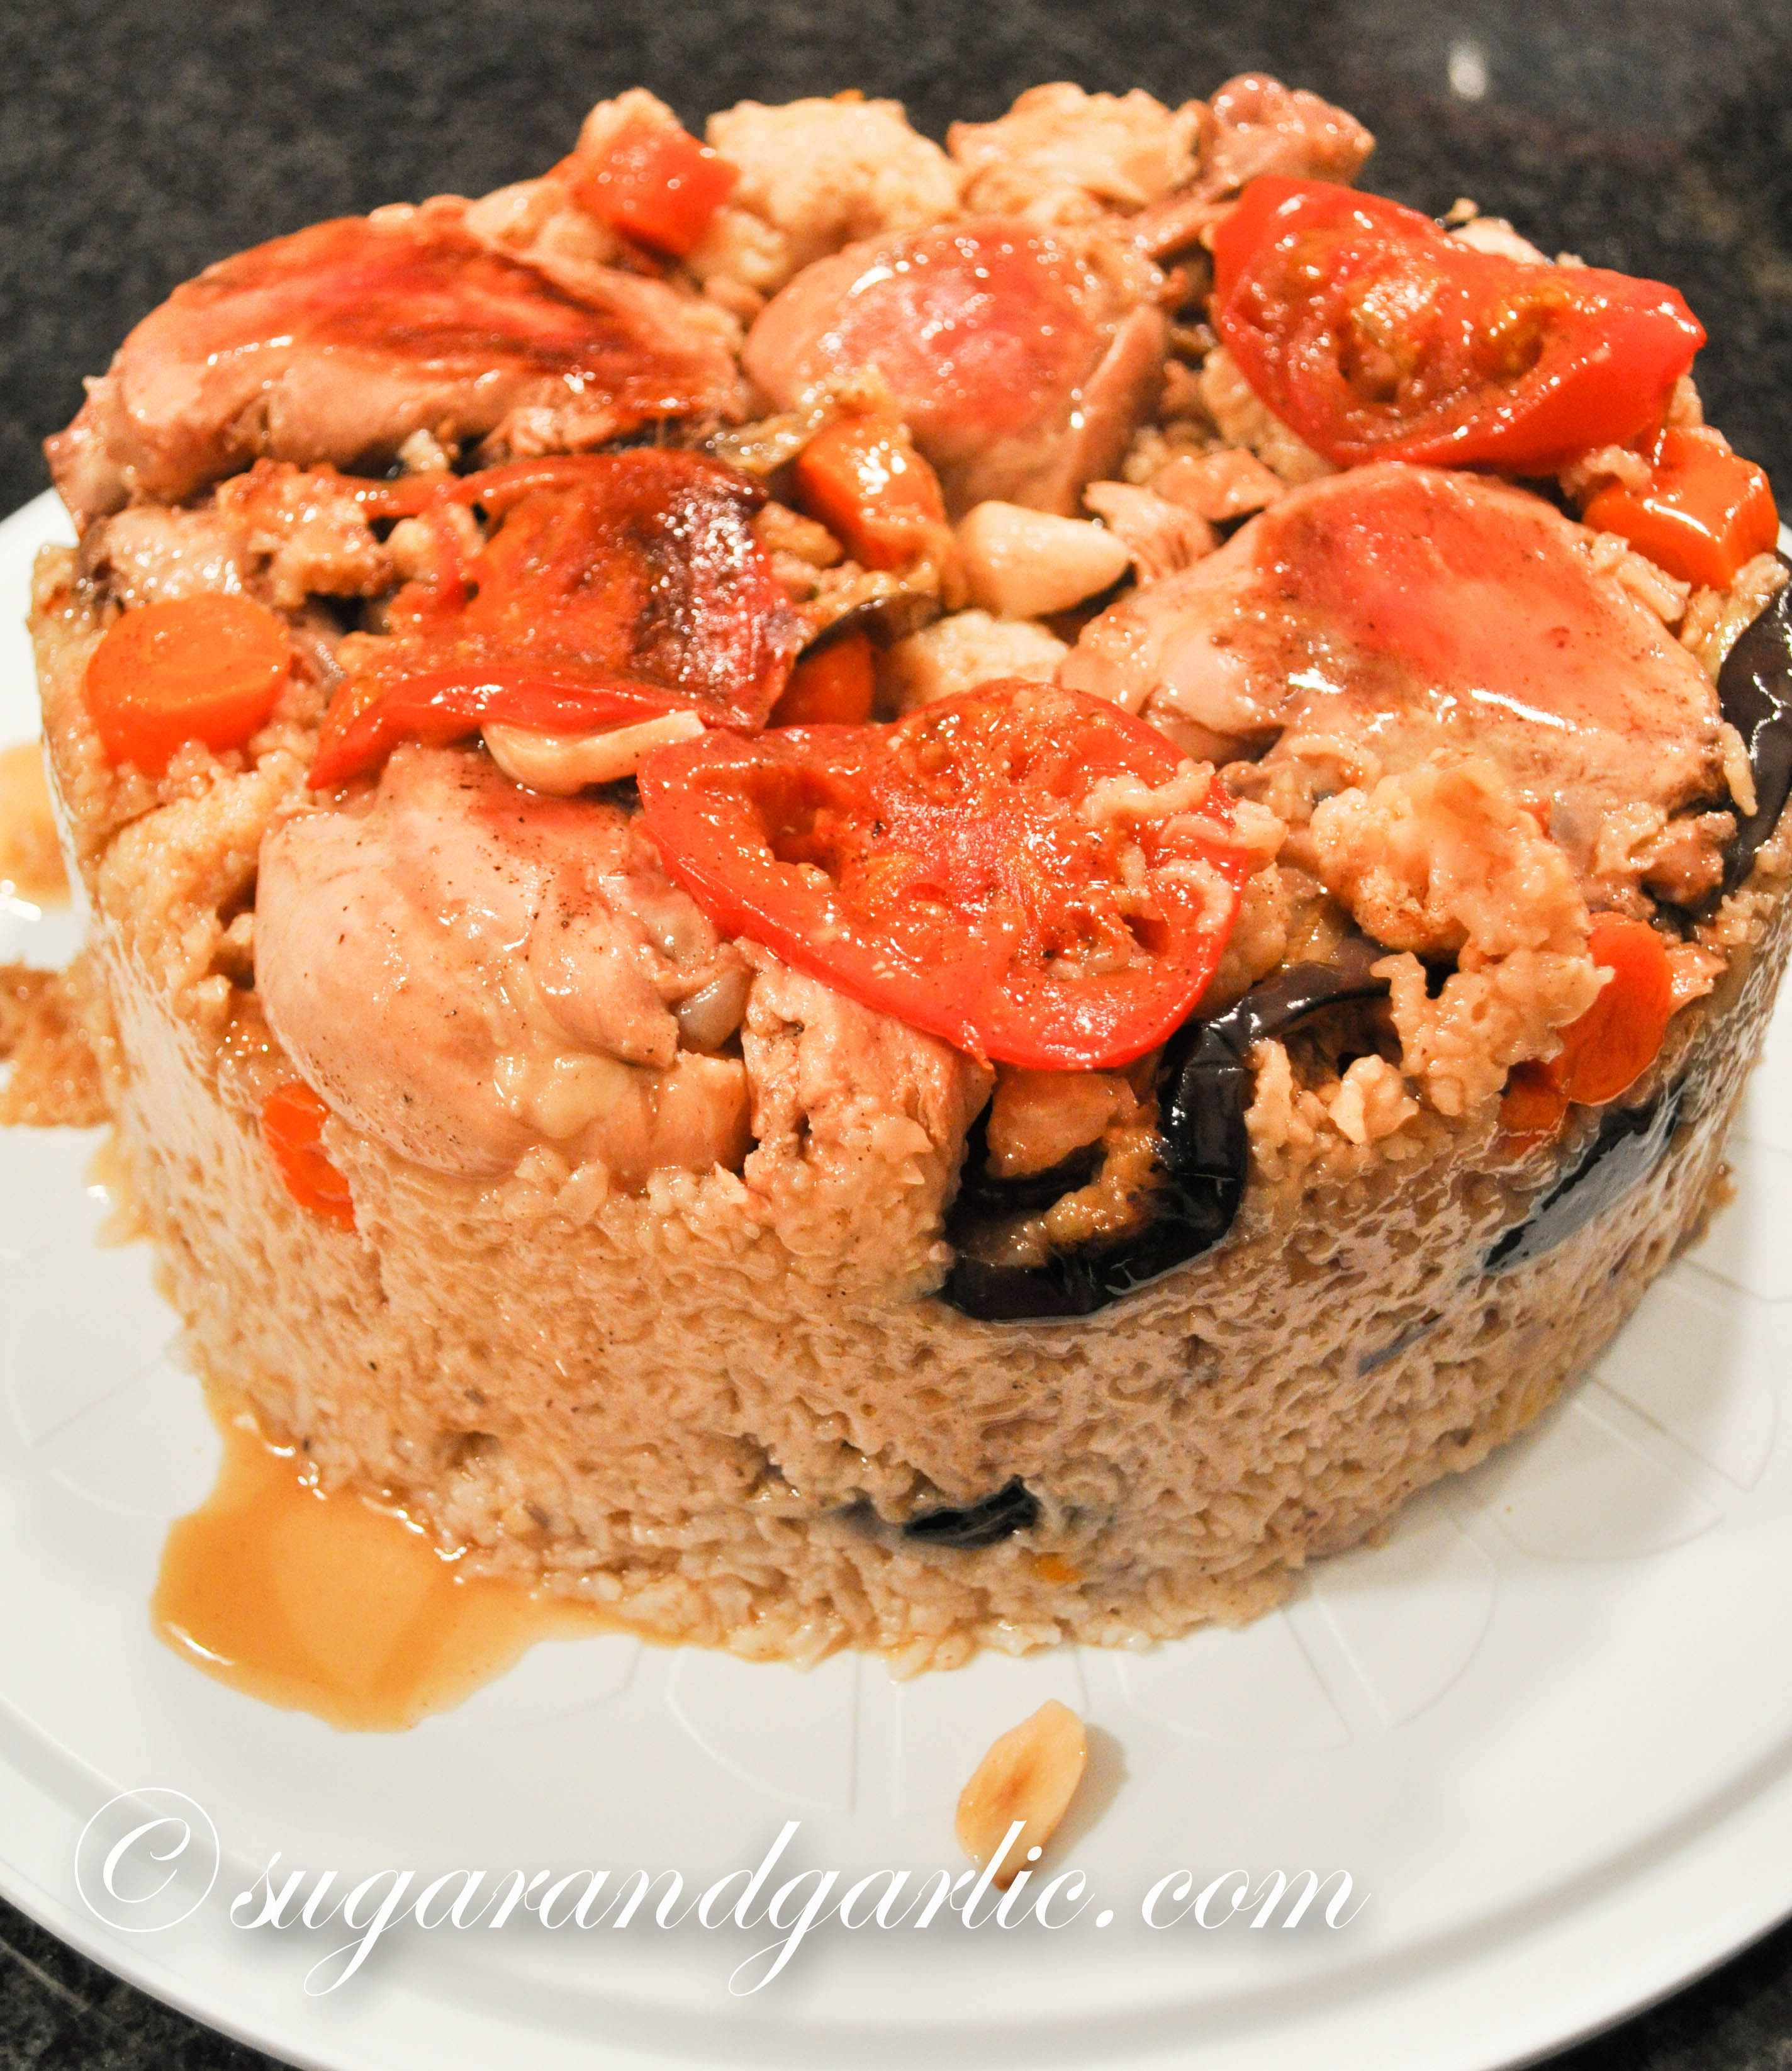
Literally, maqlooba means upside down or flipped over. That is exactly what this dish is- a pot full of deliciousness, flipped over onto a plate for serving. The first time I had this was at my friend’s house for dinner, and yes she is Palestinian. Maqlooba is traditionally a Palestinian dish, although it is commonly cooked in Syria, Jordan, Lebanon and all over the Middle East with some variations. Generally, maqlooba is a one pot stop of all things delicious: a combination of spiced rice, layered with chicken or lamb-or chickpeas for my plant based version- and a variety of fried vegetables that include cauliflower, eggplant, tomatoes, carrots, potatoes, and of course, garlic! 

eggplant, cauliflower, carrotschicken maqlooba chicken maqlooba

This dish is unbelievably delicious, and worth every effort to assemble. This is not a difficult recipe, but it does take a few steps. 

I stuck to the classic recipe and tips given to me by my trusted sources, and combined fresh spices to make my favorite mix of flavor. I did cut down on frying for personal preference, but frying is a traditional part of maqlooba. My family cut out the meat to include this meal in our regular rotation of plant-based dinners because it is so flavorful and full of vegetables. Hopefully my modifications won’t be offensive to the traditional Palestinian kitchen! I highly recommend you try this recipe as it is so memorable and comforting. The first few times I have tried this dish, it has left such an impression on me that I NEEDED to develop my own recipe!

Helpful tips

  1. First, I would say that frying is the traditional method and there is nothing wrong with frying. I simply don’t like to fry in my home for several reasons; splattering oil and fear being amongst a few. I find that I get wonderfully incredible results, with golden crispy veggies by roasting in a sheet pan. So I am 100% okay recommending this method.
  2. It is essential to soak the rice. It will cook faster, and be less starchy. This will make for a nice fluffy rice grain that is not overly mushy because you had to add more water to cook it through. Add 1 cup more liquid than cups of rice. If you have soaked the rice, this amount of liquid will yield perfect rice that is not mushy. 
  3. Use basmati as first choice, or long grain rice.
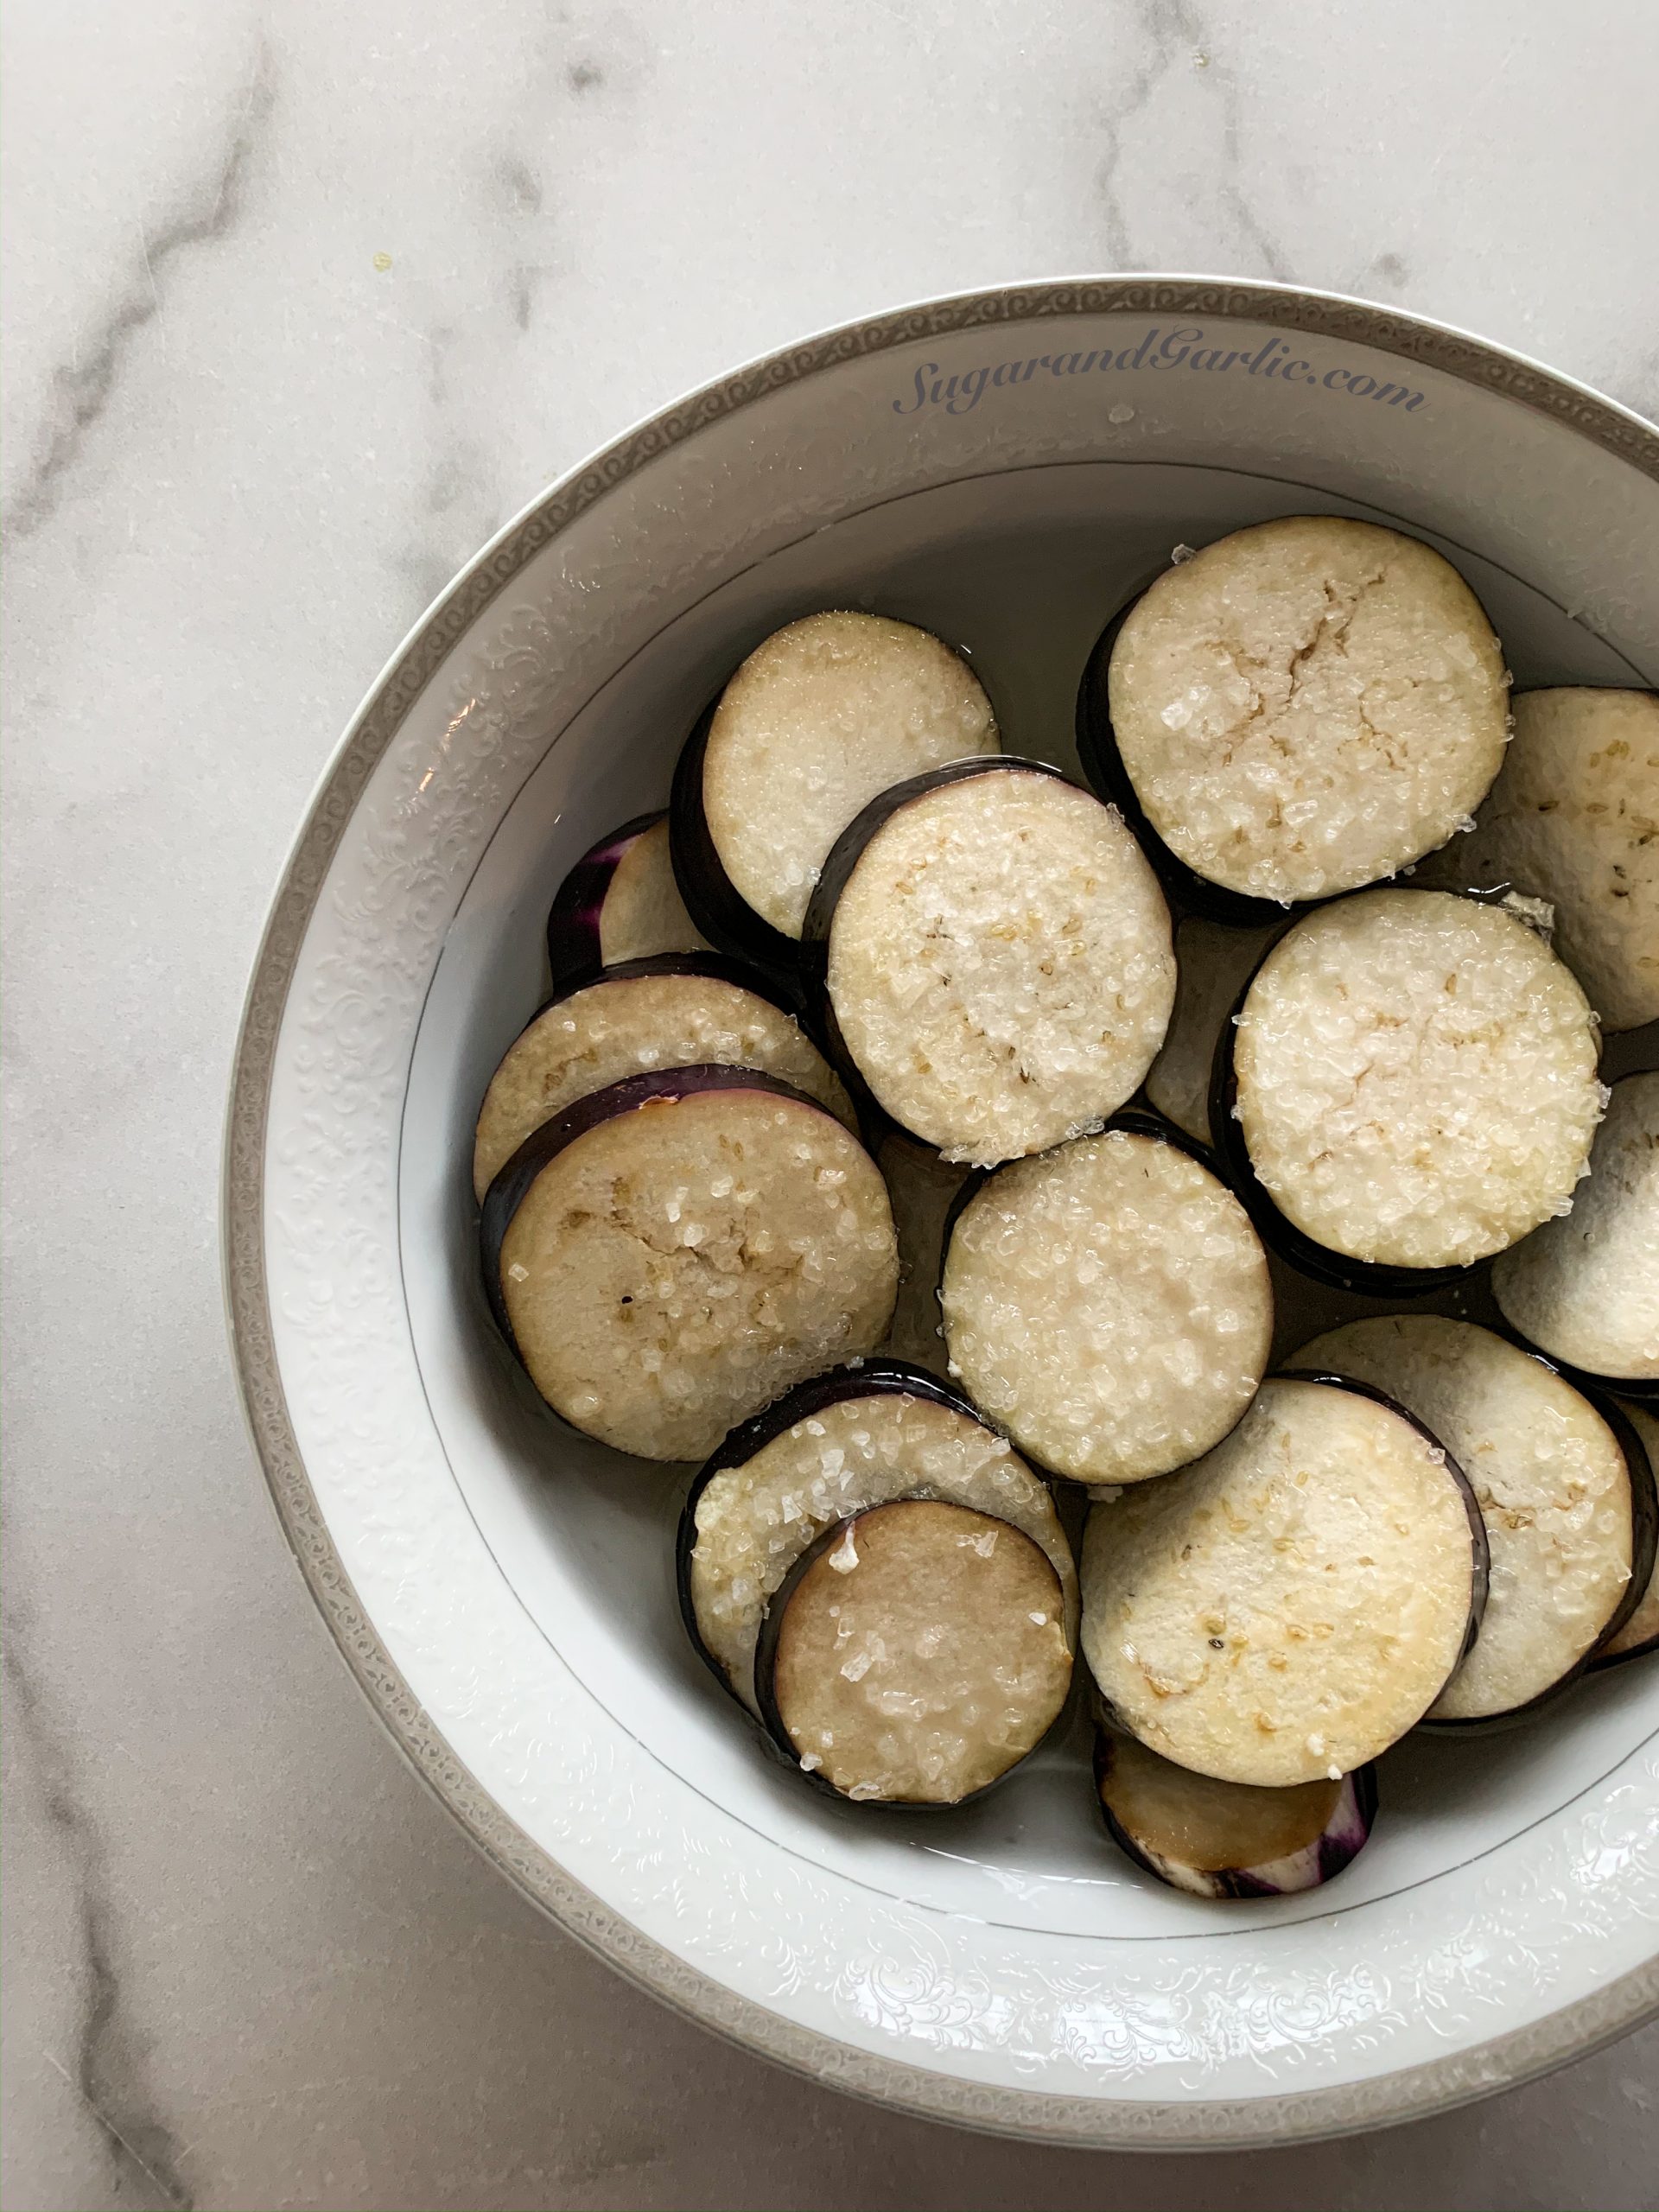
  4. Salt the eggplant. People freak out about this step, but it literally takes 10 extra seconds to do. You’ll be amazed how much water comes up. Blotting away this water removes the supposed bitter juices (I guess I should taste those droplets to confirm), but more importantly it aids the eggplant in cooking to a crispy exterior and tender flesh. It loses that spongy texture that causes people to mislabel eggplant as an undesirable vegetable.
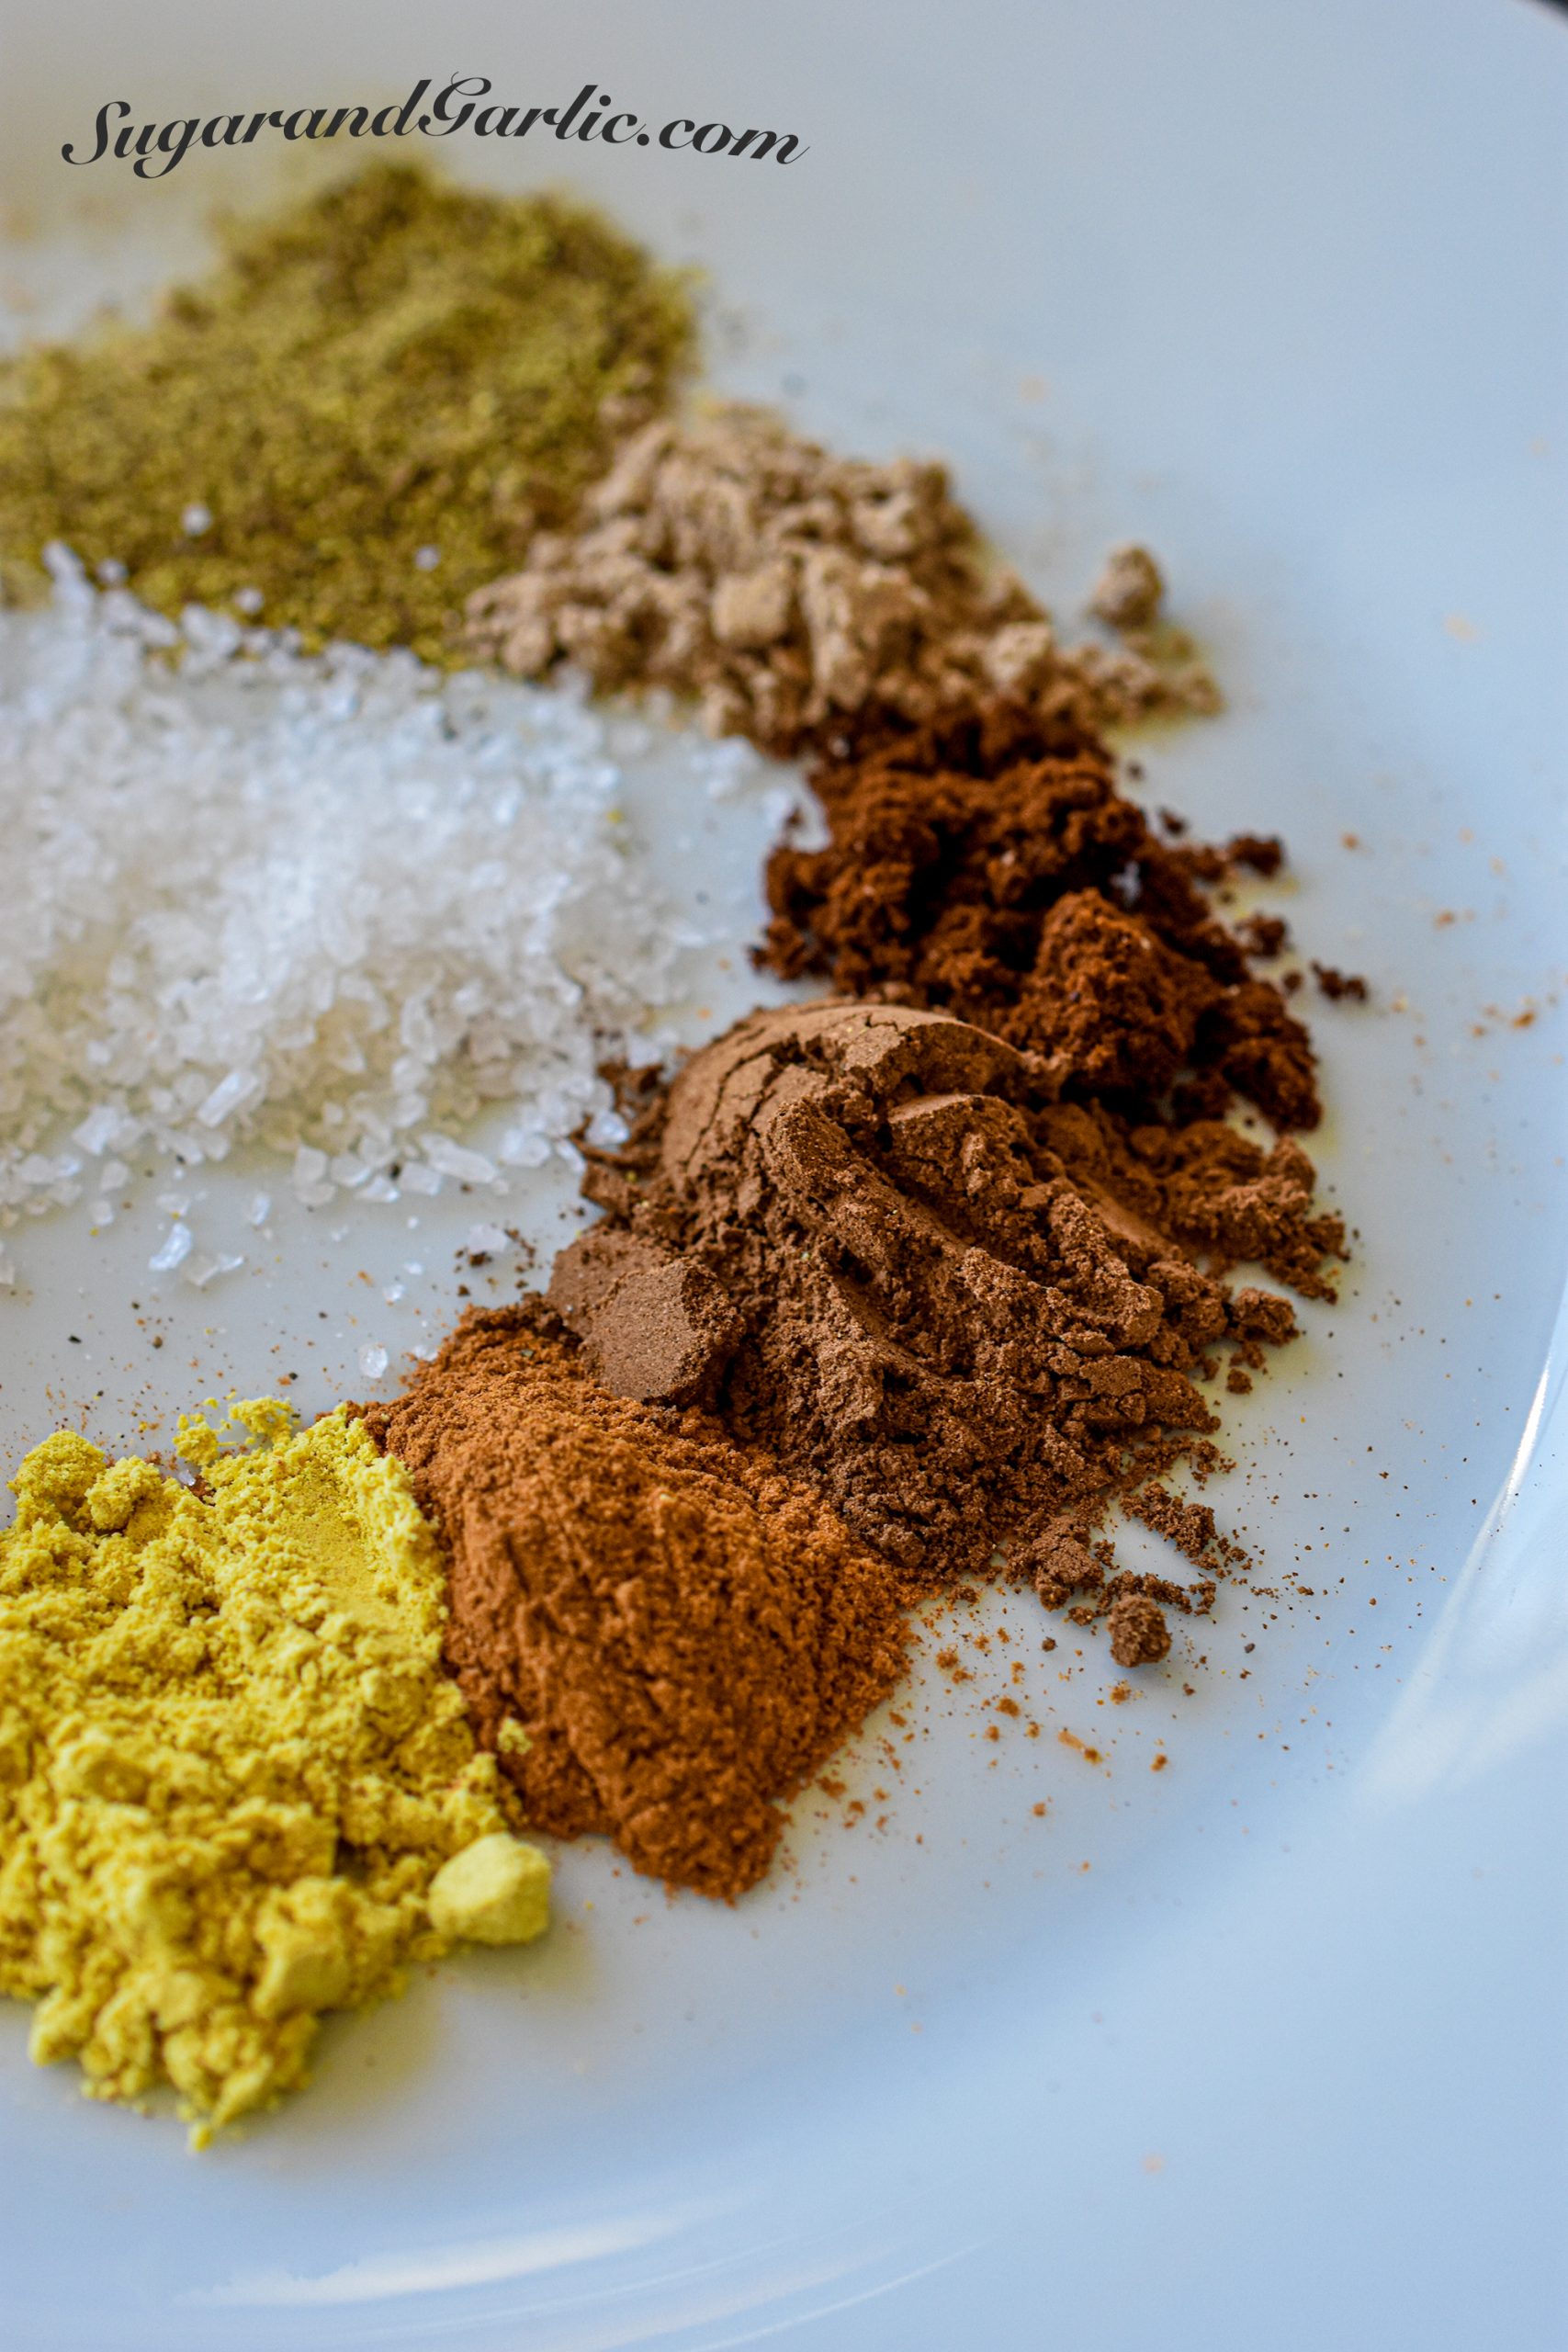
  5. Combine your own fresh spices. I am BIG on using quality ingredients from a reliable source. So I prefer to use my own combination. If you like it more earthy, add more cinnamon and allspice. If you want more warmth, add more cardamom or ginger. It’s great to be able to purchase a spice labeled “maqlooba mix” but I often find some things in there that I don’t want, like MSG or too much salt. 
  6. Use a good pot that gives you even cooking. I rely heavily (pun intended 😉 ) on my Staub cast iron pot for perfect rice. This pot is my choice for many reasons, but especially for rice because of the awesome lid designed to master the collection of condensation. Seriously, if you are a rice guru you know all about the towels, the domed lids, the Persian rice lid bonnets, etc. I found that this pot solves all problems when it comes to rice. 


eggplant and cauliflower eggplant and cauliflower

Vegetables: Roasted or Fried?

cauliflower

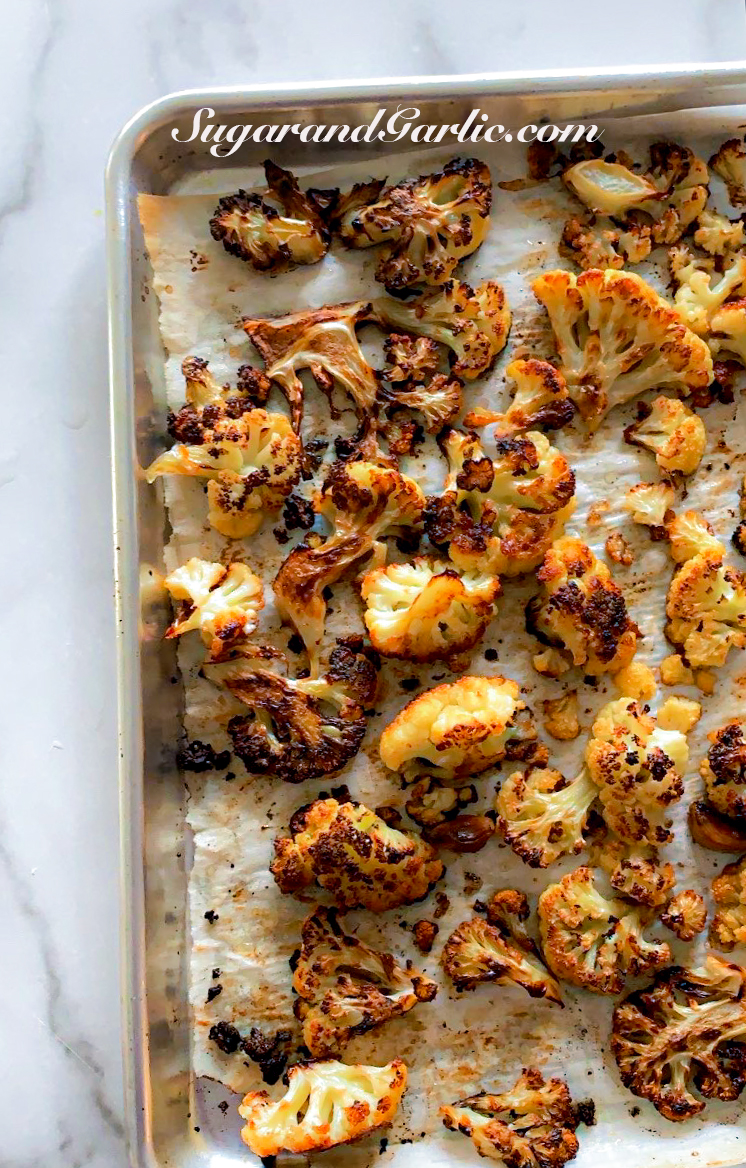
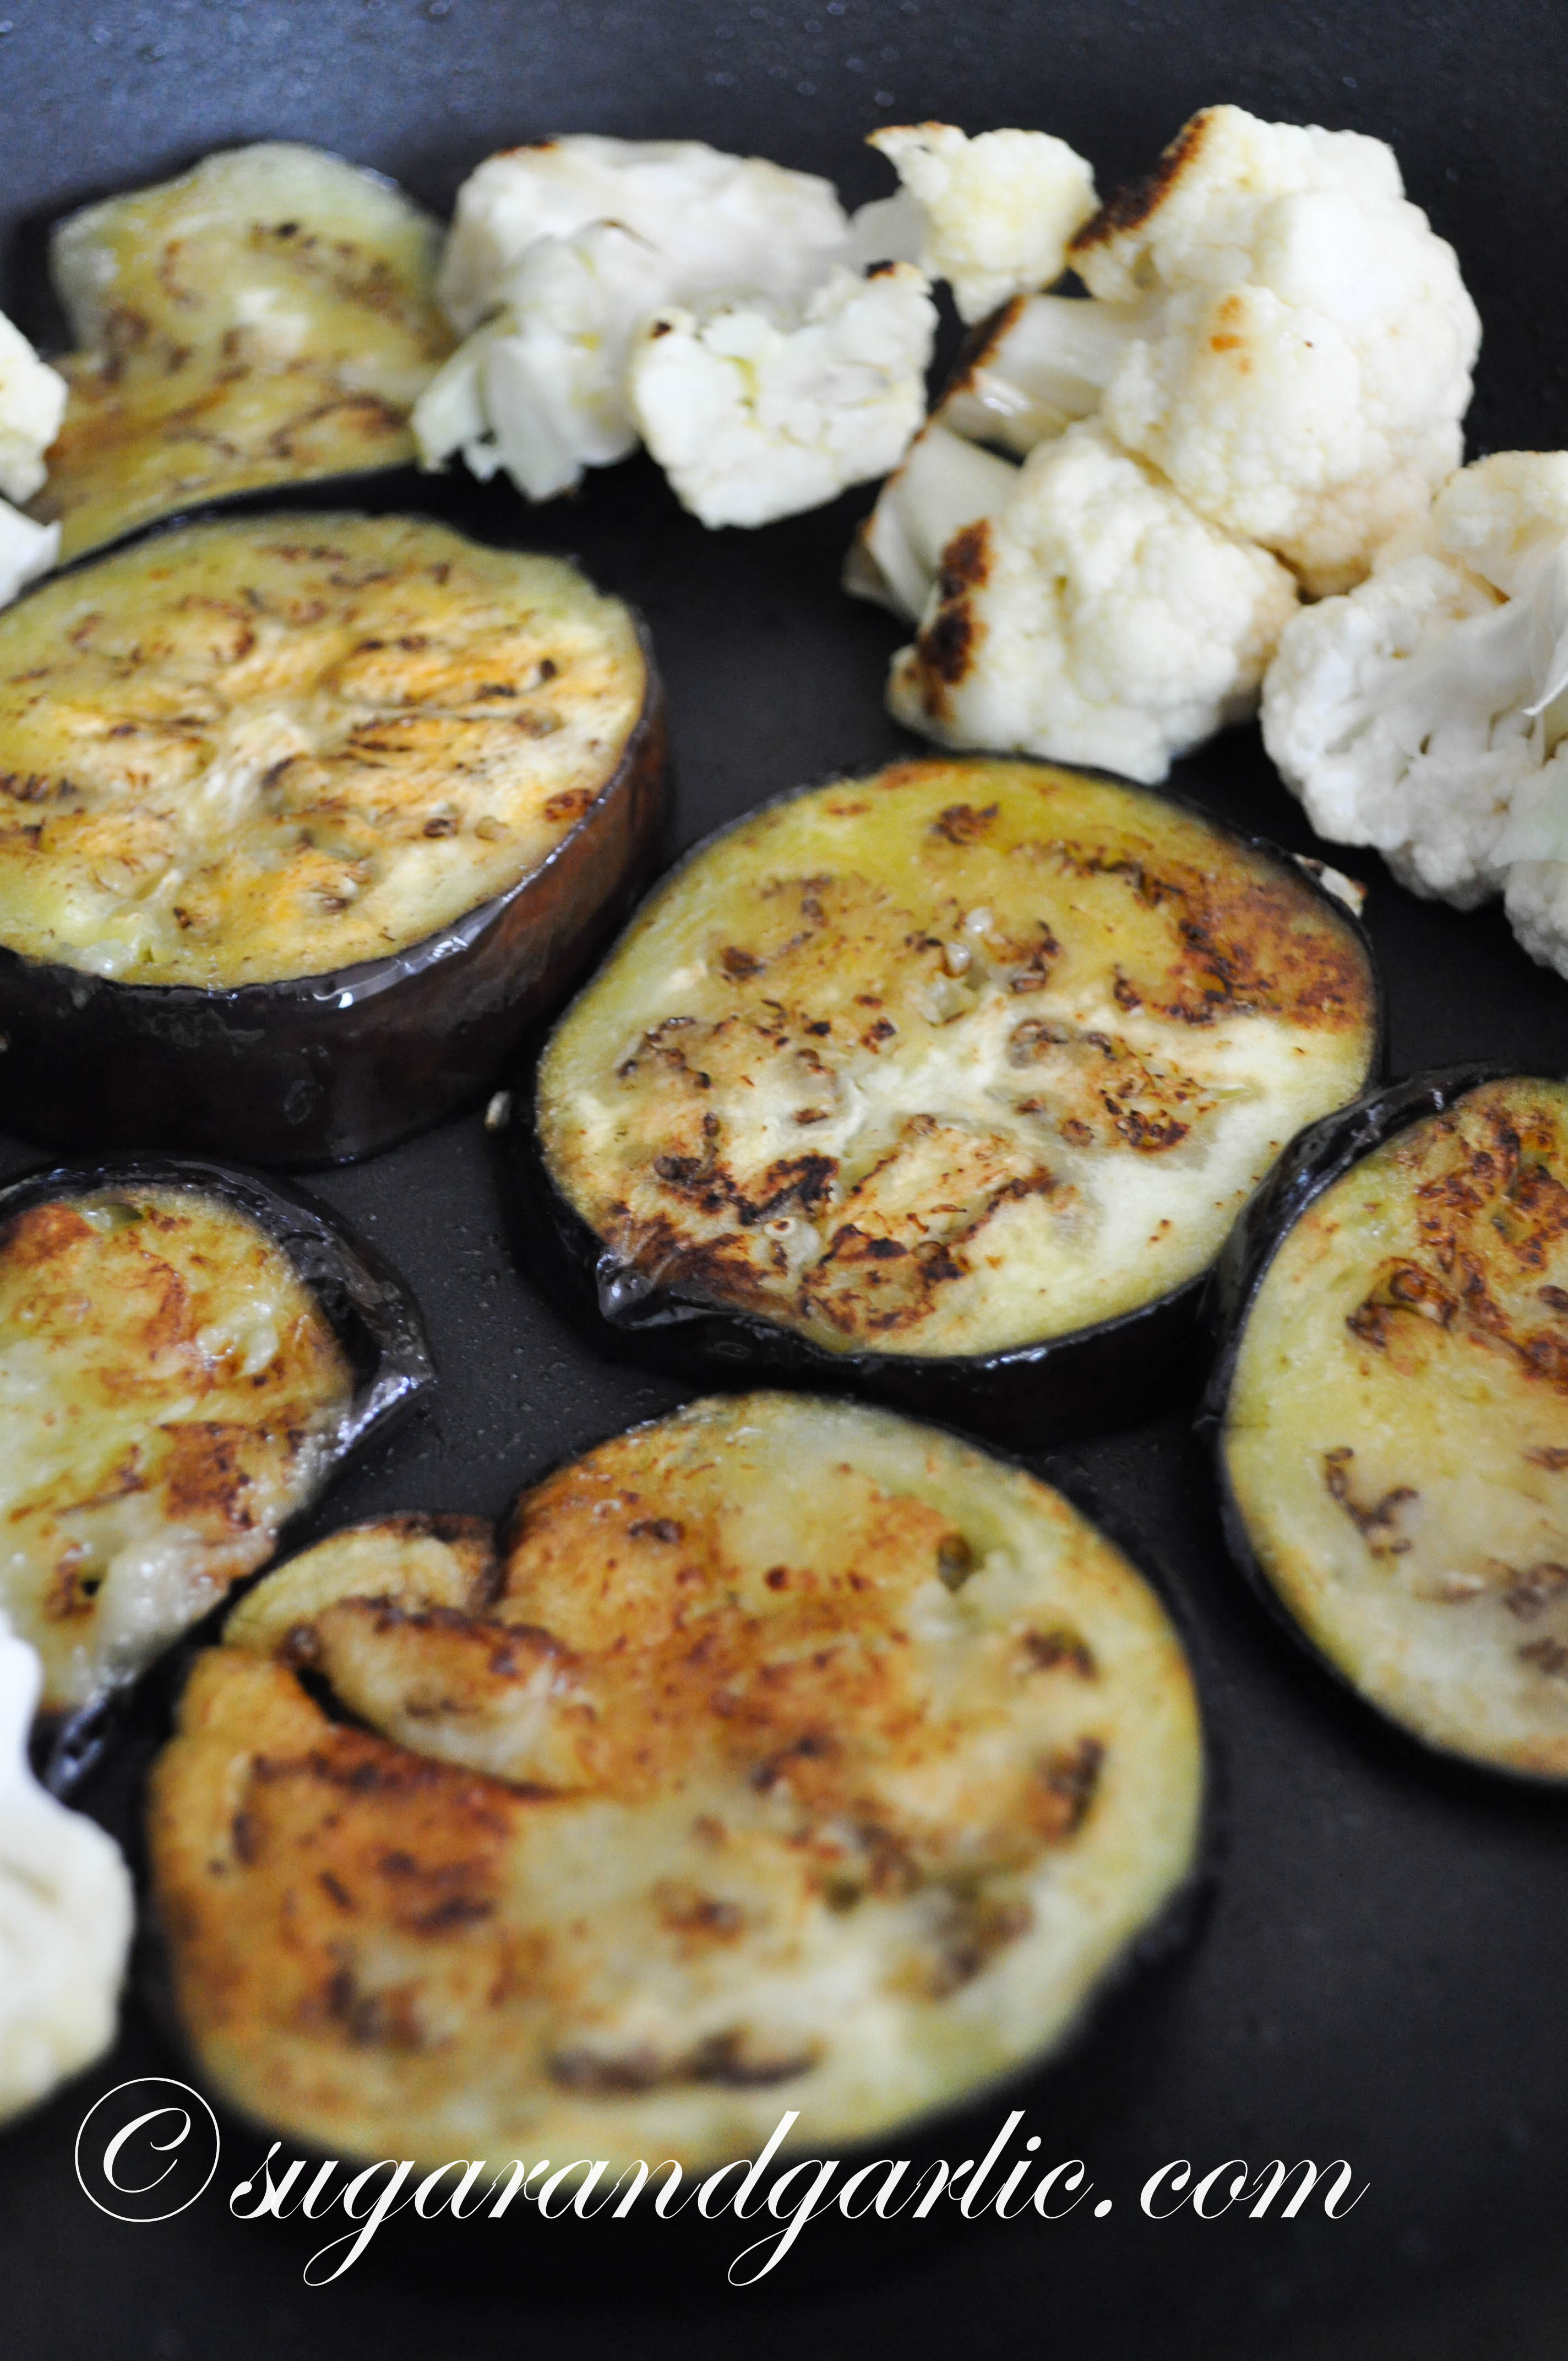
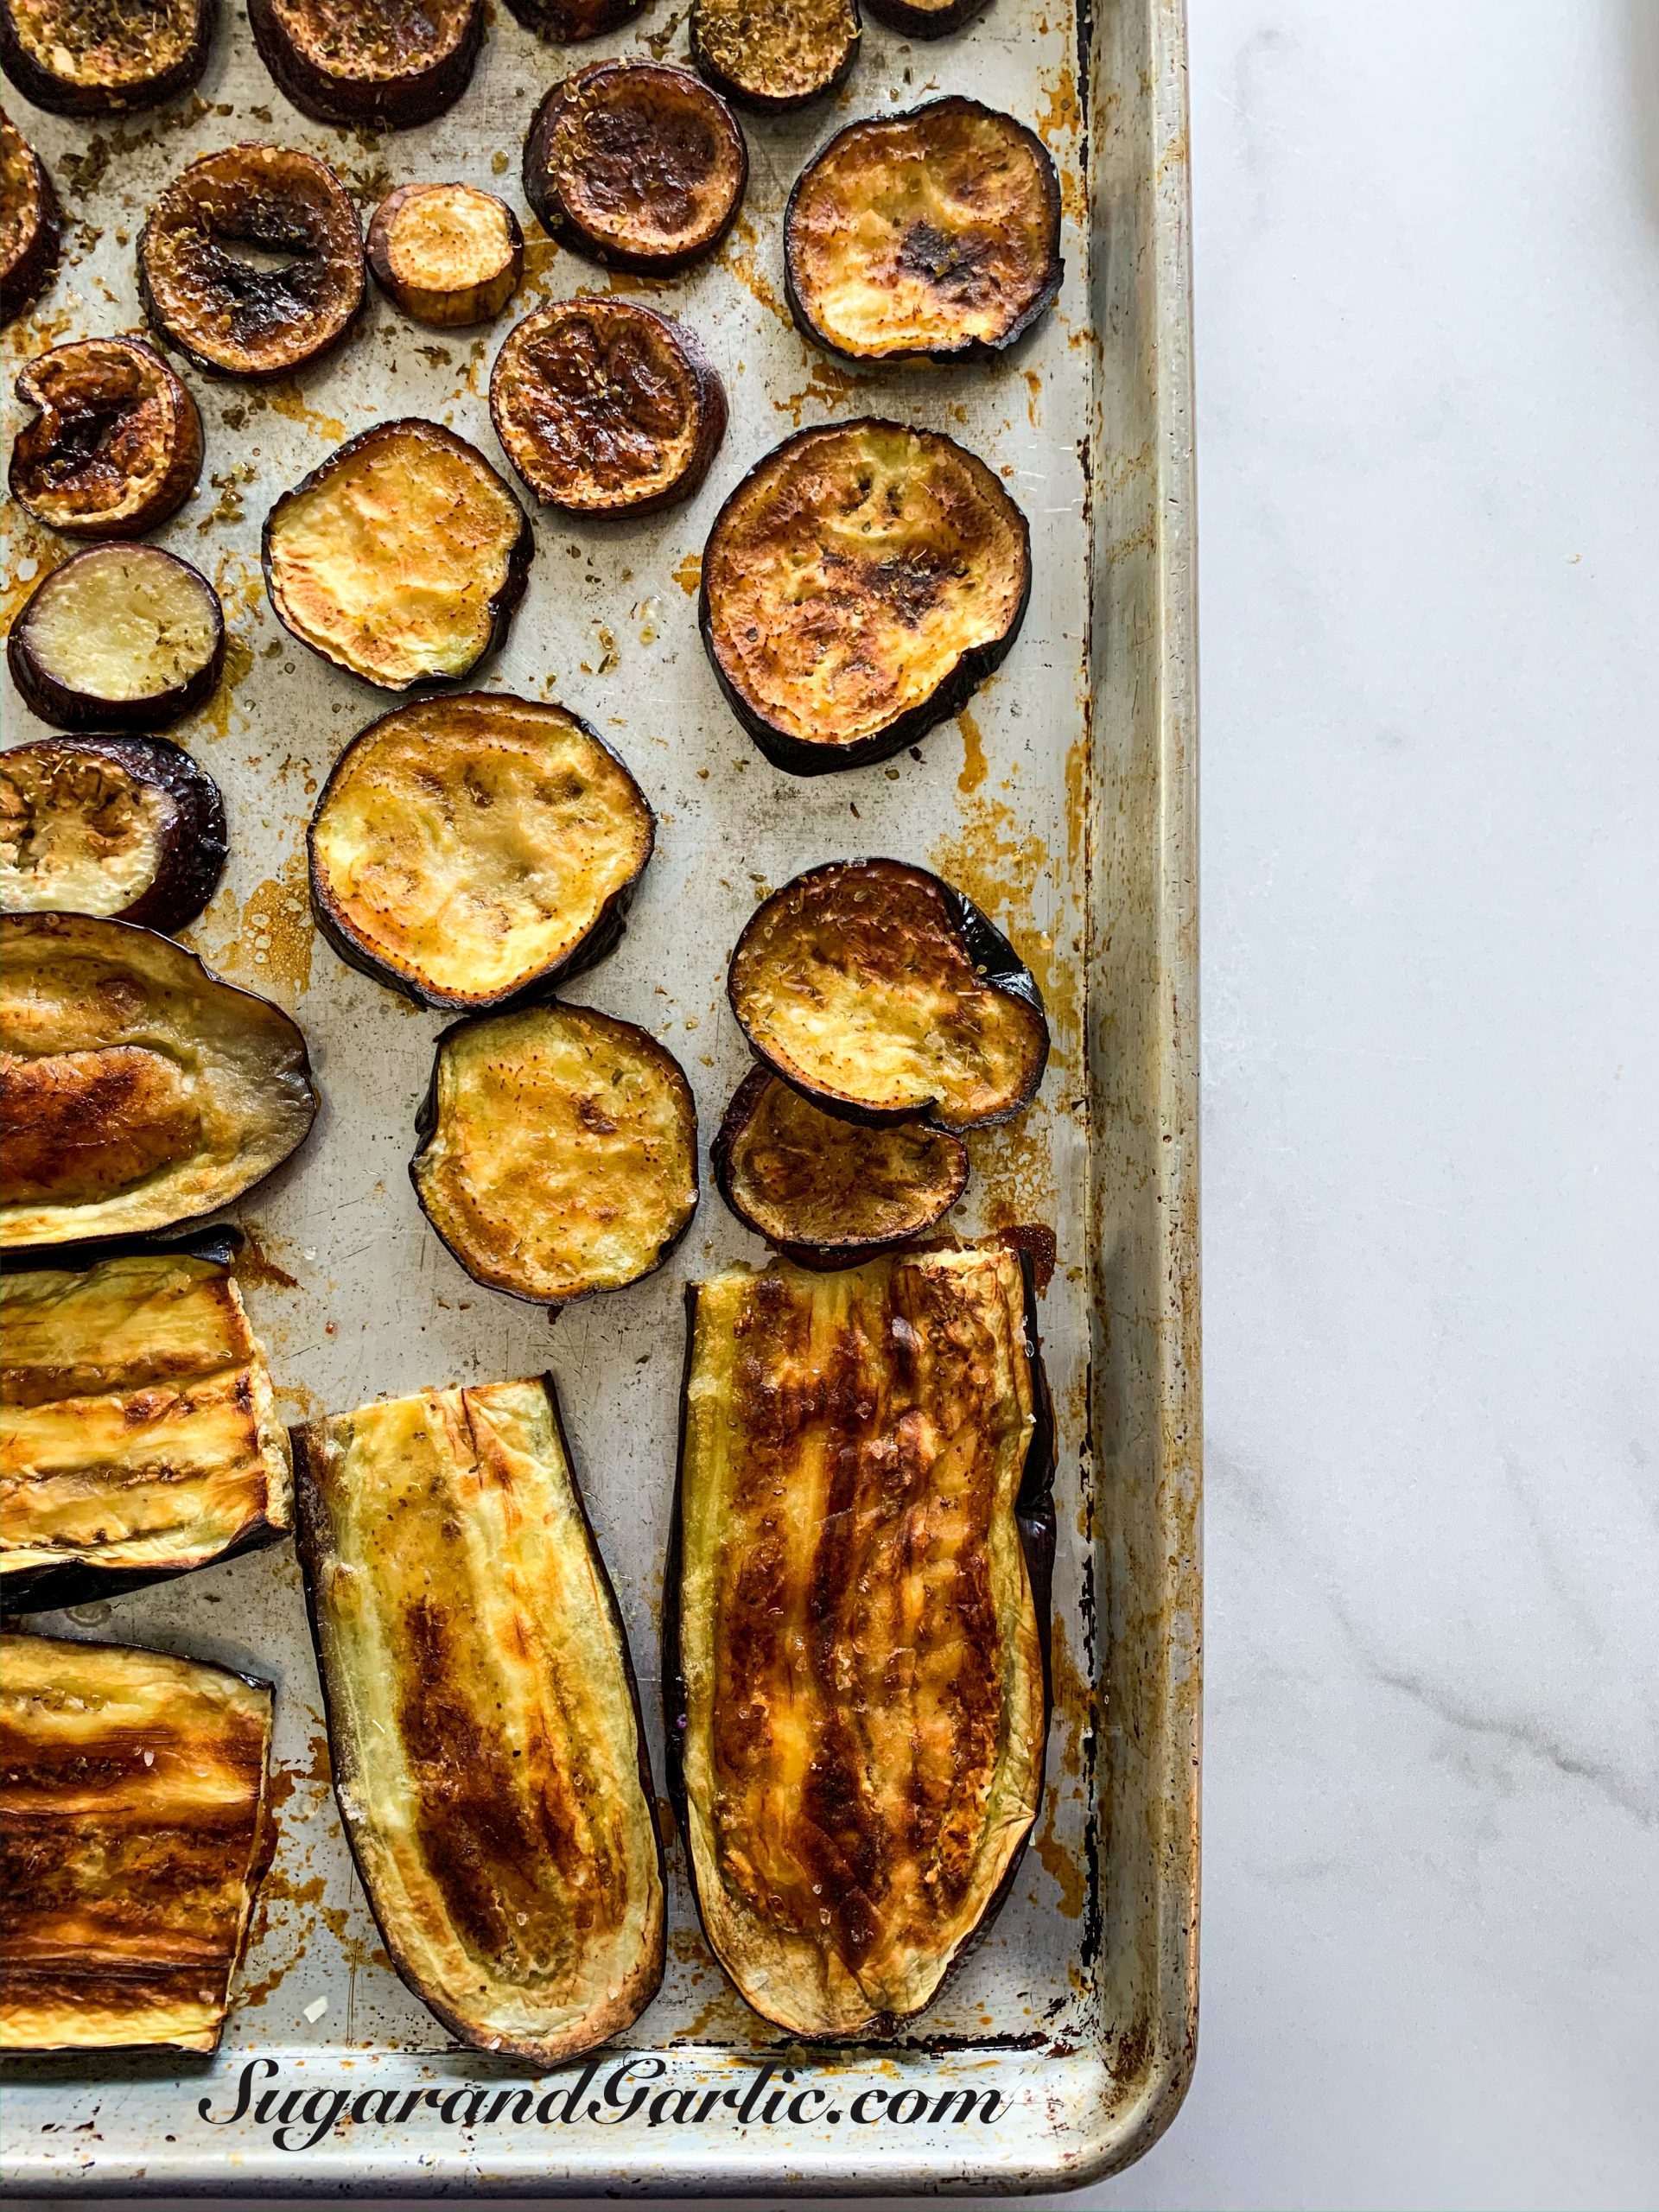
First of all, I fry the sliced potatoes in the pot to be arranged around the base. The sizzle and get some color before I arrange everything else on top of them. There is no need to fry them separately. The potatoes won’t be fried on the top side that is covered with the rice mixture. They will absorb all the juicy flavors of the rice mixture and also keep the rice from sticking to the bottom of the pot. Instead of frying everything else, I roast them in the oven with a generous amount of sunflower oil in a sheet pan. The eggplant can absorb quite a bit of oil, simply because they are like sponges, so it is important to use the salt method to prevent them from being so spongy. I dislike an oily rice, so I love this variation of roasting the vegetables and then adding them to my pot of rice. I simply roast the cauliflower and eggplants on a sheet pan at 475 degrees for about 25 minutes.

Carrots can dry out in the oven, so I lightly fry them in the pan I mix the onions and rice in. First I fry the carrots with garlic slices, then remove them. I sauté the tomatoes, onions, and garlic together in that same oil before I stir in the rice with spices.  I love the flavor tomatoes impart to this dish so I use them diced, in a paste, and sliced fresh arranged on the base of the pot.  😉

A Vegan Option

This recipe is perfect for a vegan and plant based dinner option. It is also a whole lot faster to prepare without meat. It is definitely a filling dish without any meat, and we also add in some chickpeas sometimes for some extra protein. It’s so delicious and definitely a must in your dinner rotation. 

2013-11-24sugarandgarlic2013-10


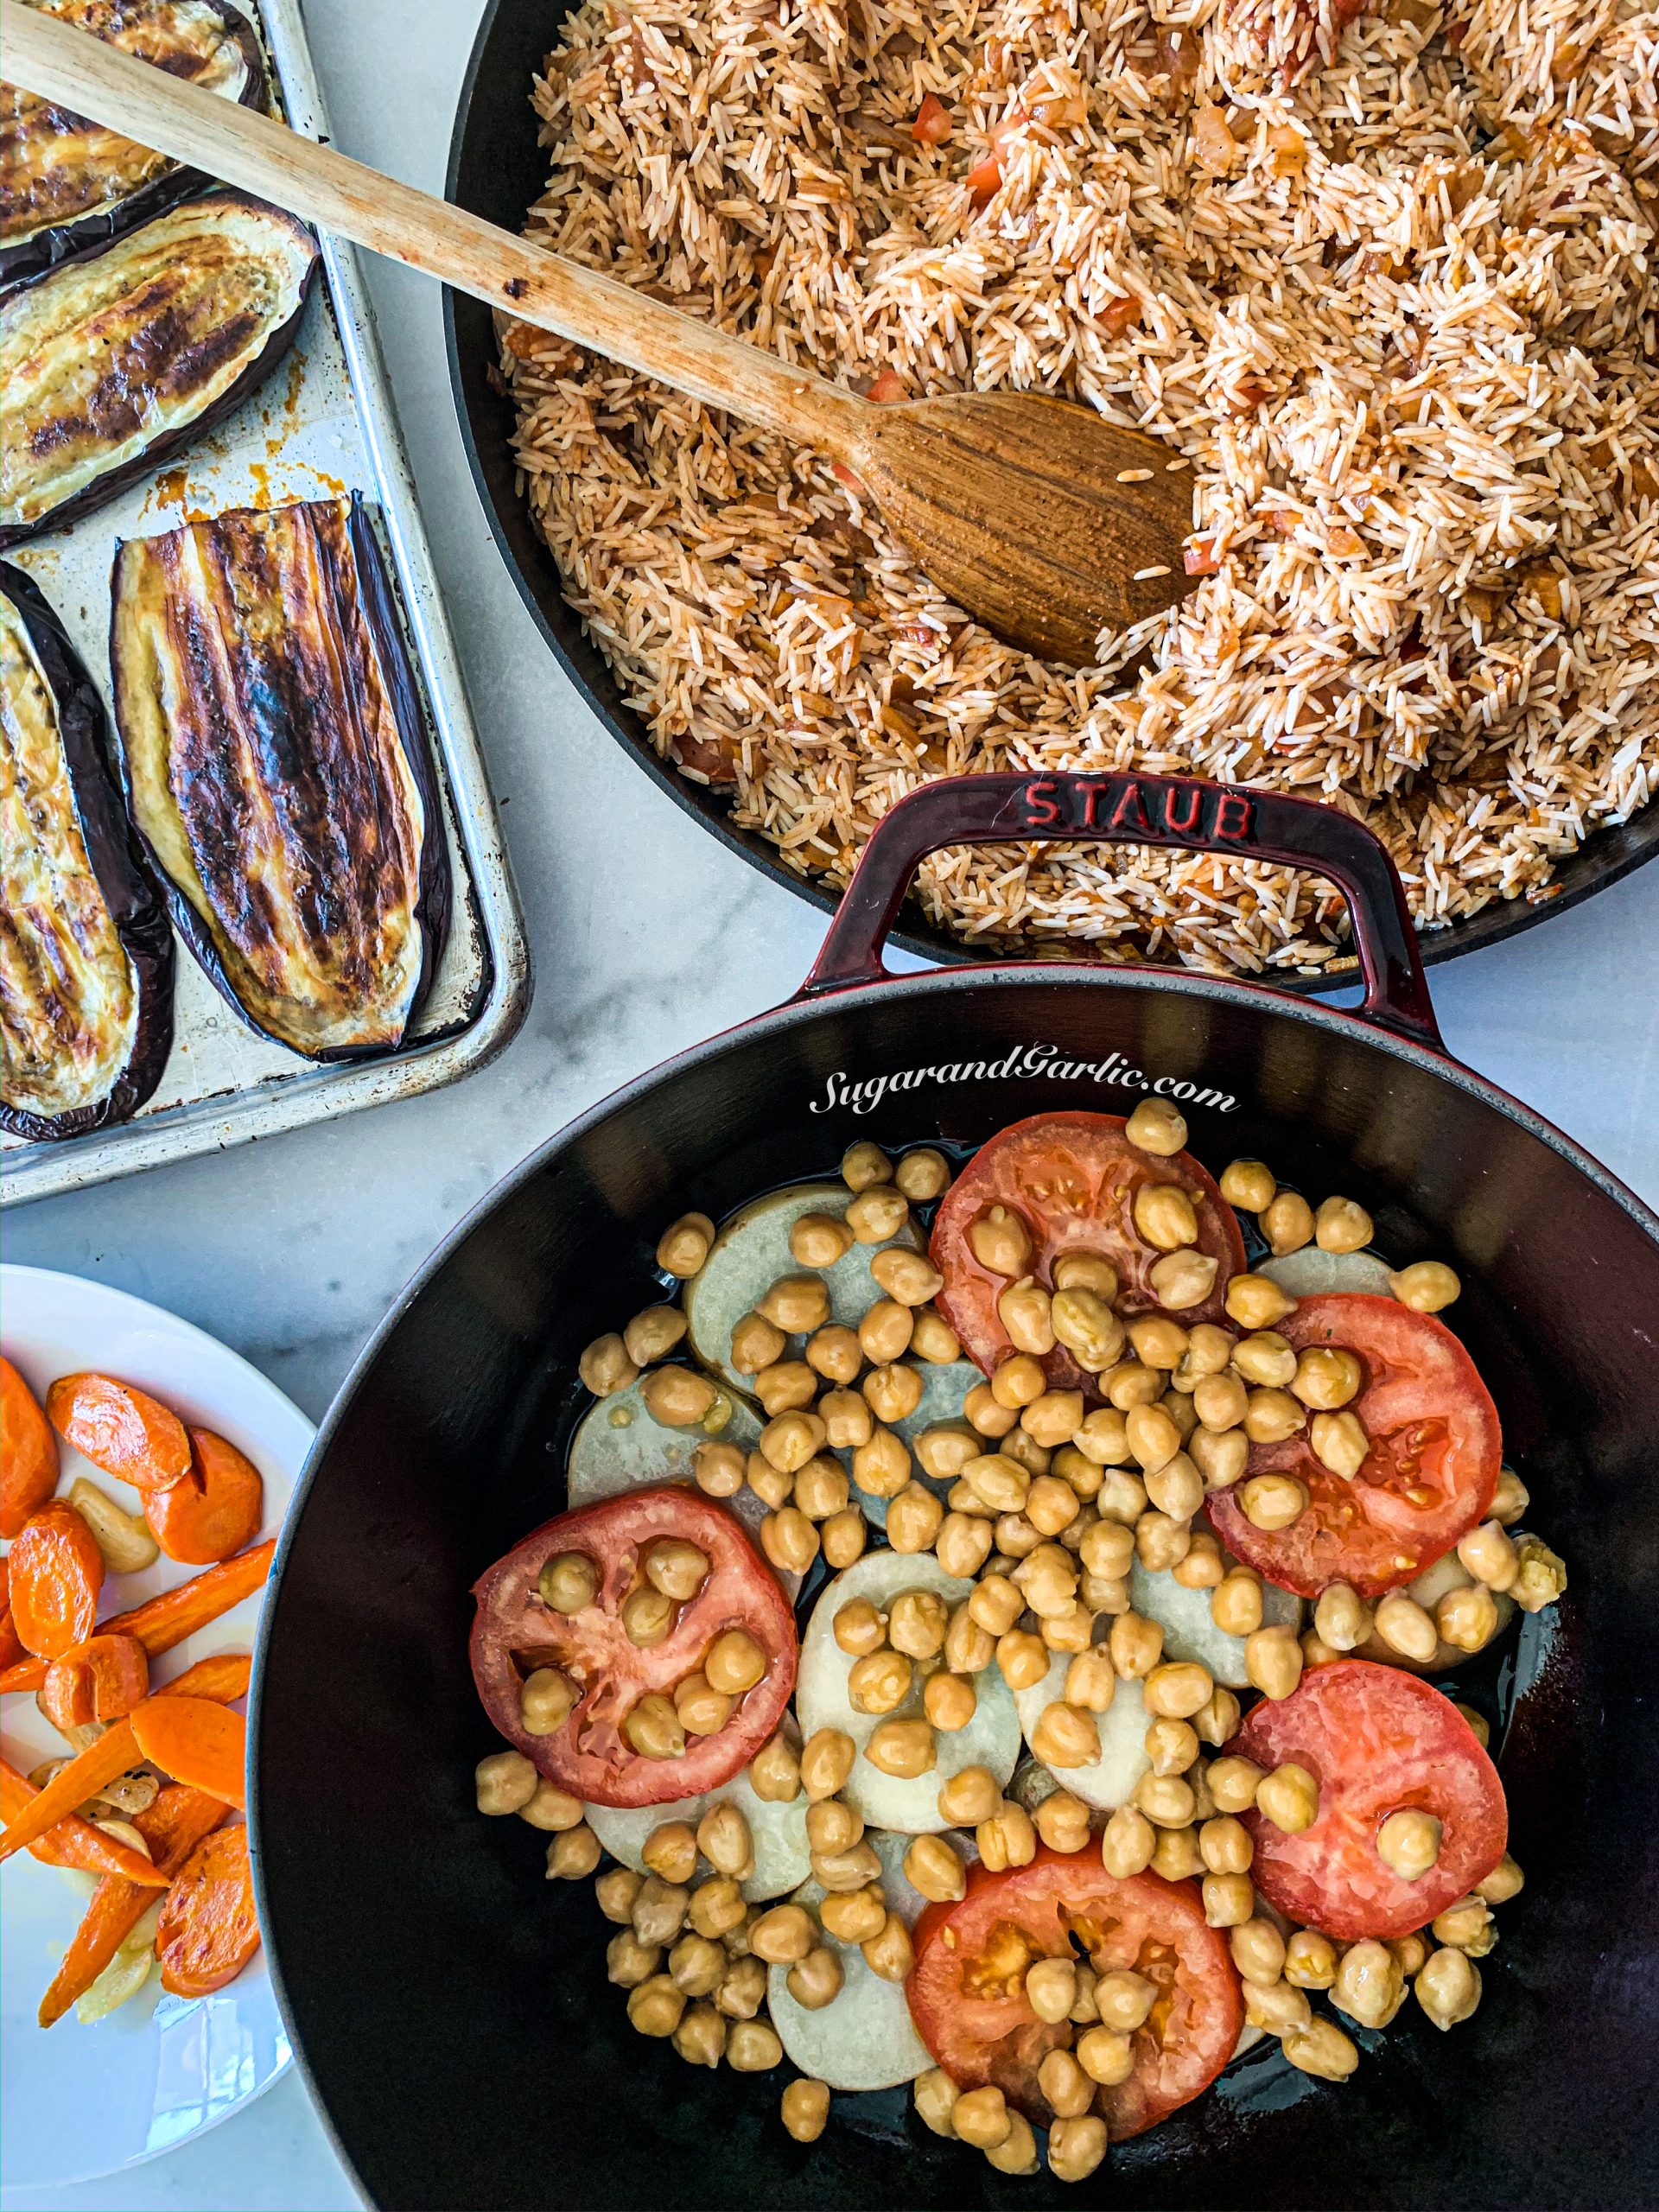
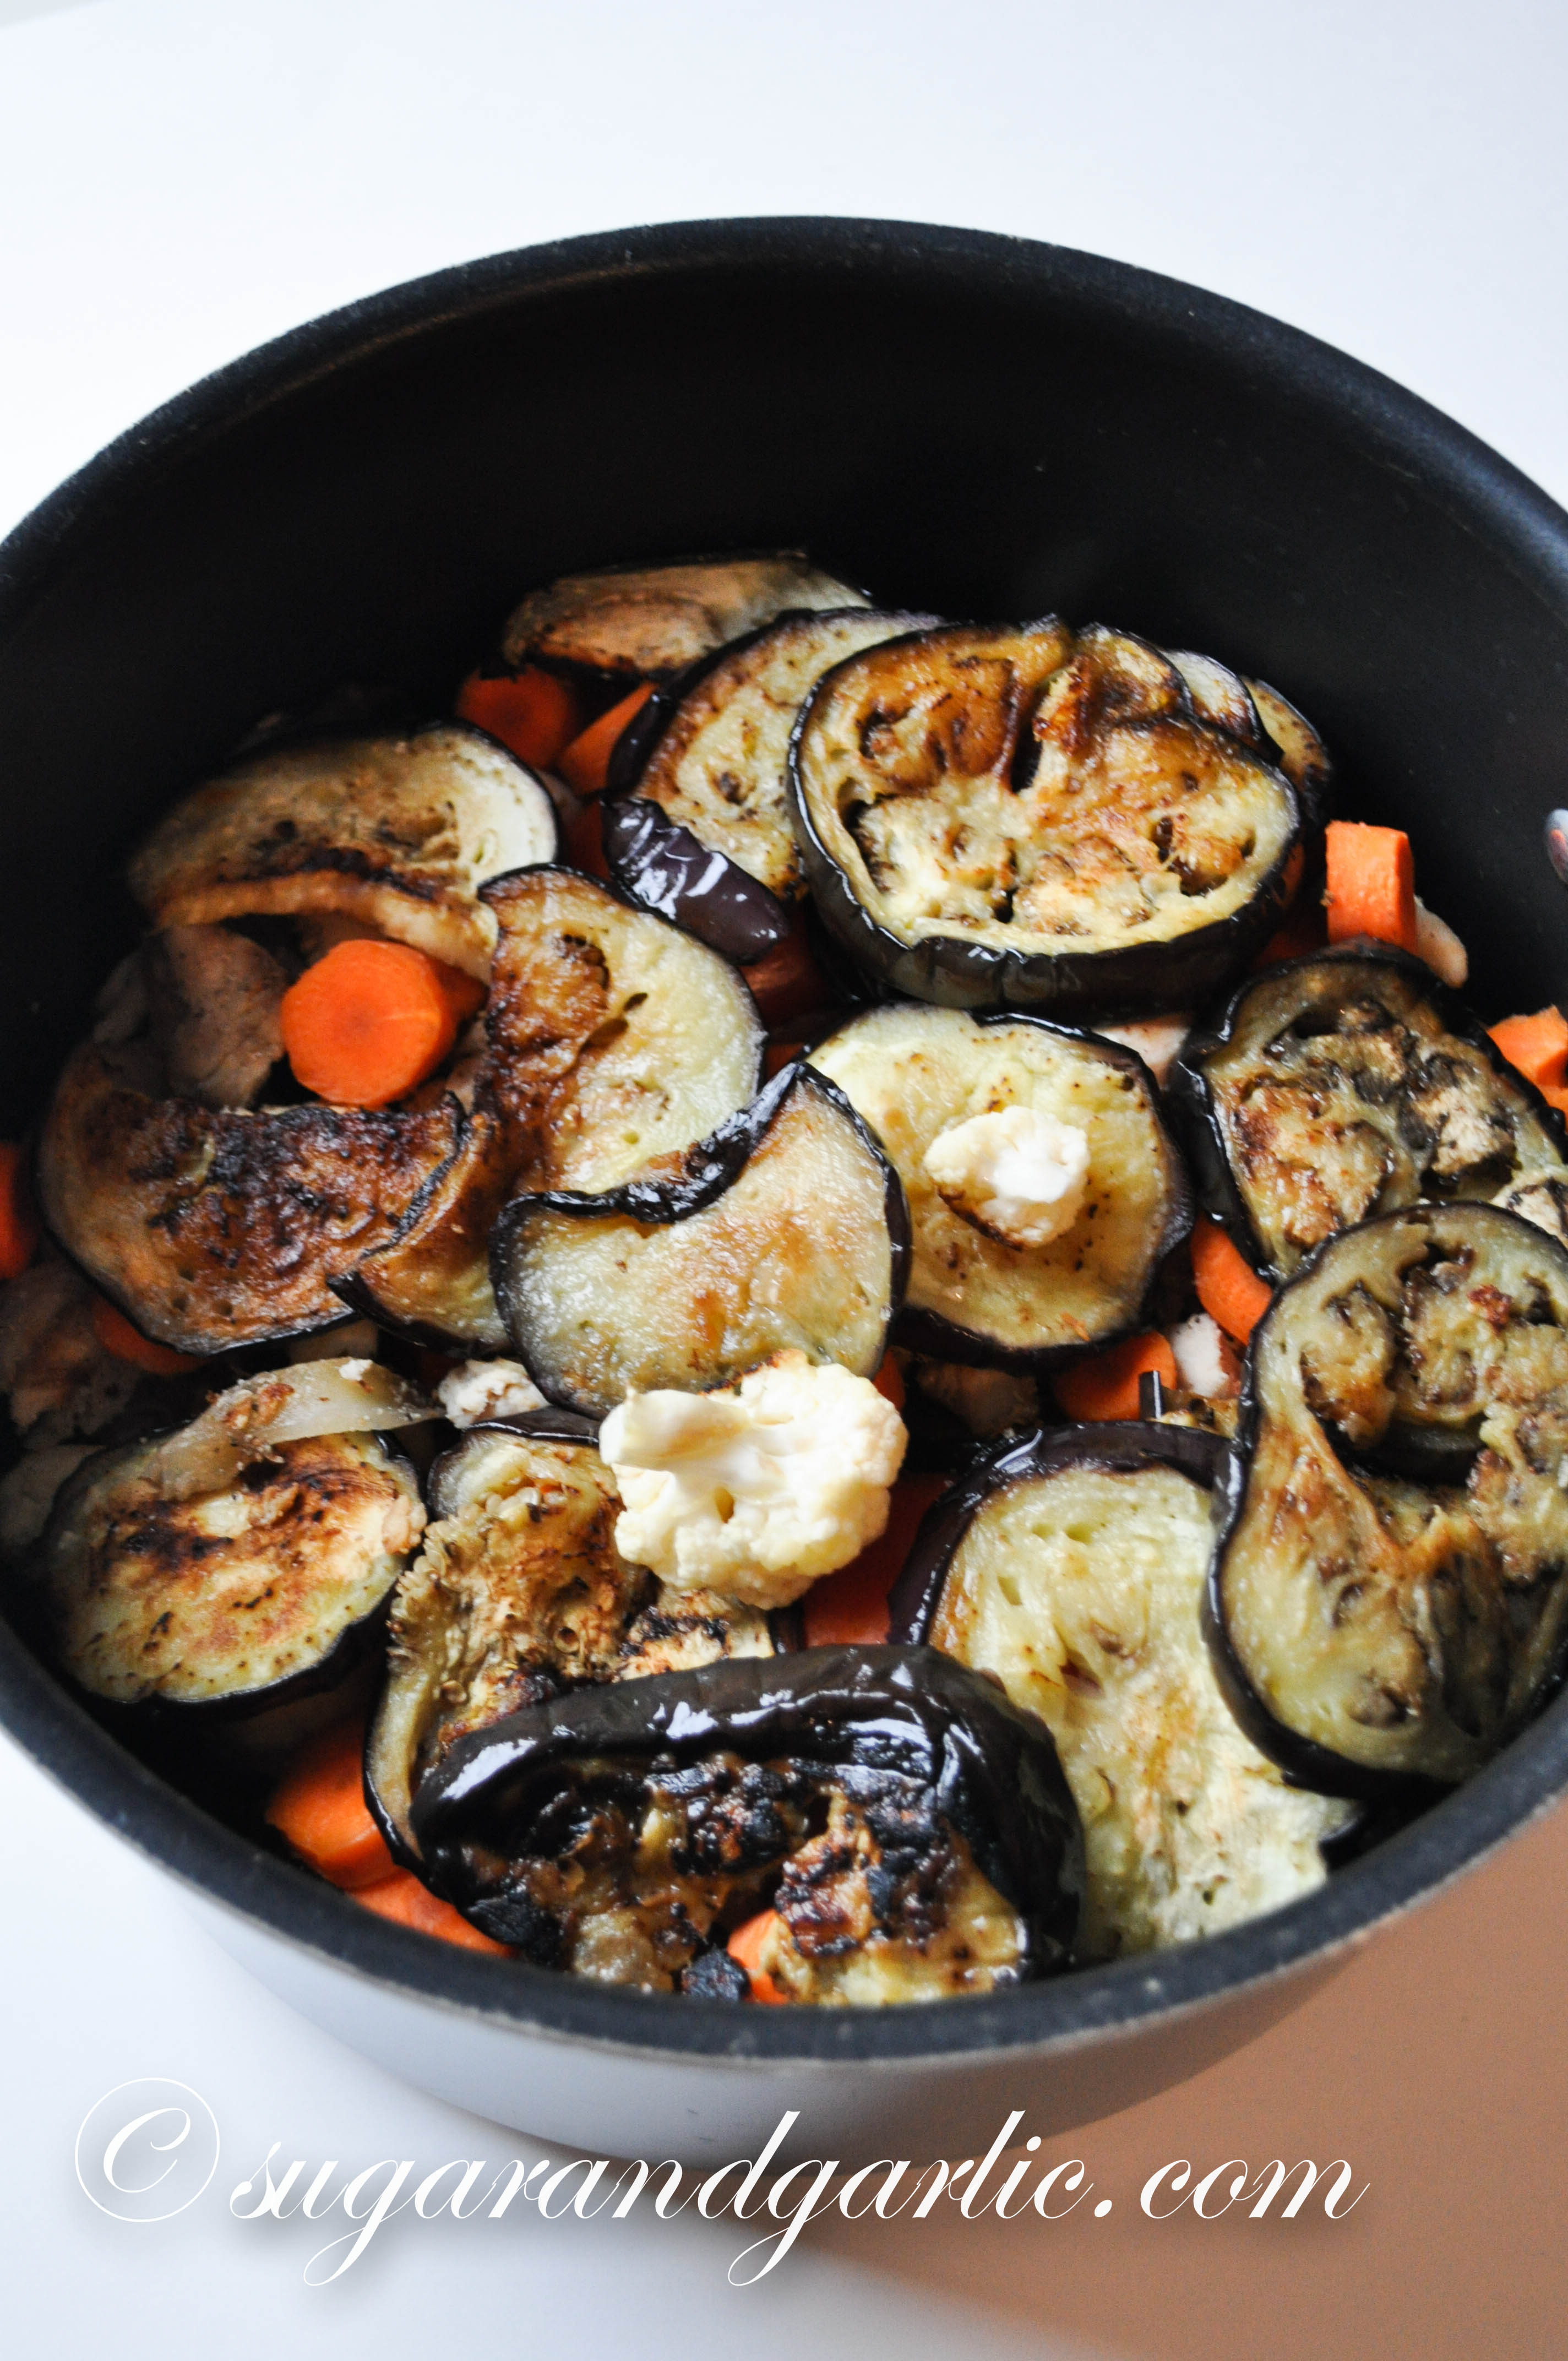
layering the pot

Maqlooba

A delicious one pot dish of savory spiced rice layered with roasted cauliflower, eggplant, potatoes, carrots, and your choice of meat, chicken, or chickpeas.
Course: Main Course
Cuisine: Middle Eastern

Ingredients
  

For the optional meat:
  • 2 lbs lamb chunks or chicken cut into cubes (leg or shoulder) OR 2 lbs chicken legs, thigh, and breast
  • 1 large onion, sliced
  • 2 cloves garlic, minced
For the vegetables and rice Preparation
  • 2 tbsp sunflower oil
  • 2 tbsp olive oil
  • 1 c cauliflower florets 1 head of cauliflower
  • 1/2 c sliced eggplant 1-2 medium eggplants, salted then washed to remove the bitter and prepare for frying
  • 2 large carrots, sliced diagonally 1/2 inch thick
  • 1 large onion diced
  • 2-4 cloves of garlic 1 minced, 2-3 sliced
  • 1 tbsp tomato paste
  • 2 large tomatoes one sliced, one diced
  • 1-2 potatoes thinly sliced
  • 1 c cooked chickpeas
  • 4 c long grain or basmati rice soaked in water for 30 minutes
Spice Mixture
  • 1 tsp cinnamon
  • 1/2 tsp cardamom
  • 1 tsp allspice
  • 1/2 tsp coriander
  • 1/4 tsp cloves
  • 1/2 tsp ginger
  • 1/2 tsp ground white pepper (black is fine)
  • 1 tsp salt about 1 tsp salt for rice, 1 tsp for meat

Method
 

If using meat:
  1. In a large pot or in a pressure cooker, brown the lamb or chicken pieces then sauté with the diced onions, minced garlic, 1.5 tsp of the spice mixture and 1 tsp of salt. Add enough water to just cover the meat if cooking in a pressure cooker, or about 3 inches above the meat if in a regular pot over the stove. Cook under high pressure for about 12 minutes or simmer on low in a pot for about 1 hour. Meat should cook tender, and broth will be flavorful. Reserve the broth by straining into a measuring cup for cooking the rice.
Vegan Preparation, and the remainder of process
  1. Soak the rice in water for 30 minutes.
  2. Slice the eggplant and sprinkle with salt to draw out any bitter juices as well as to help them crisp up when roasting.
  3. Line up eggplant and cauliflower in a sheet pan and drizzle with 1-2 tbsp of sunflower oil so that they are well coated. Roast for 20 minutes at 475 degrees (f). For the traditional method, fry these vegetables and let them drain on a kitchen towel.
  4. In a separate pan, over medium heat, lightly fry the carrot slices and garlic slices until they turn golden. Remove and set on a plate until assembly.
  5. In the same pan, using the same oil infused with garlic sauté 1 diced onion until it turns yellow.
  6. Add a tsp of minced garlic, and the tomato paste and stir for another minute. Stir in the diced tomatoes. Add the rice, 1 tsp of salt, the remaining spices, and toss well until the rice is well coated.
  7. Now you are ready to assemble the pot of maqlooba. Lightly brush the bottom of the pot with some olive oil so that the dish flips out easily. First layer the potatoes, nd aloow them to brown a bit.
  8. Next, layer on some tomato slices. Add the chicken, meat, or chickpeas if using. Otherwise skip to the next step.
  9. Arrange the cauliflower, carrots, and eggplant interchangeably and spread out so that you get a bite of each in every spoonful!
  10. Top with the seasoned rice. Place a plate or heavy weight over the mixture to prevent it from separating while boiling and adding liquid.
  11. Mix the broth with some water so that the total volume is 5 cups. The liquid should be just covering the plate and measure about 5 1/2. Once the liquid is boiling, turn the heat down to low and remove the plate. Cover and simmer on low until all the liquid is absorbed.
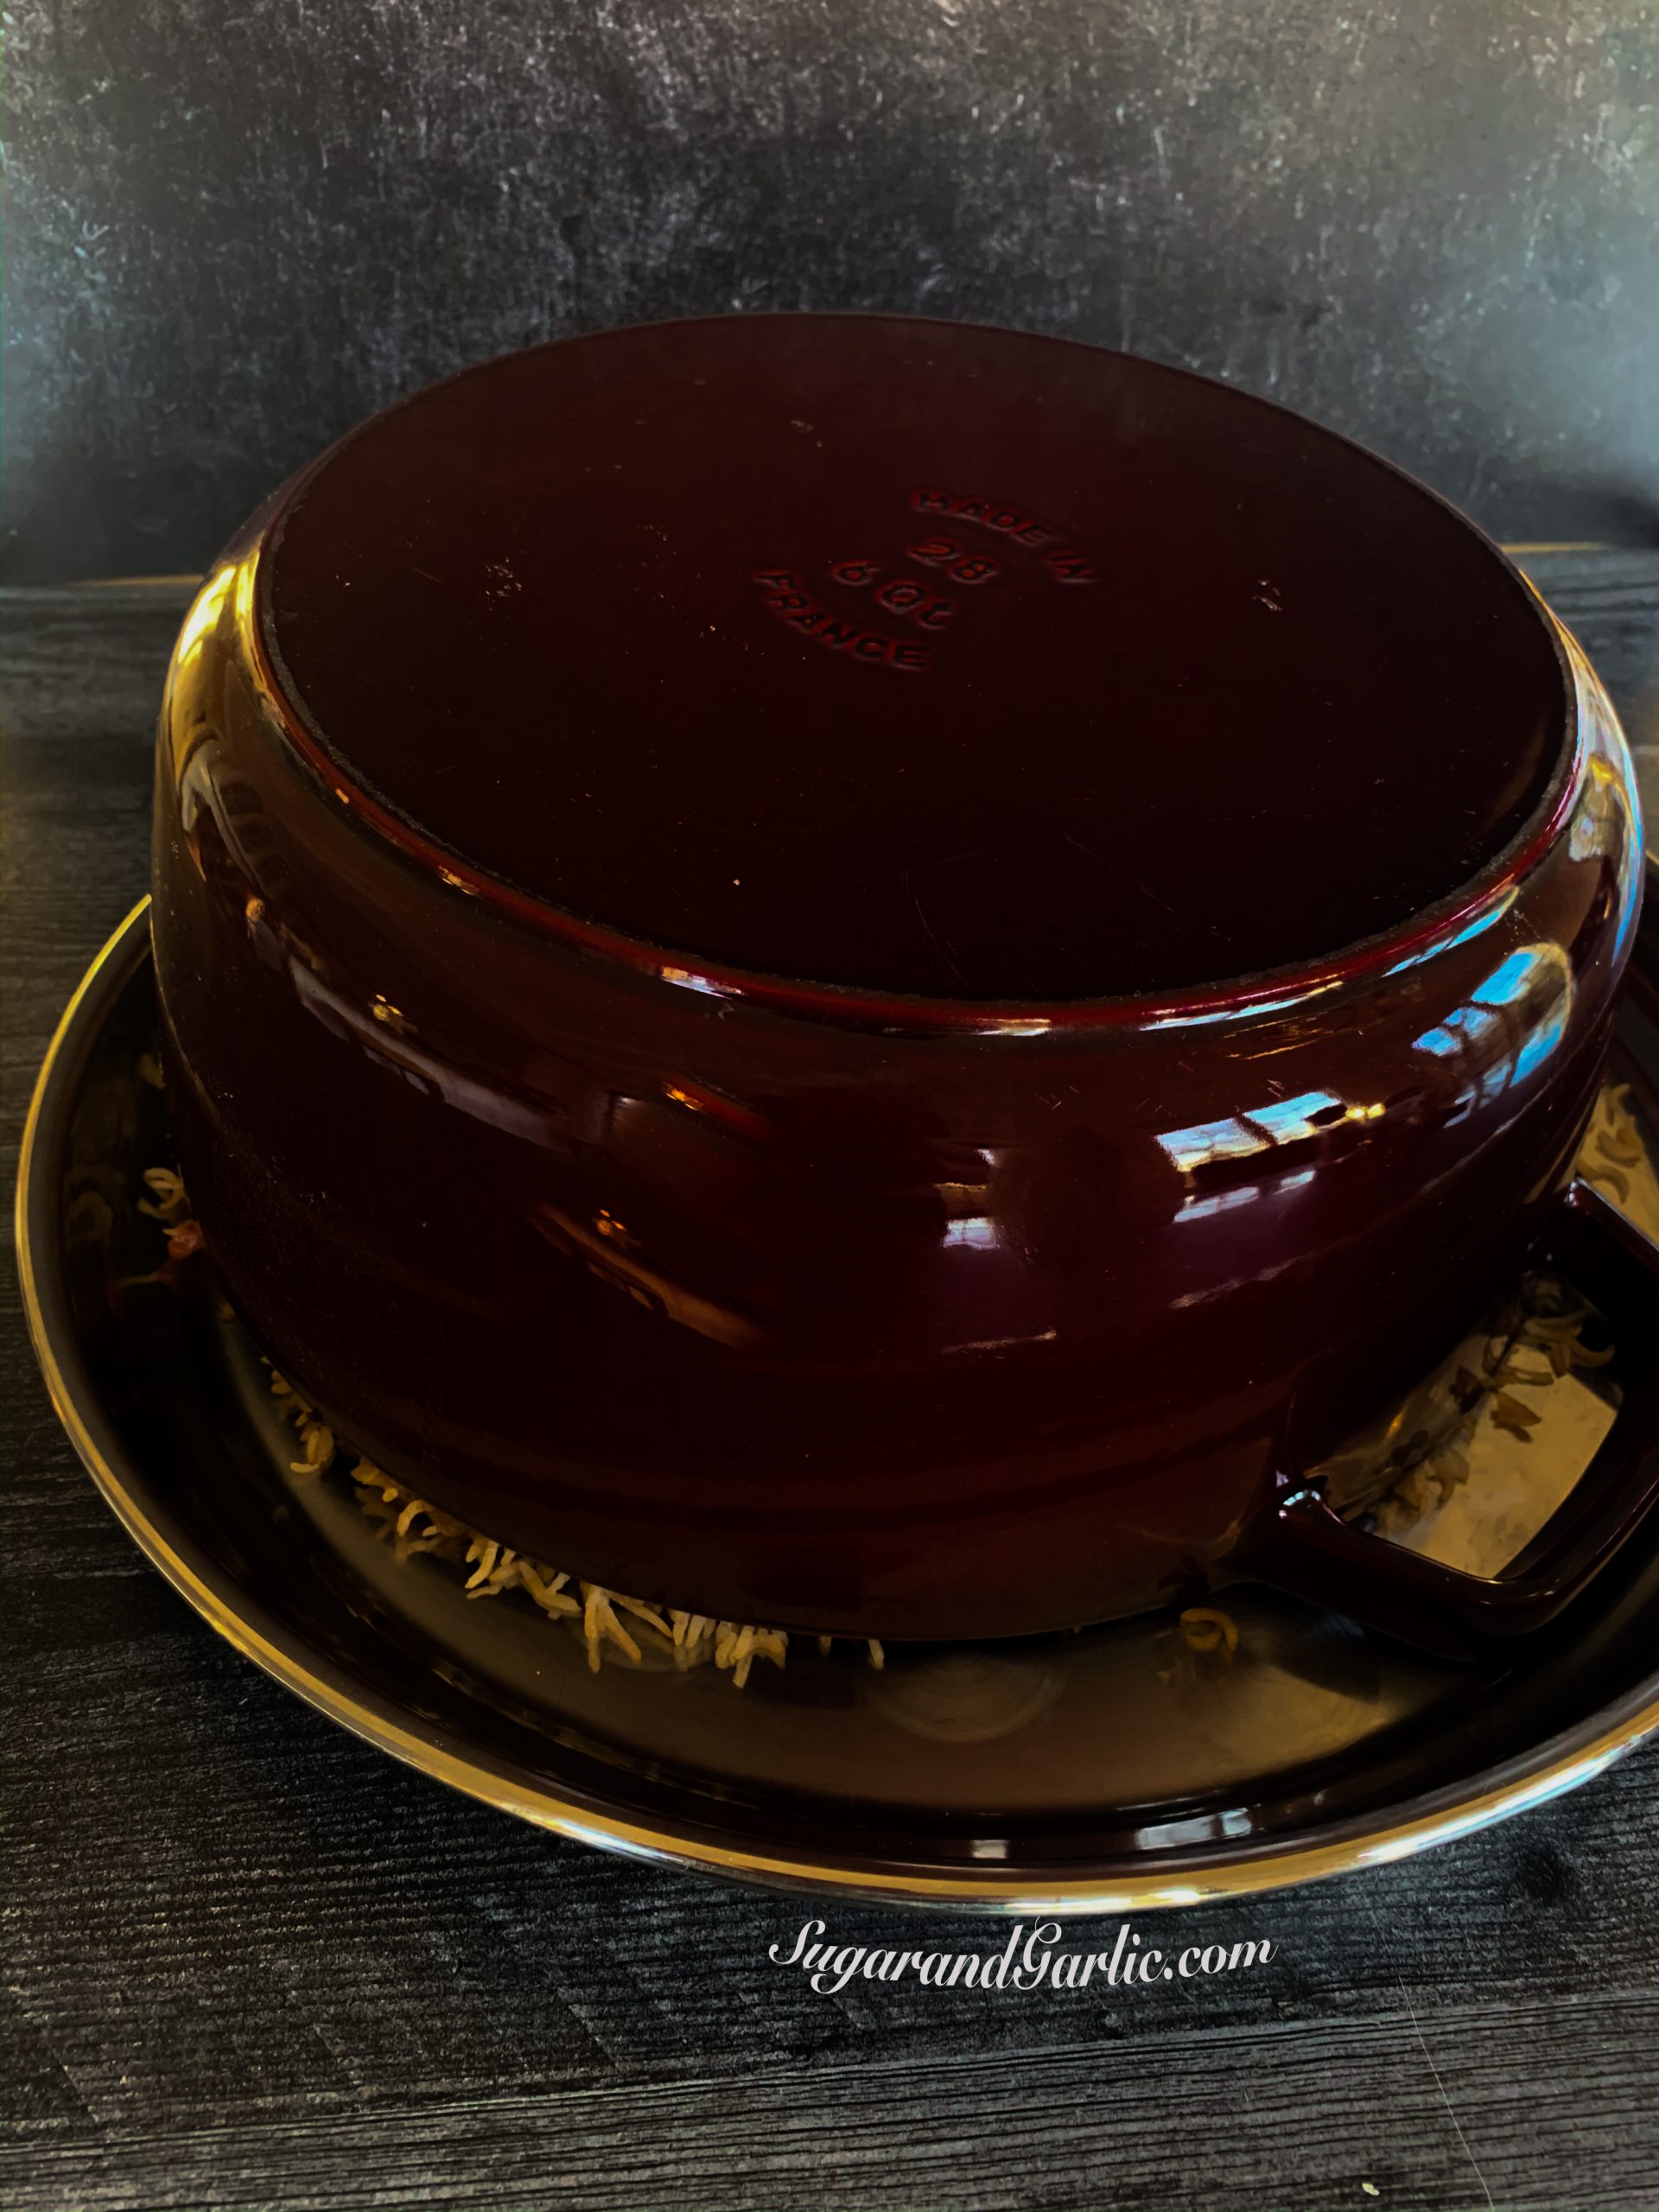
  12. Allow the pot to cool for about 15 minutes before attempting to flip. Place a round serving platter on top of the pot and quickly flip it over. It helps to leave the pot upside down for a few minutes before lifting off to allow any lingering pieces to fall downward, and for the rice to keep its form.
Kushary: An Egyptian Comfort Food

Kushary: An Egyptian Comfort Food

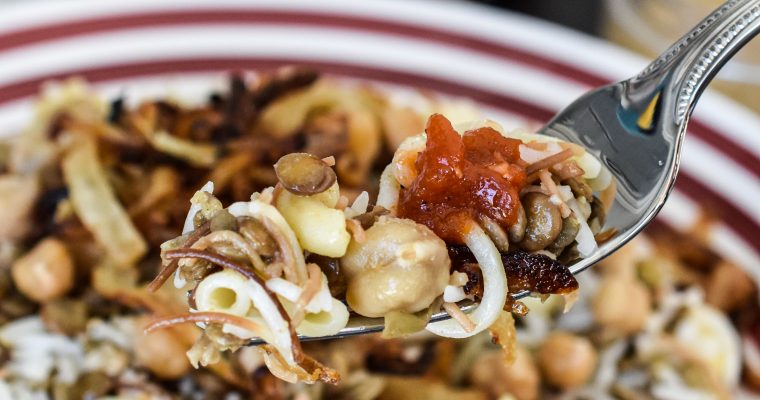
When you think of typical Egyptian food, kushary may come to mind. Kushary is a classic Egyptian comfort food. It is a popular street food in Cairo and throughout Egypt. Come along with me to try this  delicious combination of common pantry grains, chickpeas, crispy…
Pizza Night

We made pizza today. We tried this a while ago when I conned my husband into cooking for me. He was a pizza boy back in high school, so I seized the opportunity! He denies being able to cook anything, but there was no way…
Chocolate Peanut Butter Cup Cupcake

The Ron Bennington
The Ron Bennington

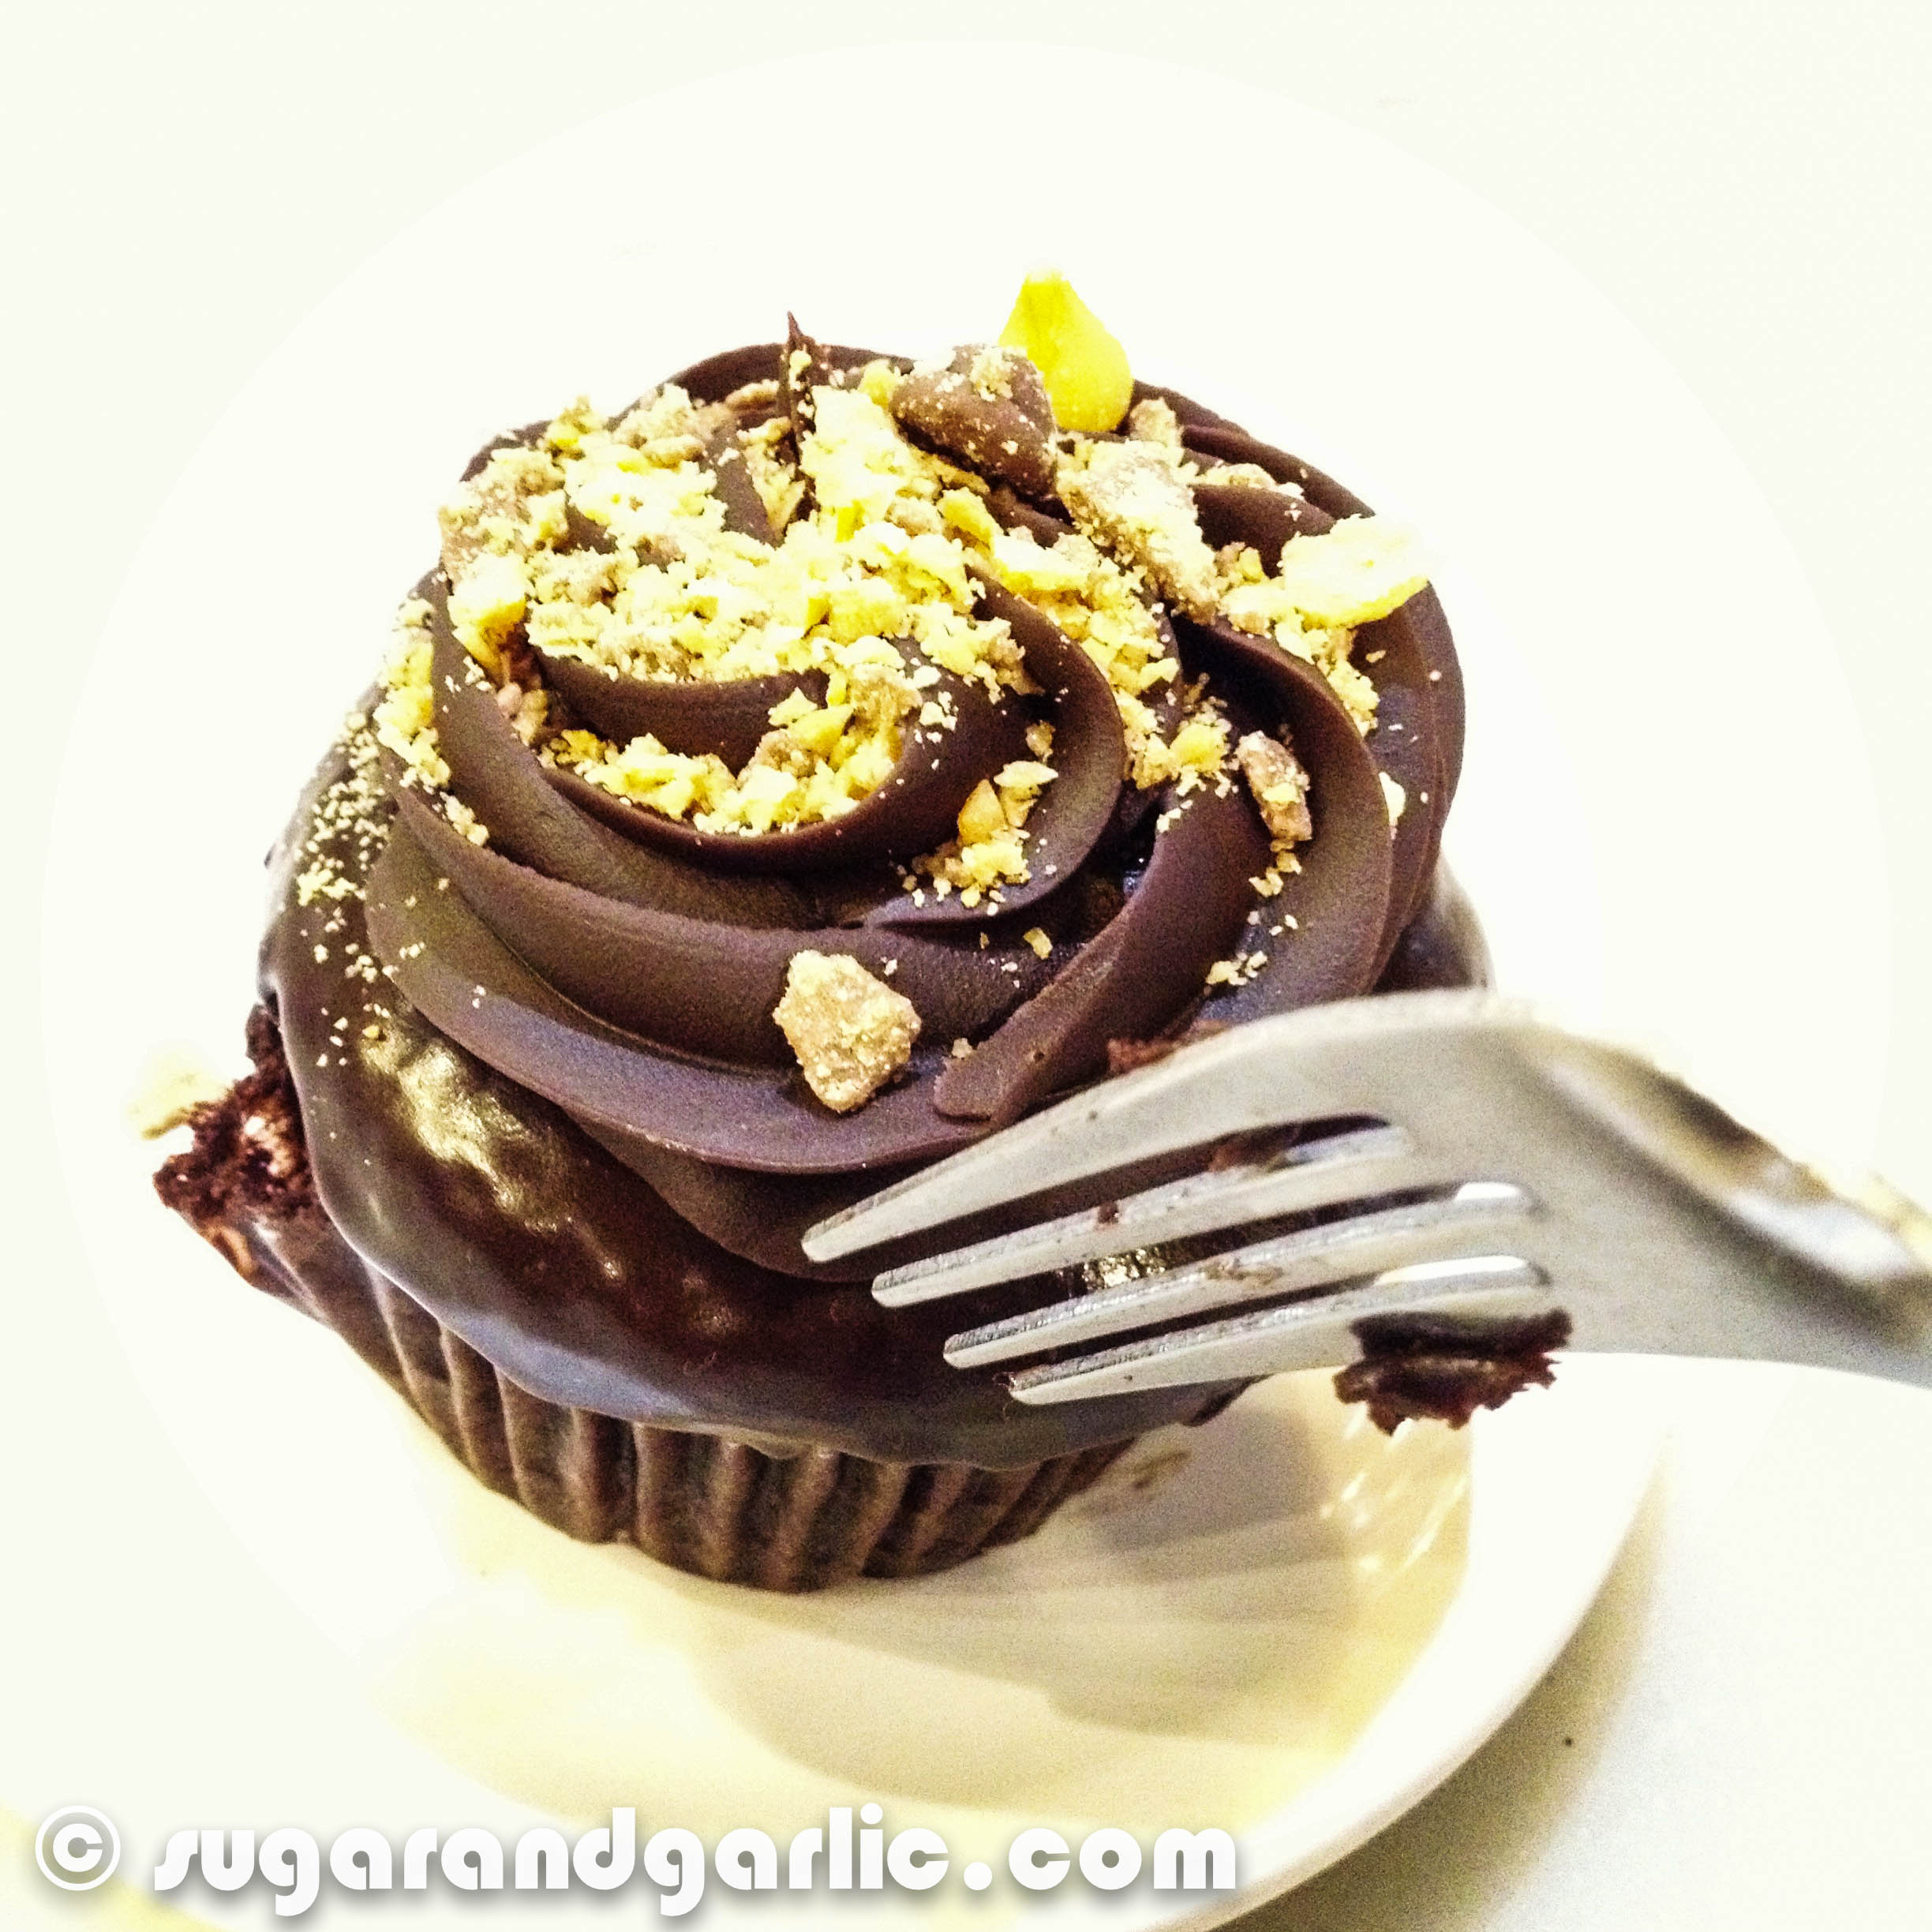
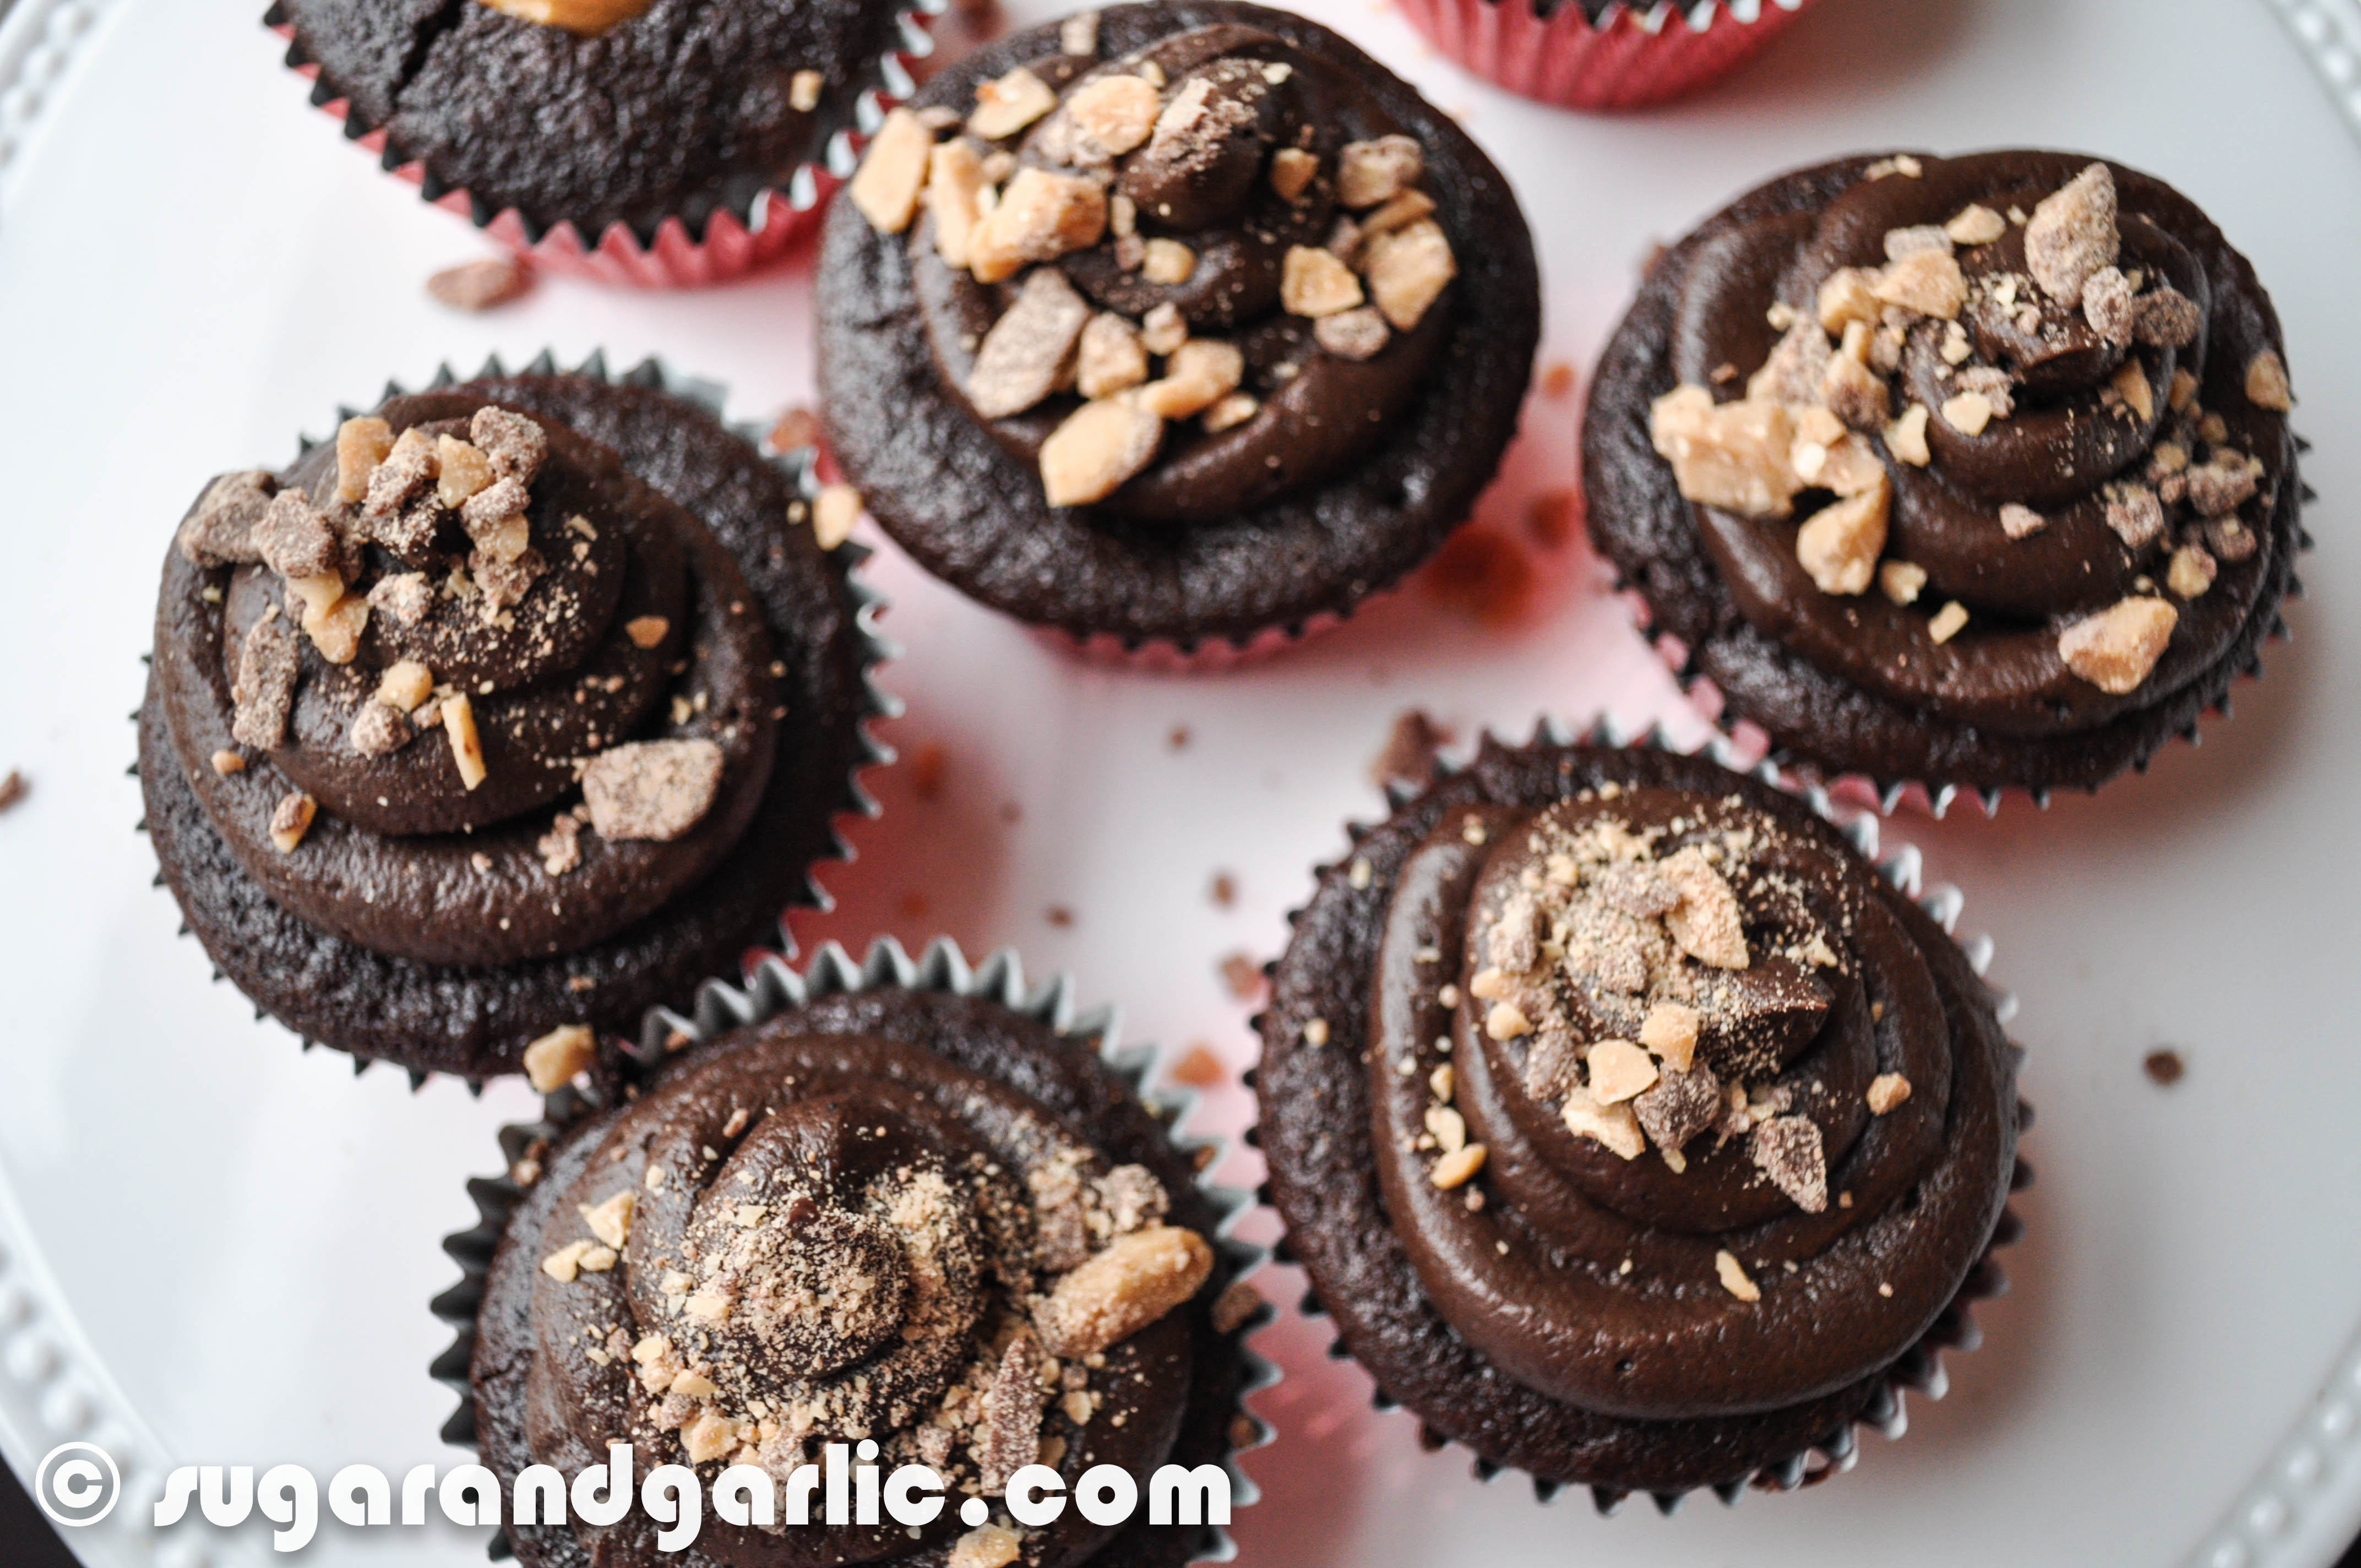
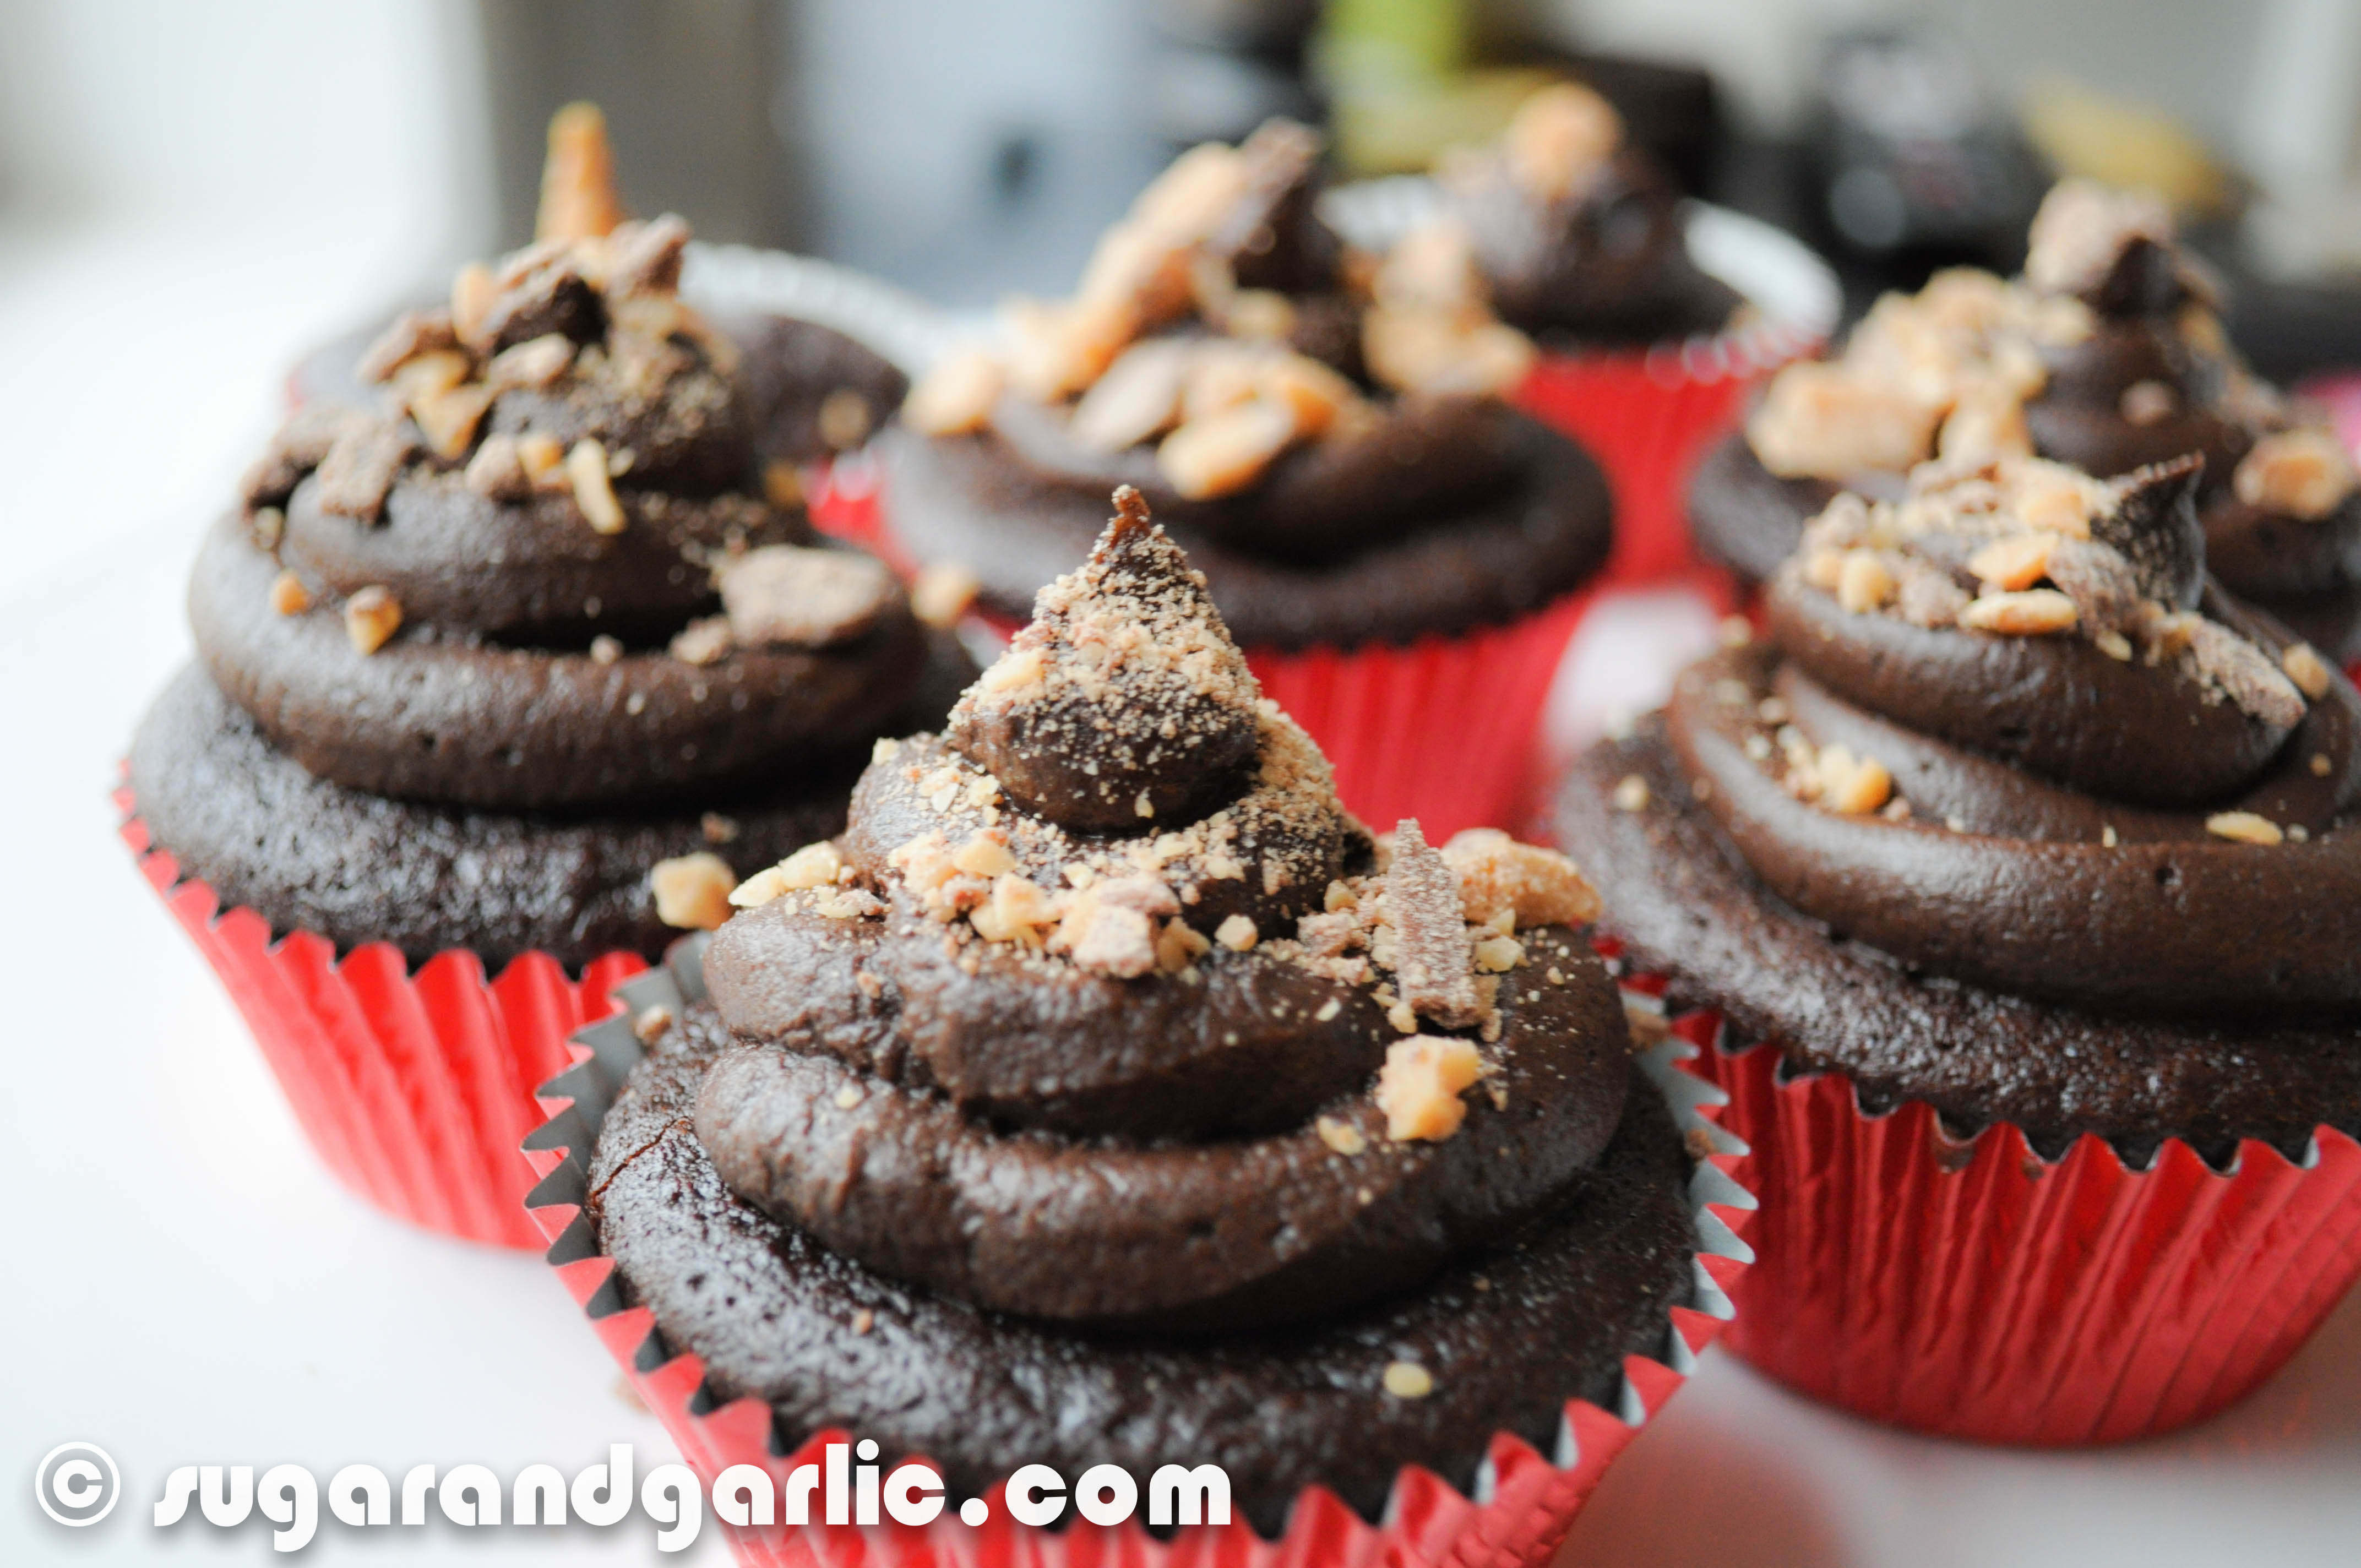
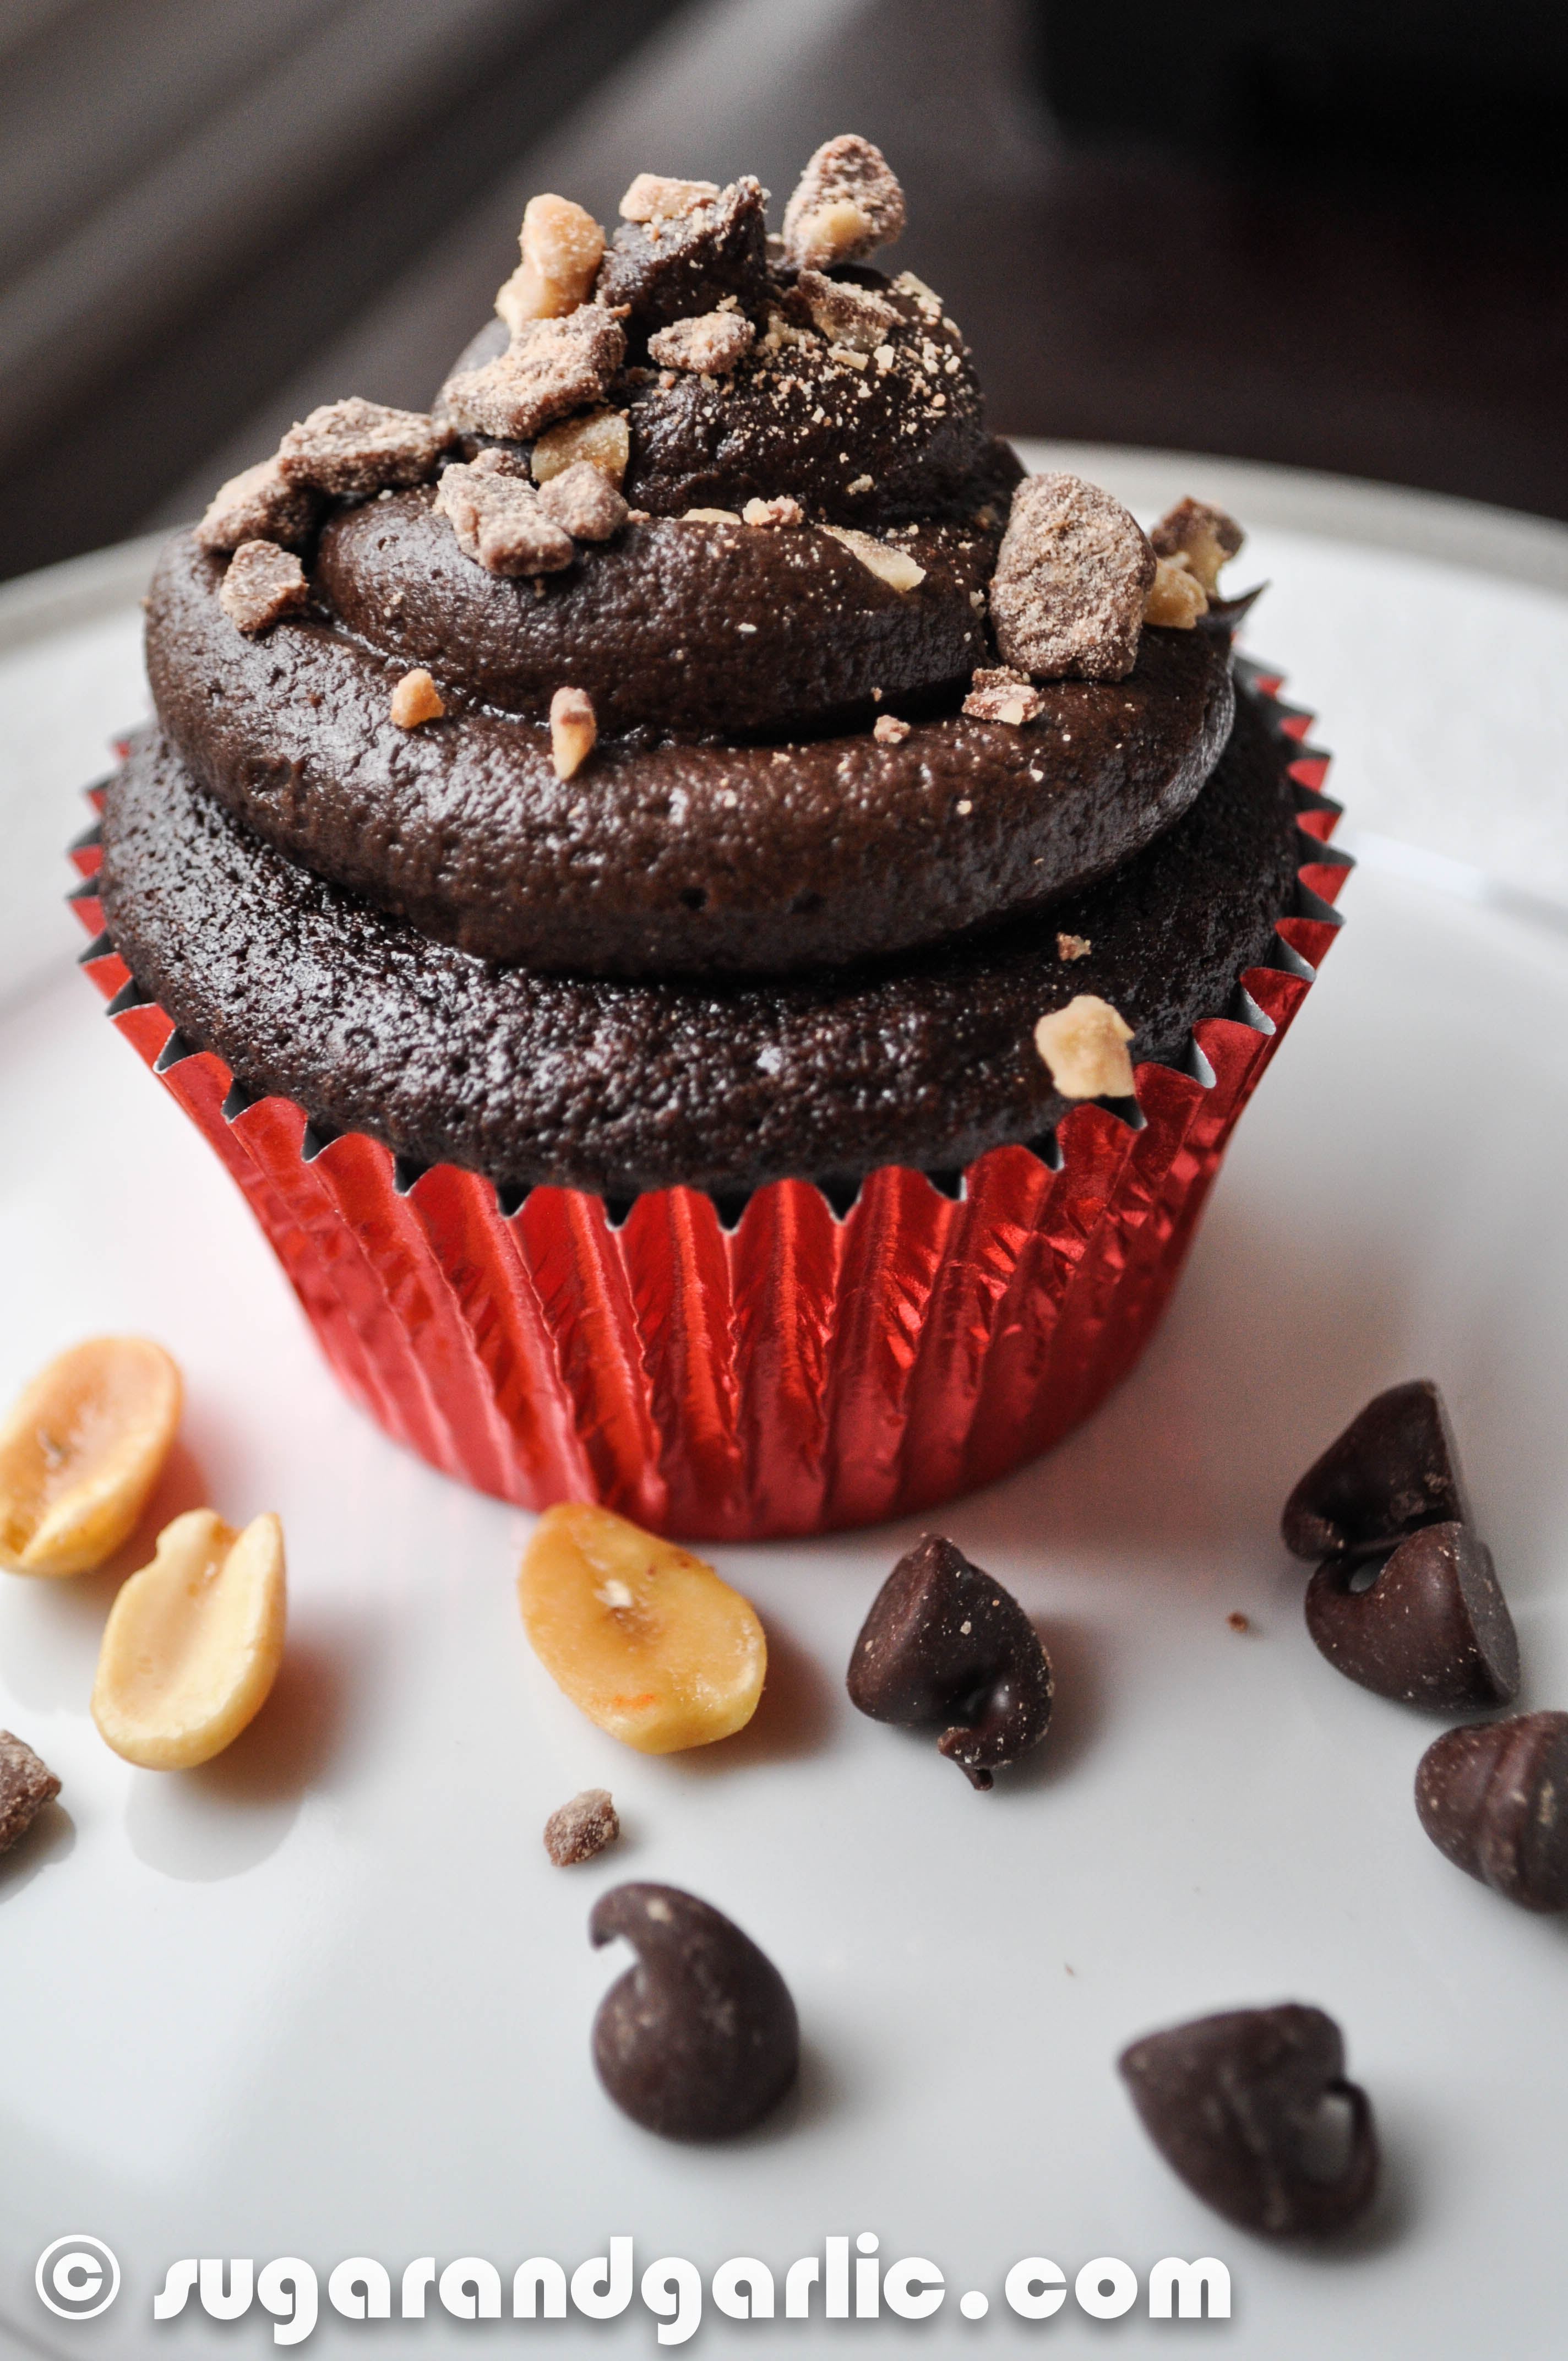
If you love chocolate and peanut butter you will LOVE this. If you pop Reese Peanut Butter Cups like potato chips, you NEED this! I am in love with the Ron Bennington cupcake found at Molly’s cupcakes, and being the bakery’s next door neighbor is not doing my wallet (or my waist!) any favors. Molly’s Cupcake’s number one selling cupcake is the Ron Bennington- a chocolately decadent cupcake that oozes perfectly sweet and salty peanut butter. Reese Peanut Butter Cups are also the Hershey factory’s number one seller. I doubt that this is a coincidence. Chocolate and peanut butter are just a match made in heaven ya’ll. My chocolatey know all might be related to the fact that I have lived a mile from the Hershey factory in Hershey, PA for three years, and I now happen to live next door to the reknowned Molly’s cupcakes (neither my husband or I are employees of the chocolate or bakery industry). I take this as a very clear sign of my destiny…to be a chocolate-peanut butter lover who must share the love with you all.

2013-11-07sugarandgarlic2013-14 2013-11-07sugarandgarlic2013-13 2013-11-07sugarandgarlic2013-10 2013-11-07sugarandgarlic2013-8 2013-11-07sugarandgarlic2013-7 2013-11-06sugarandgarlic2013-11

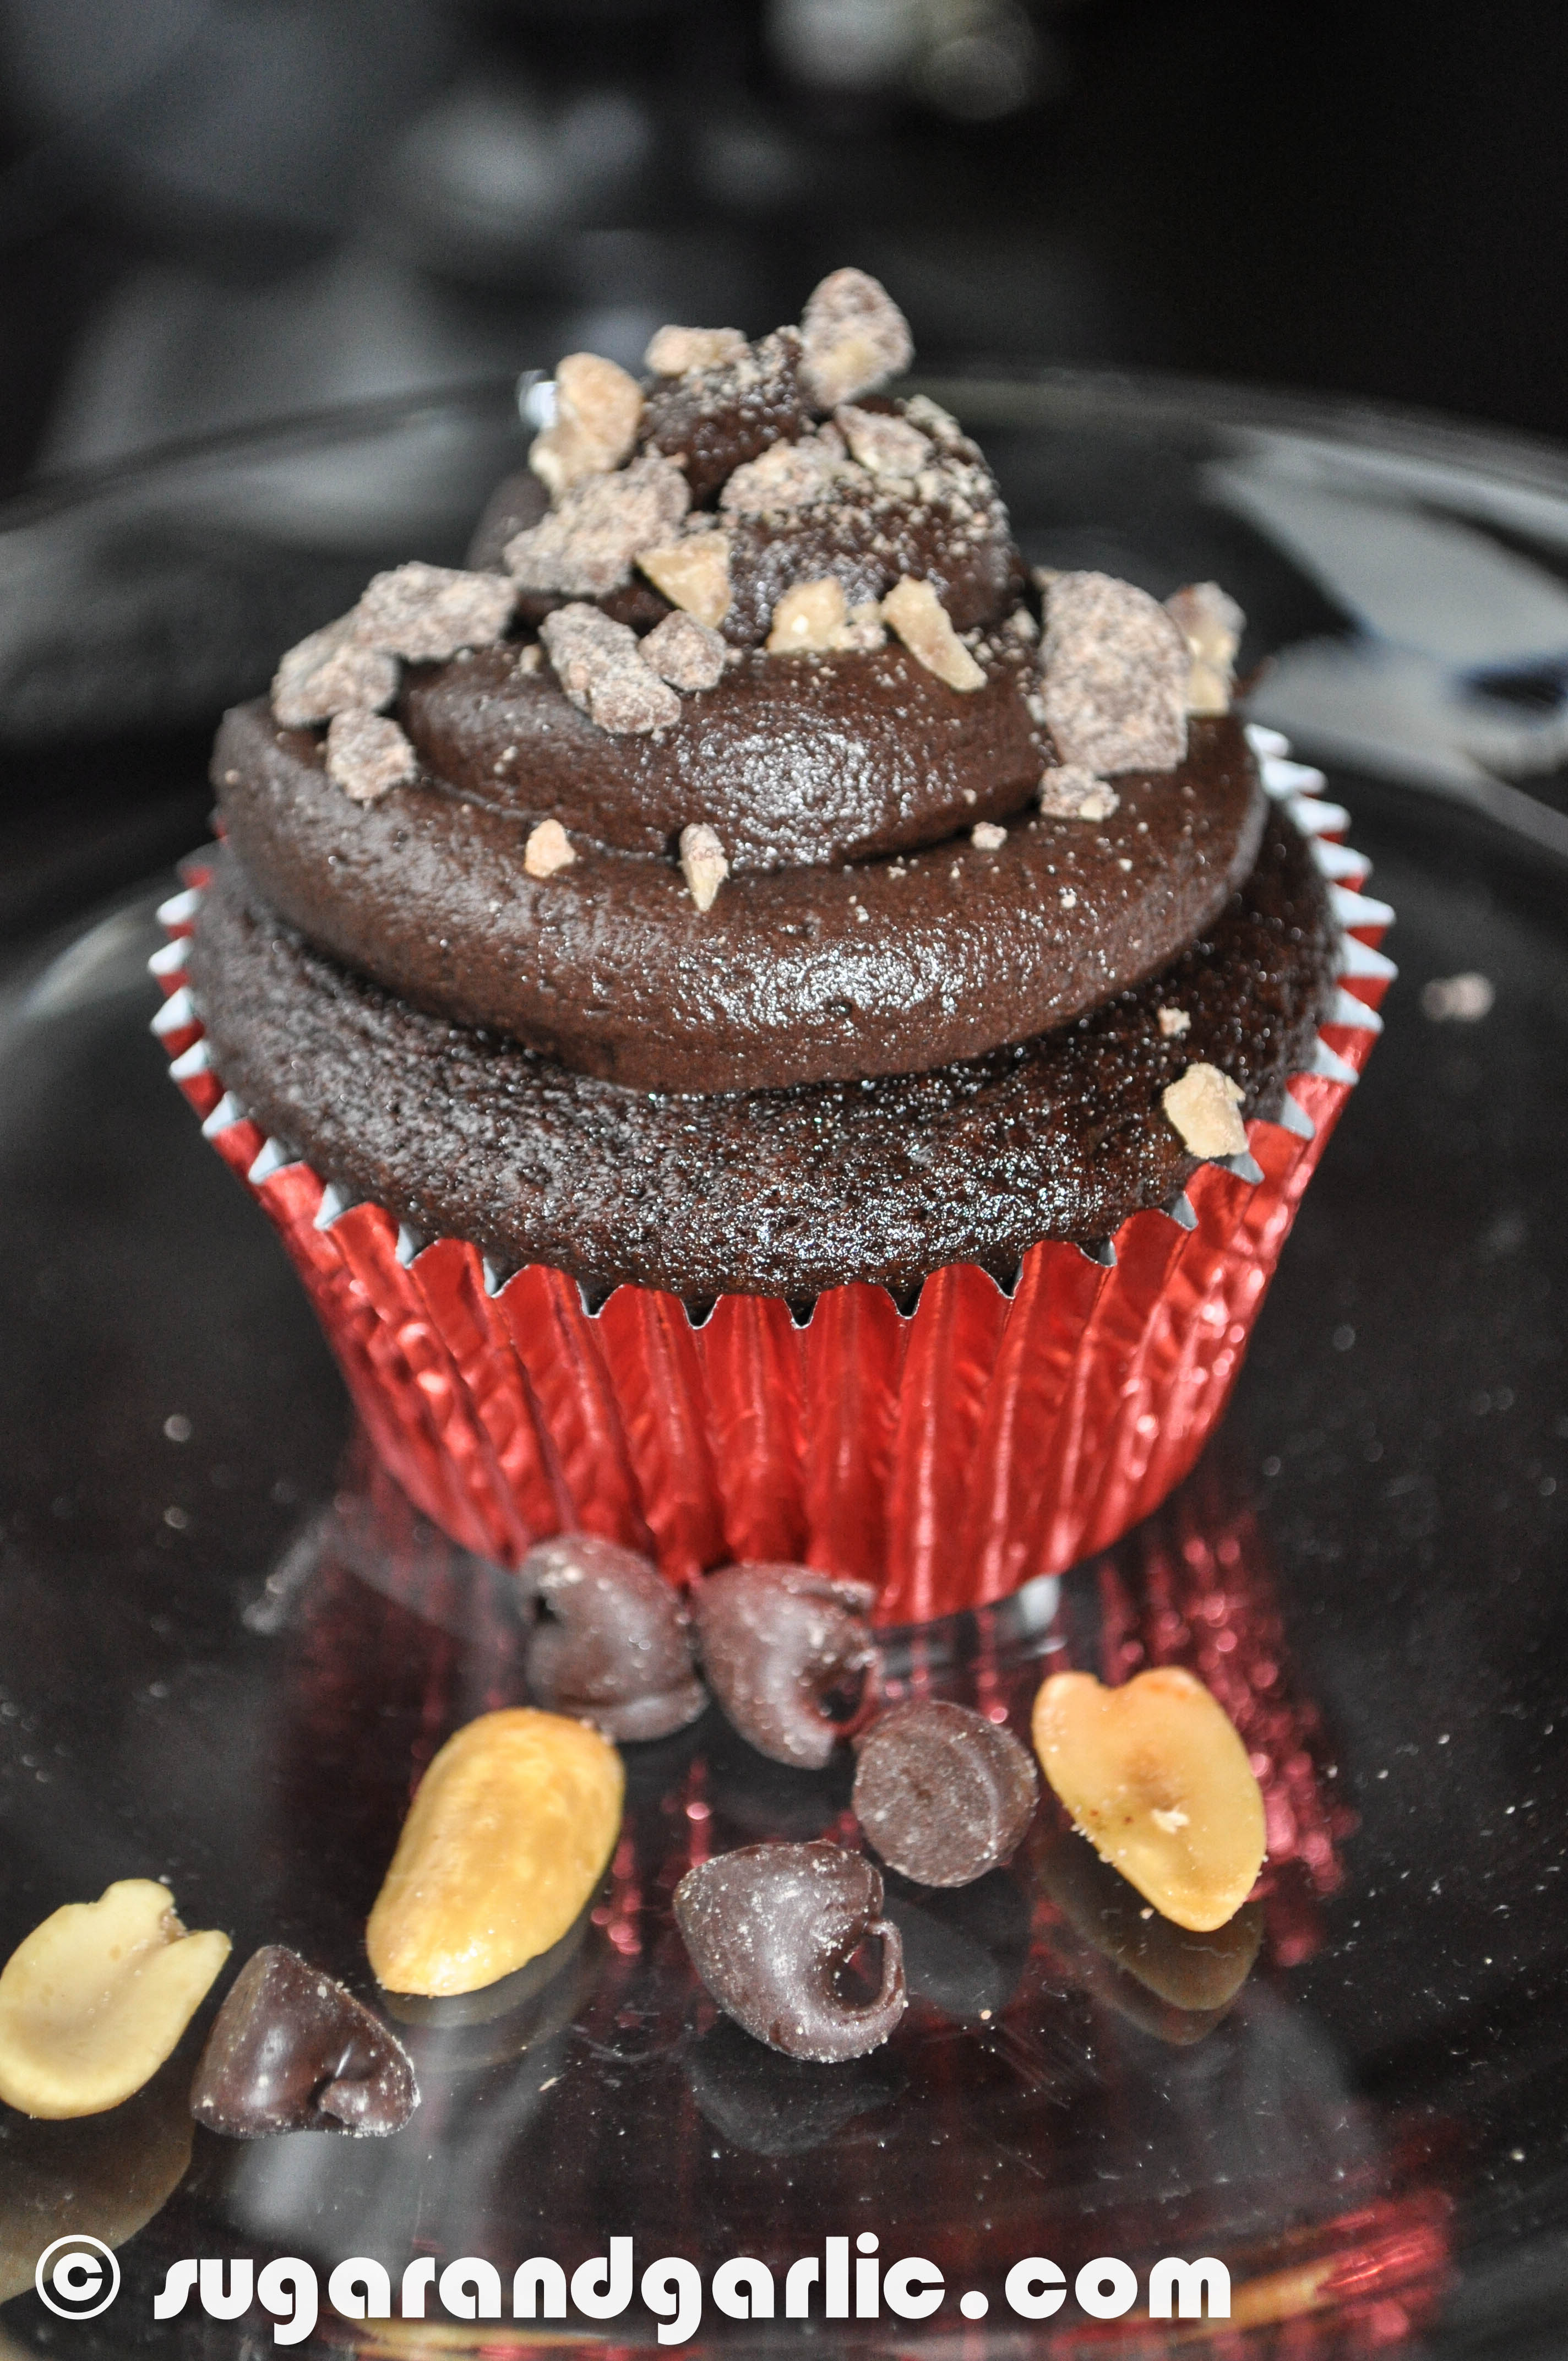
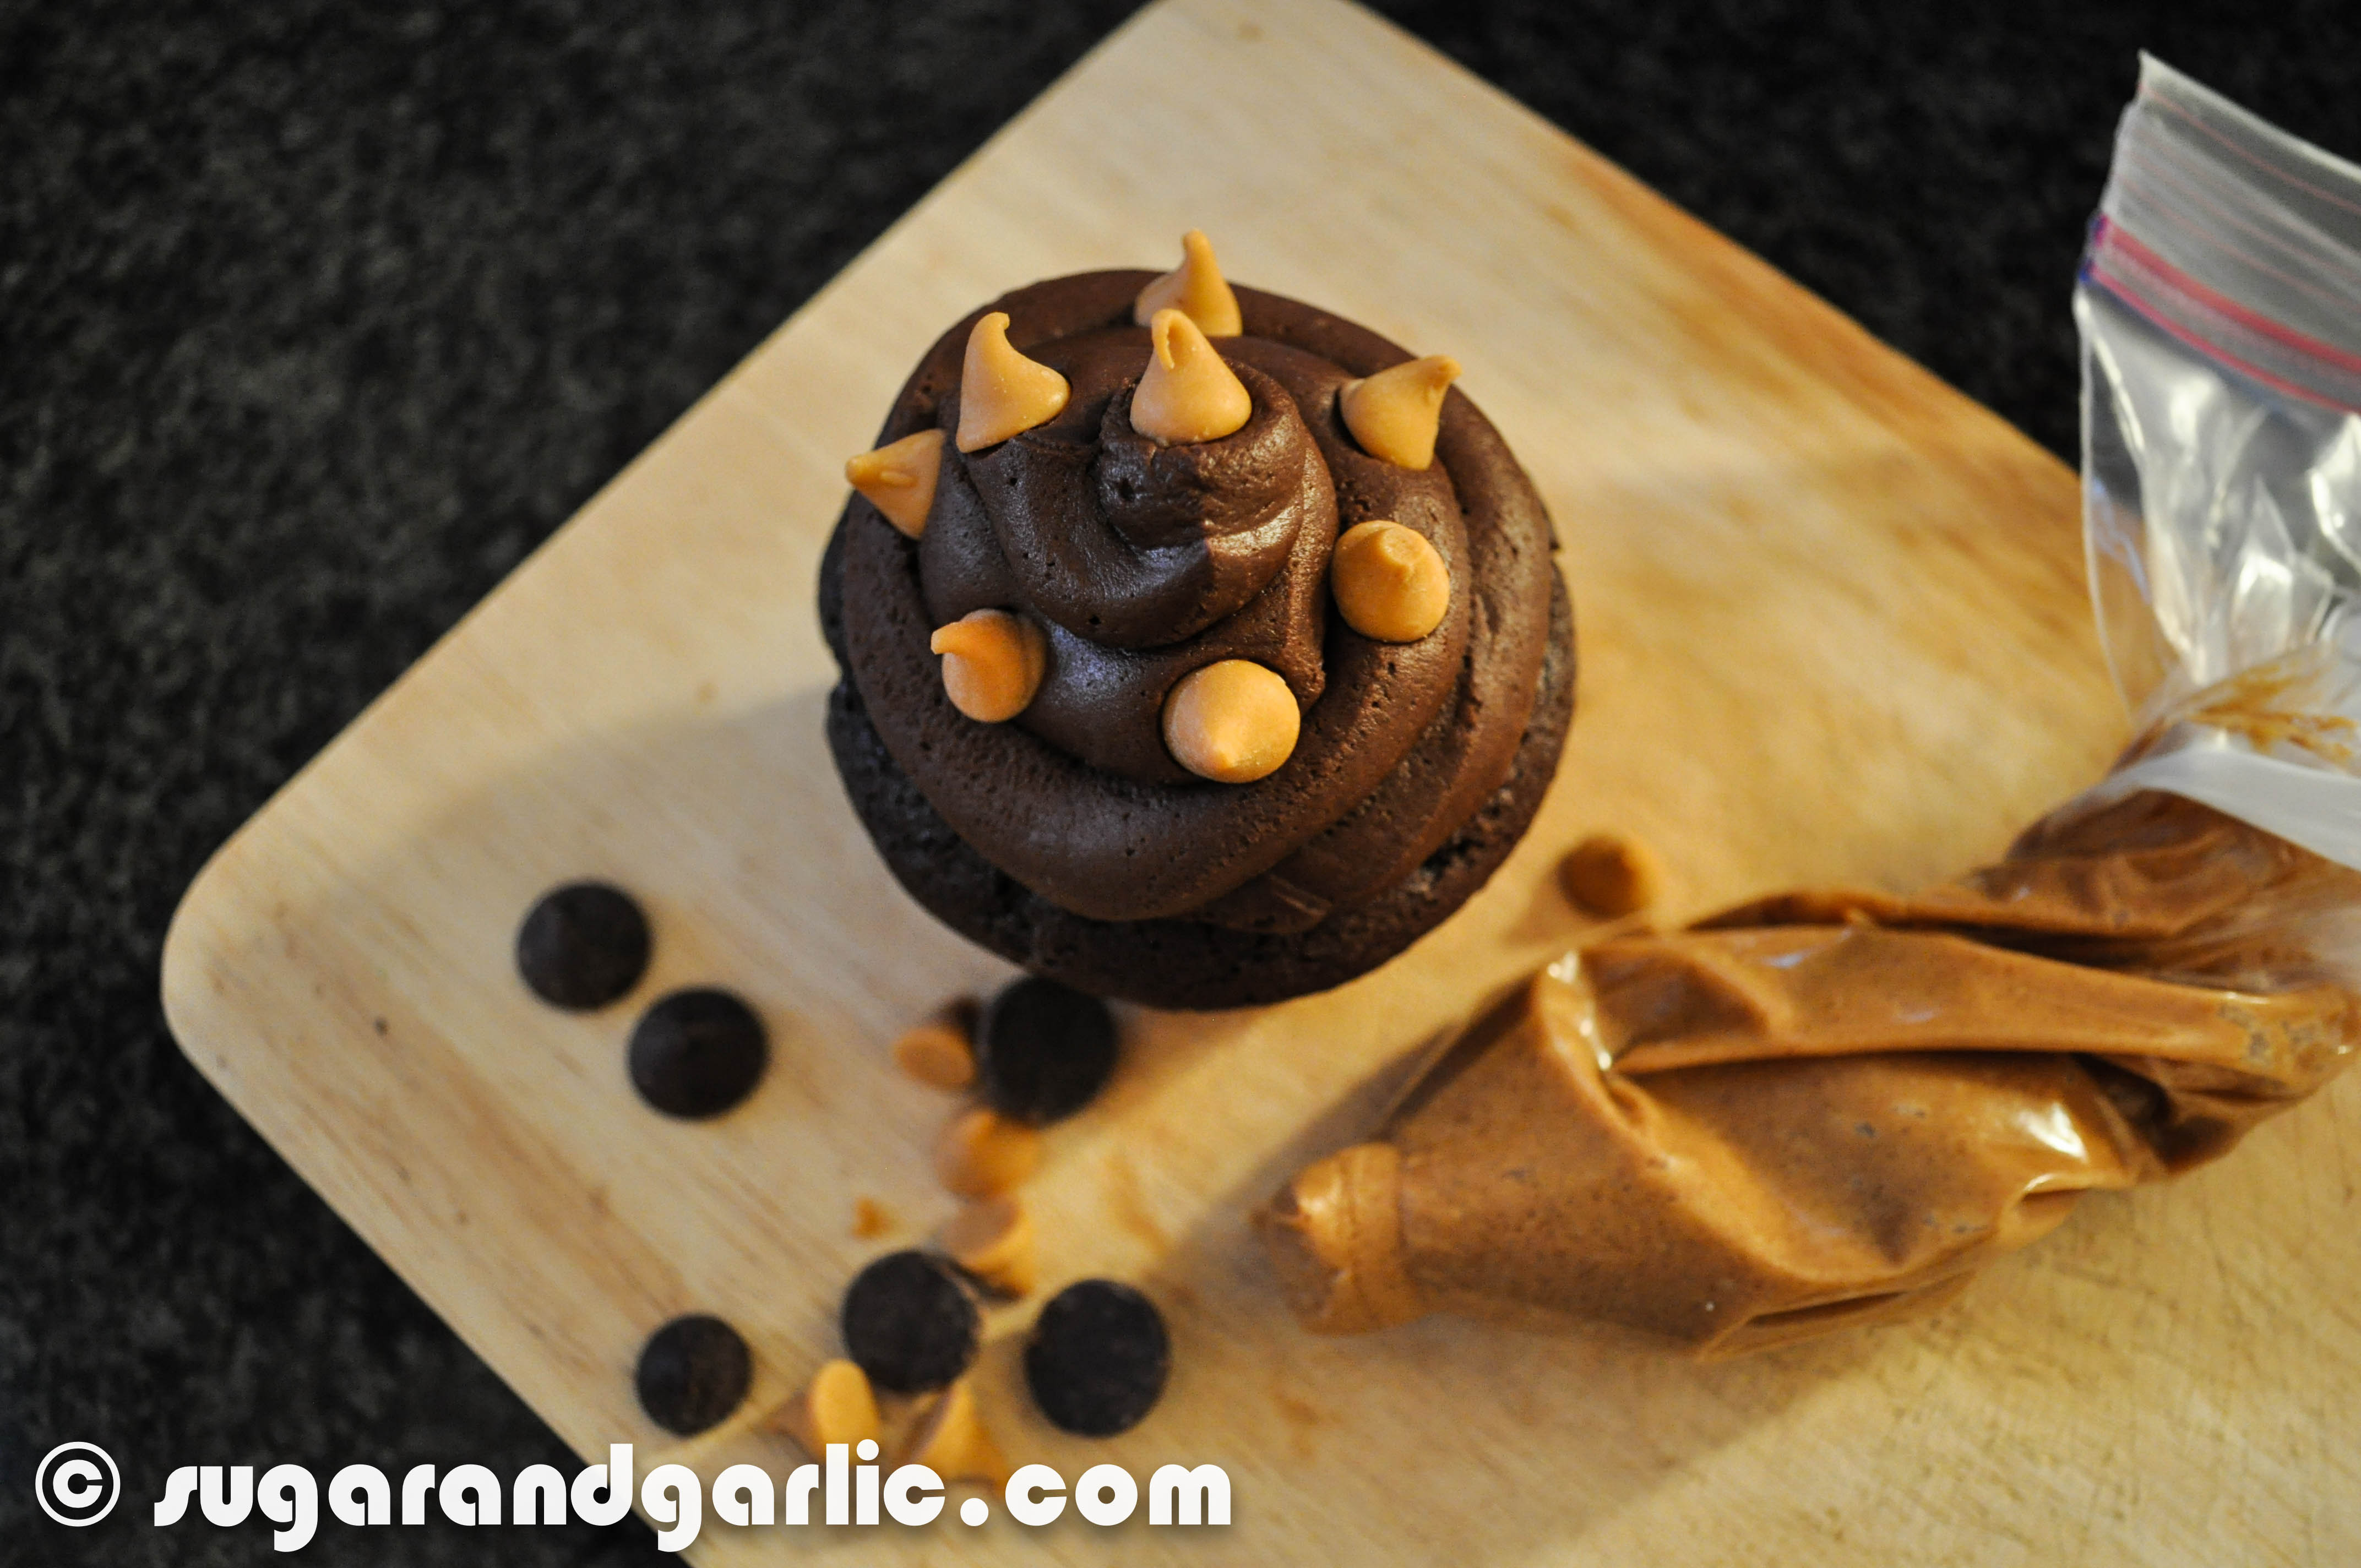
Decorate the dark chocolate frosting with peanut butter chips or crushed peanuts and toffee.

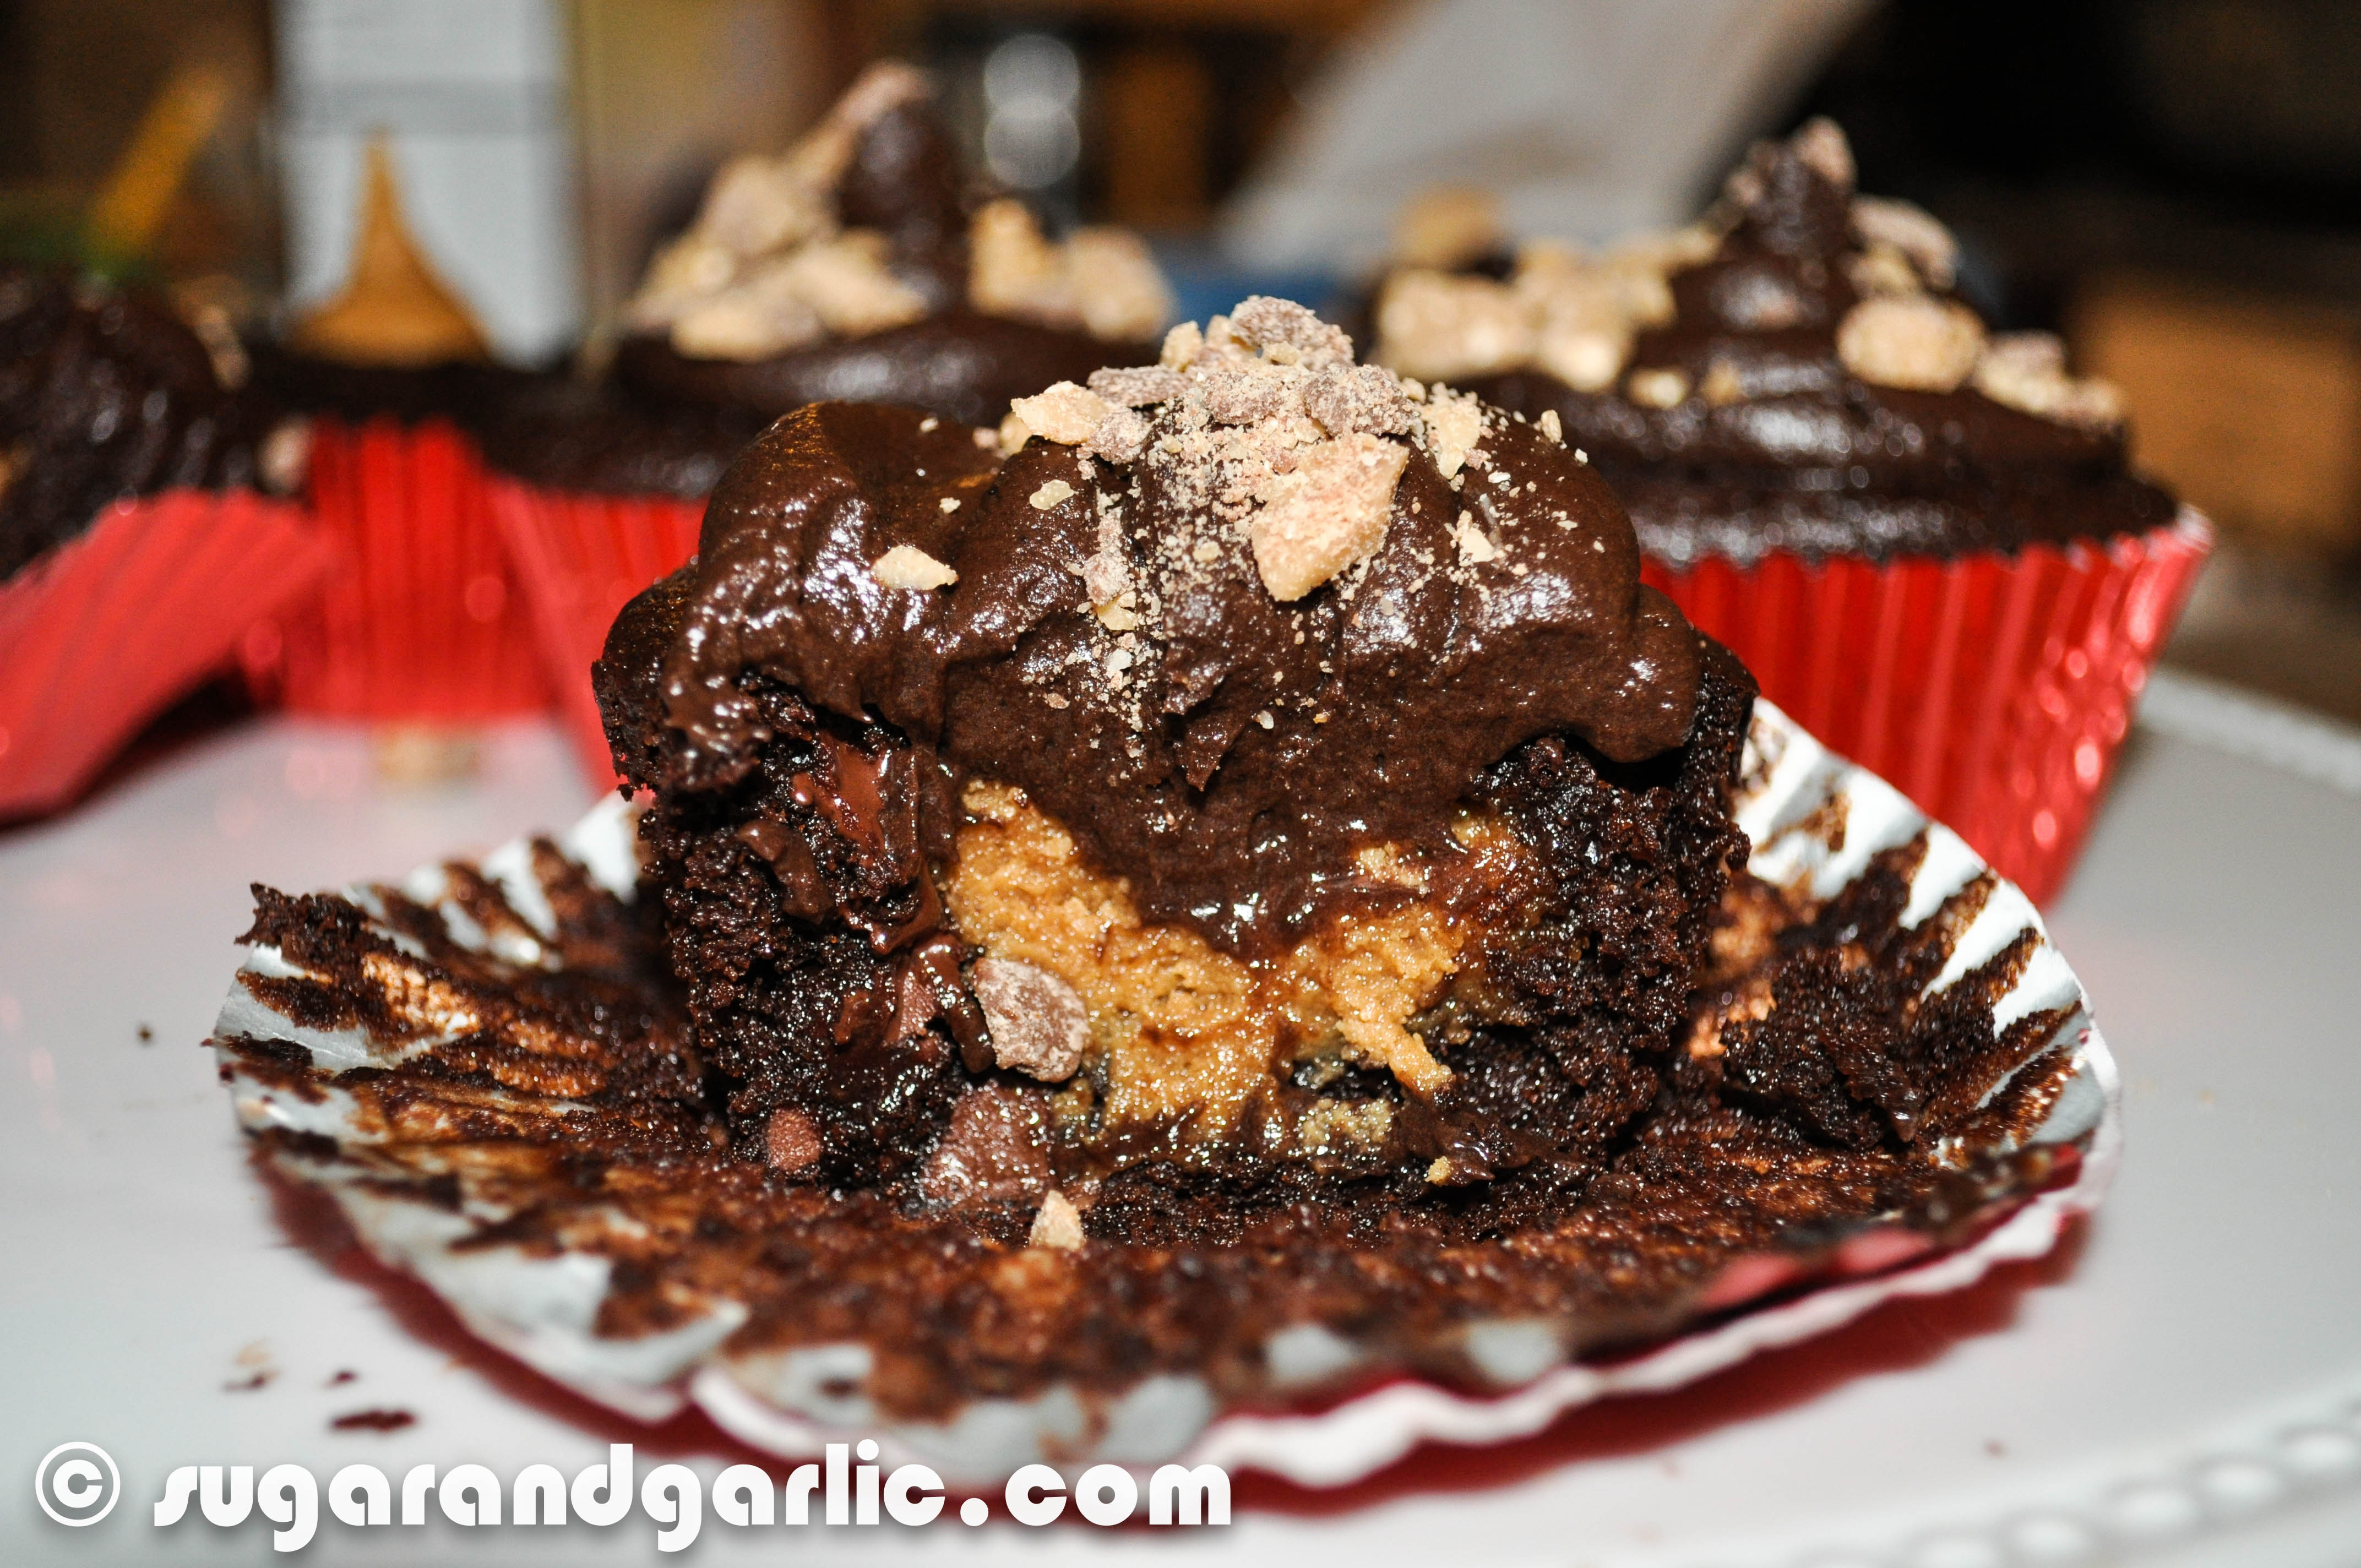
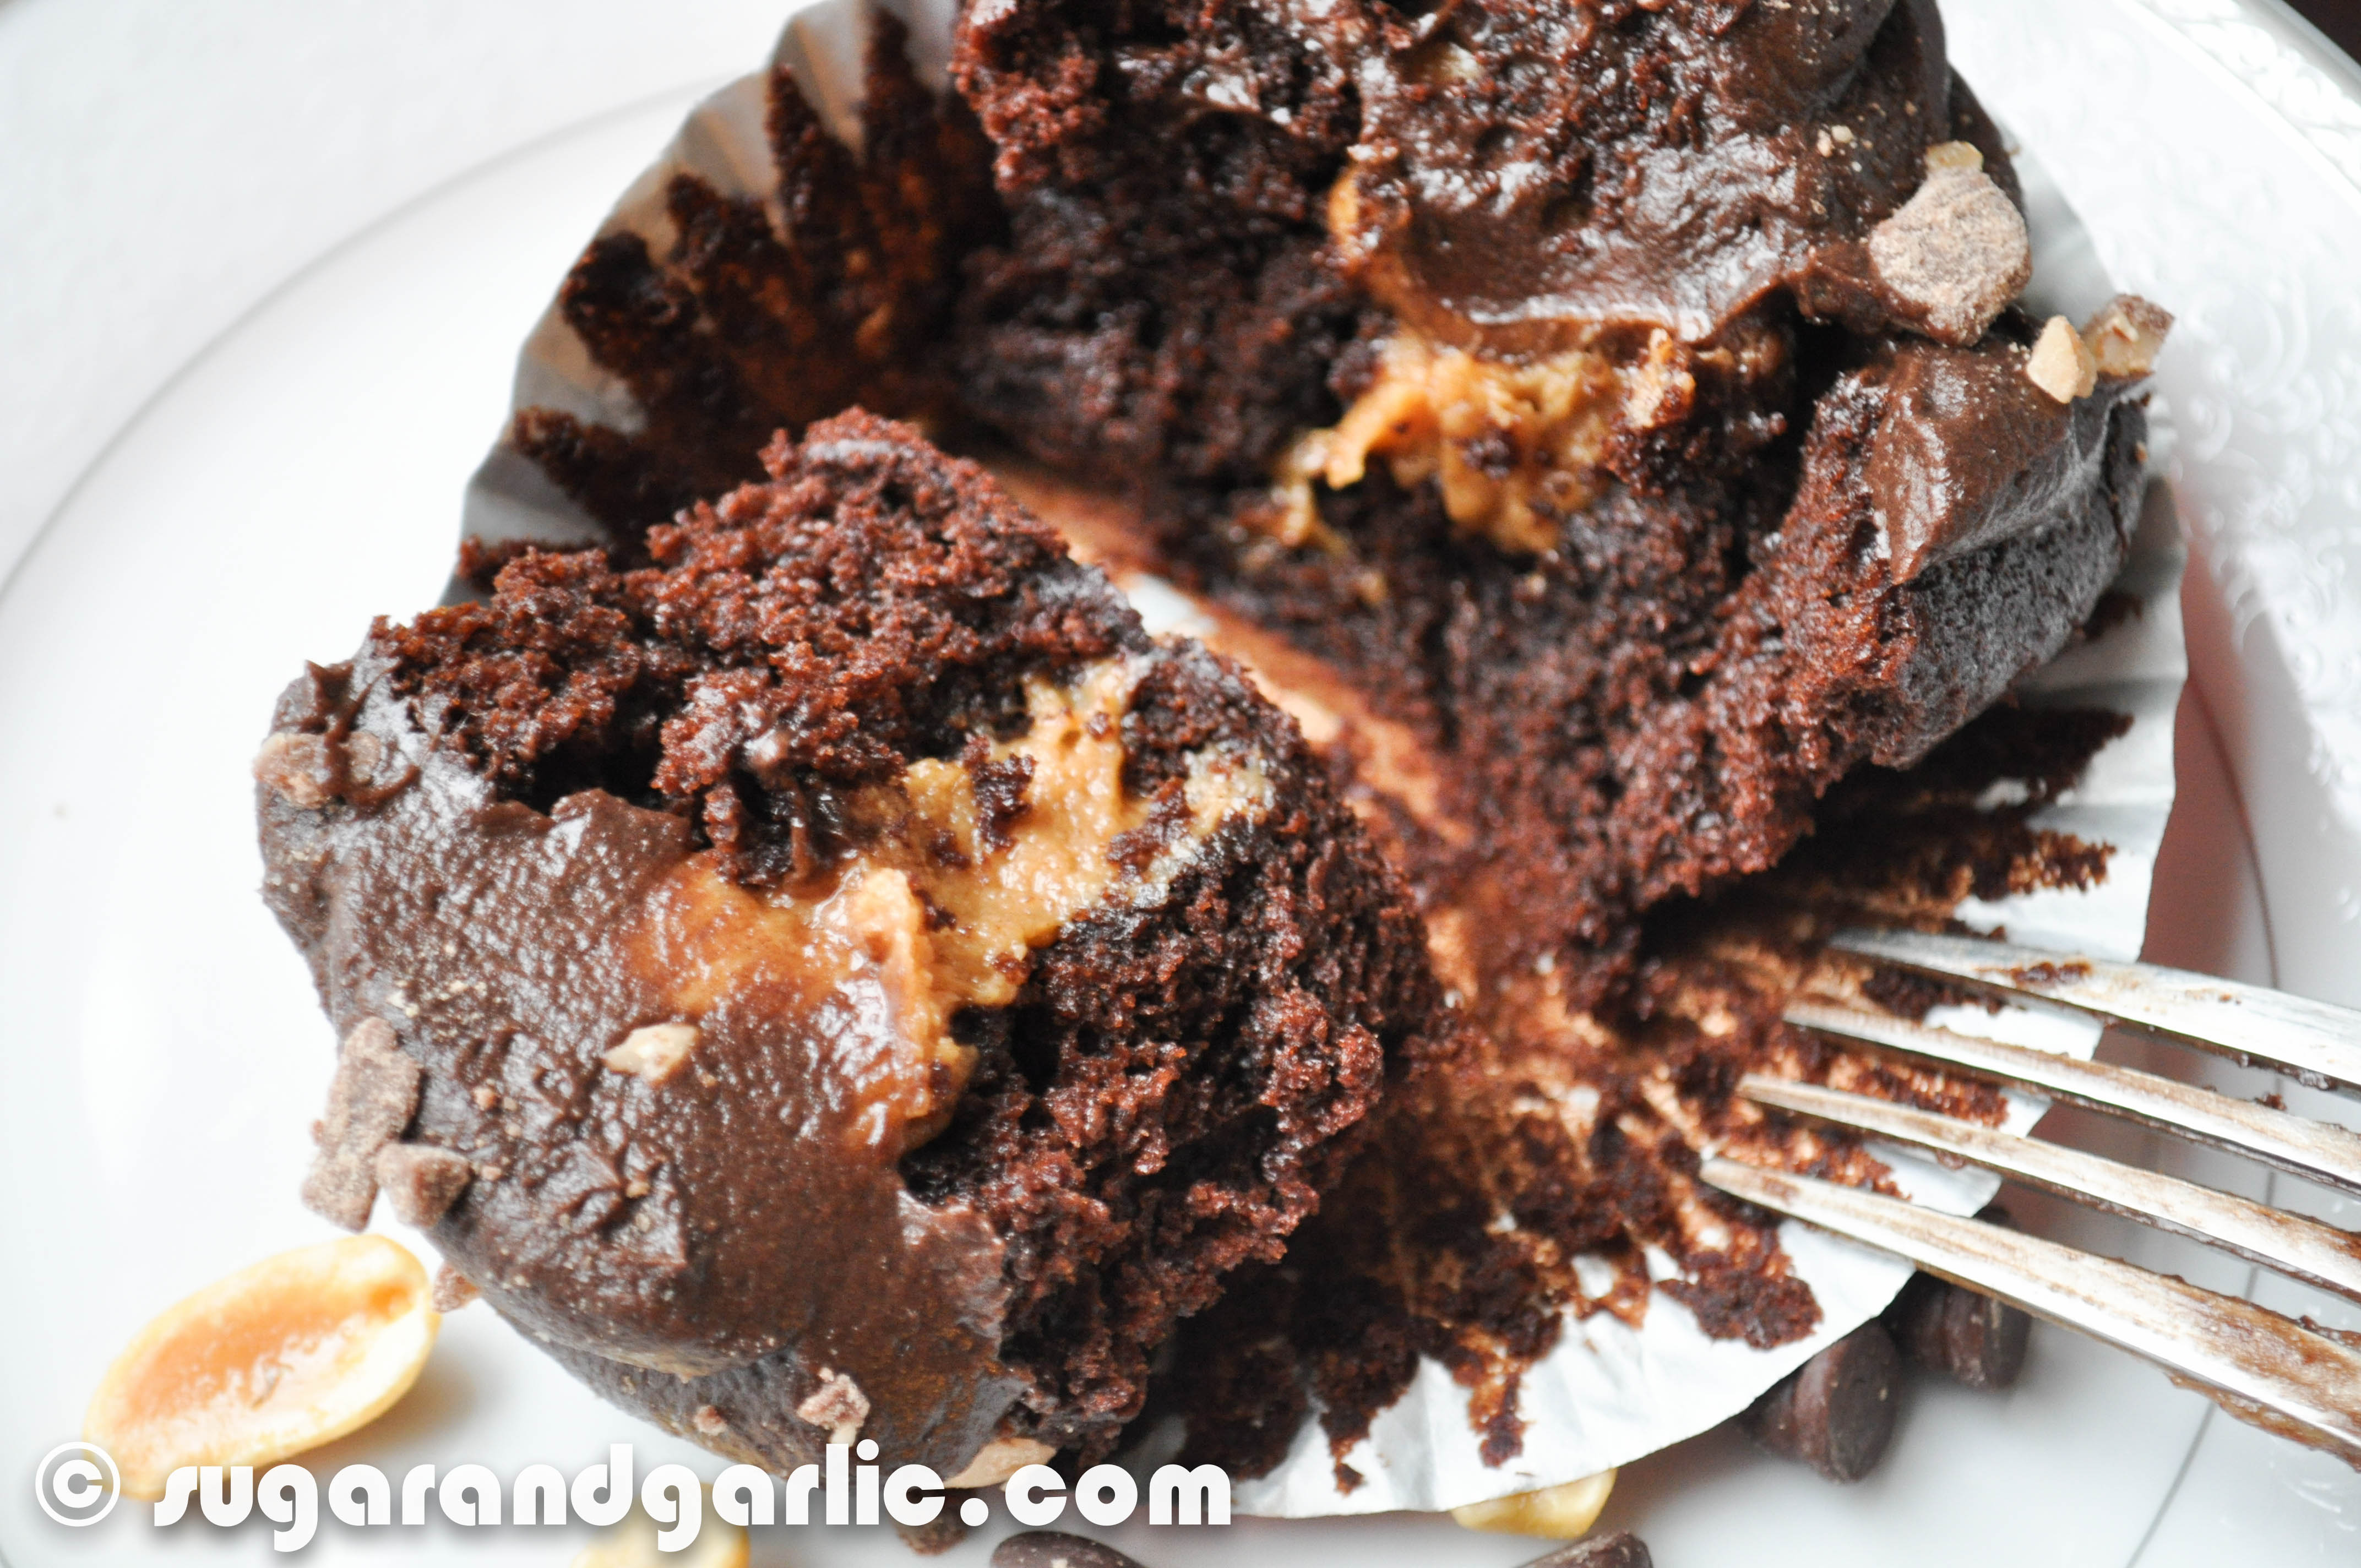
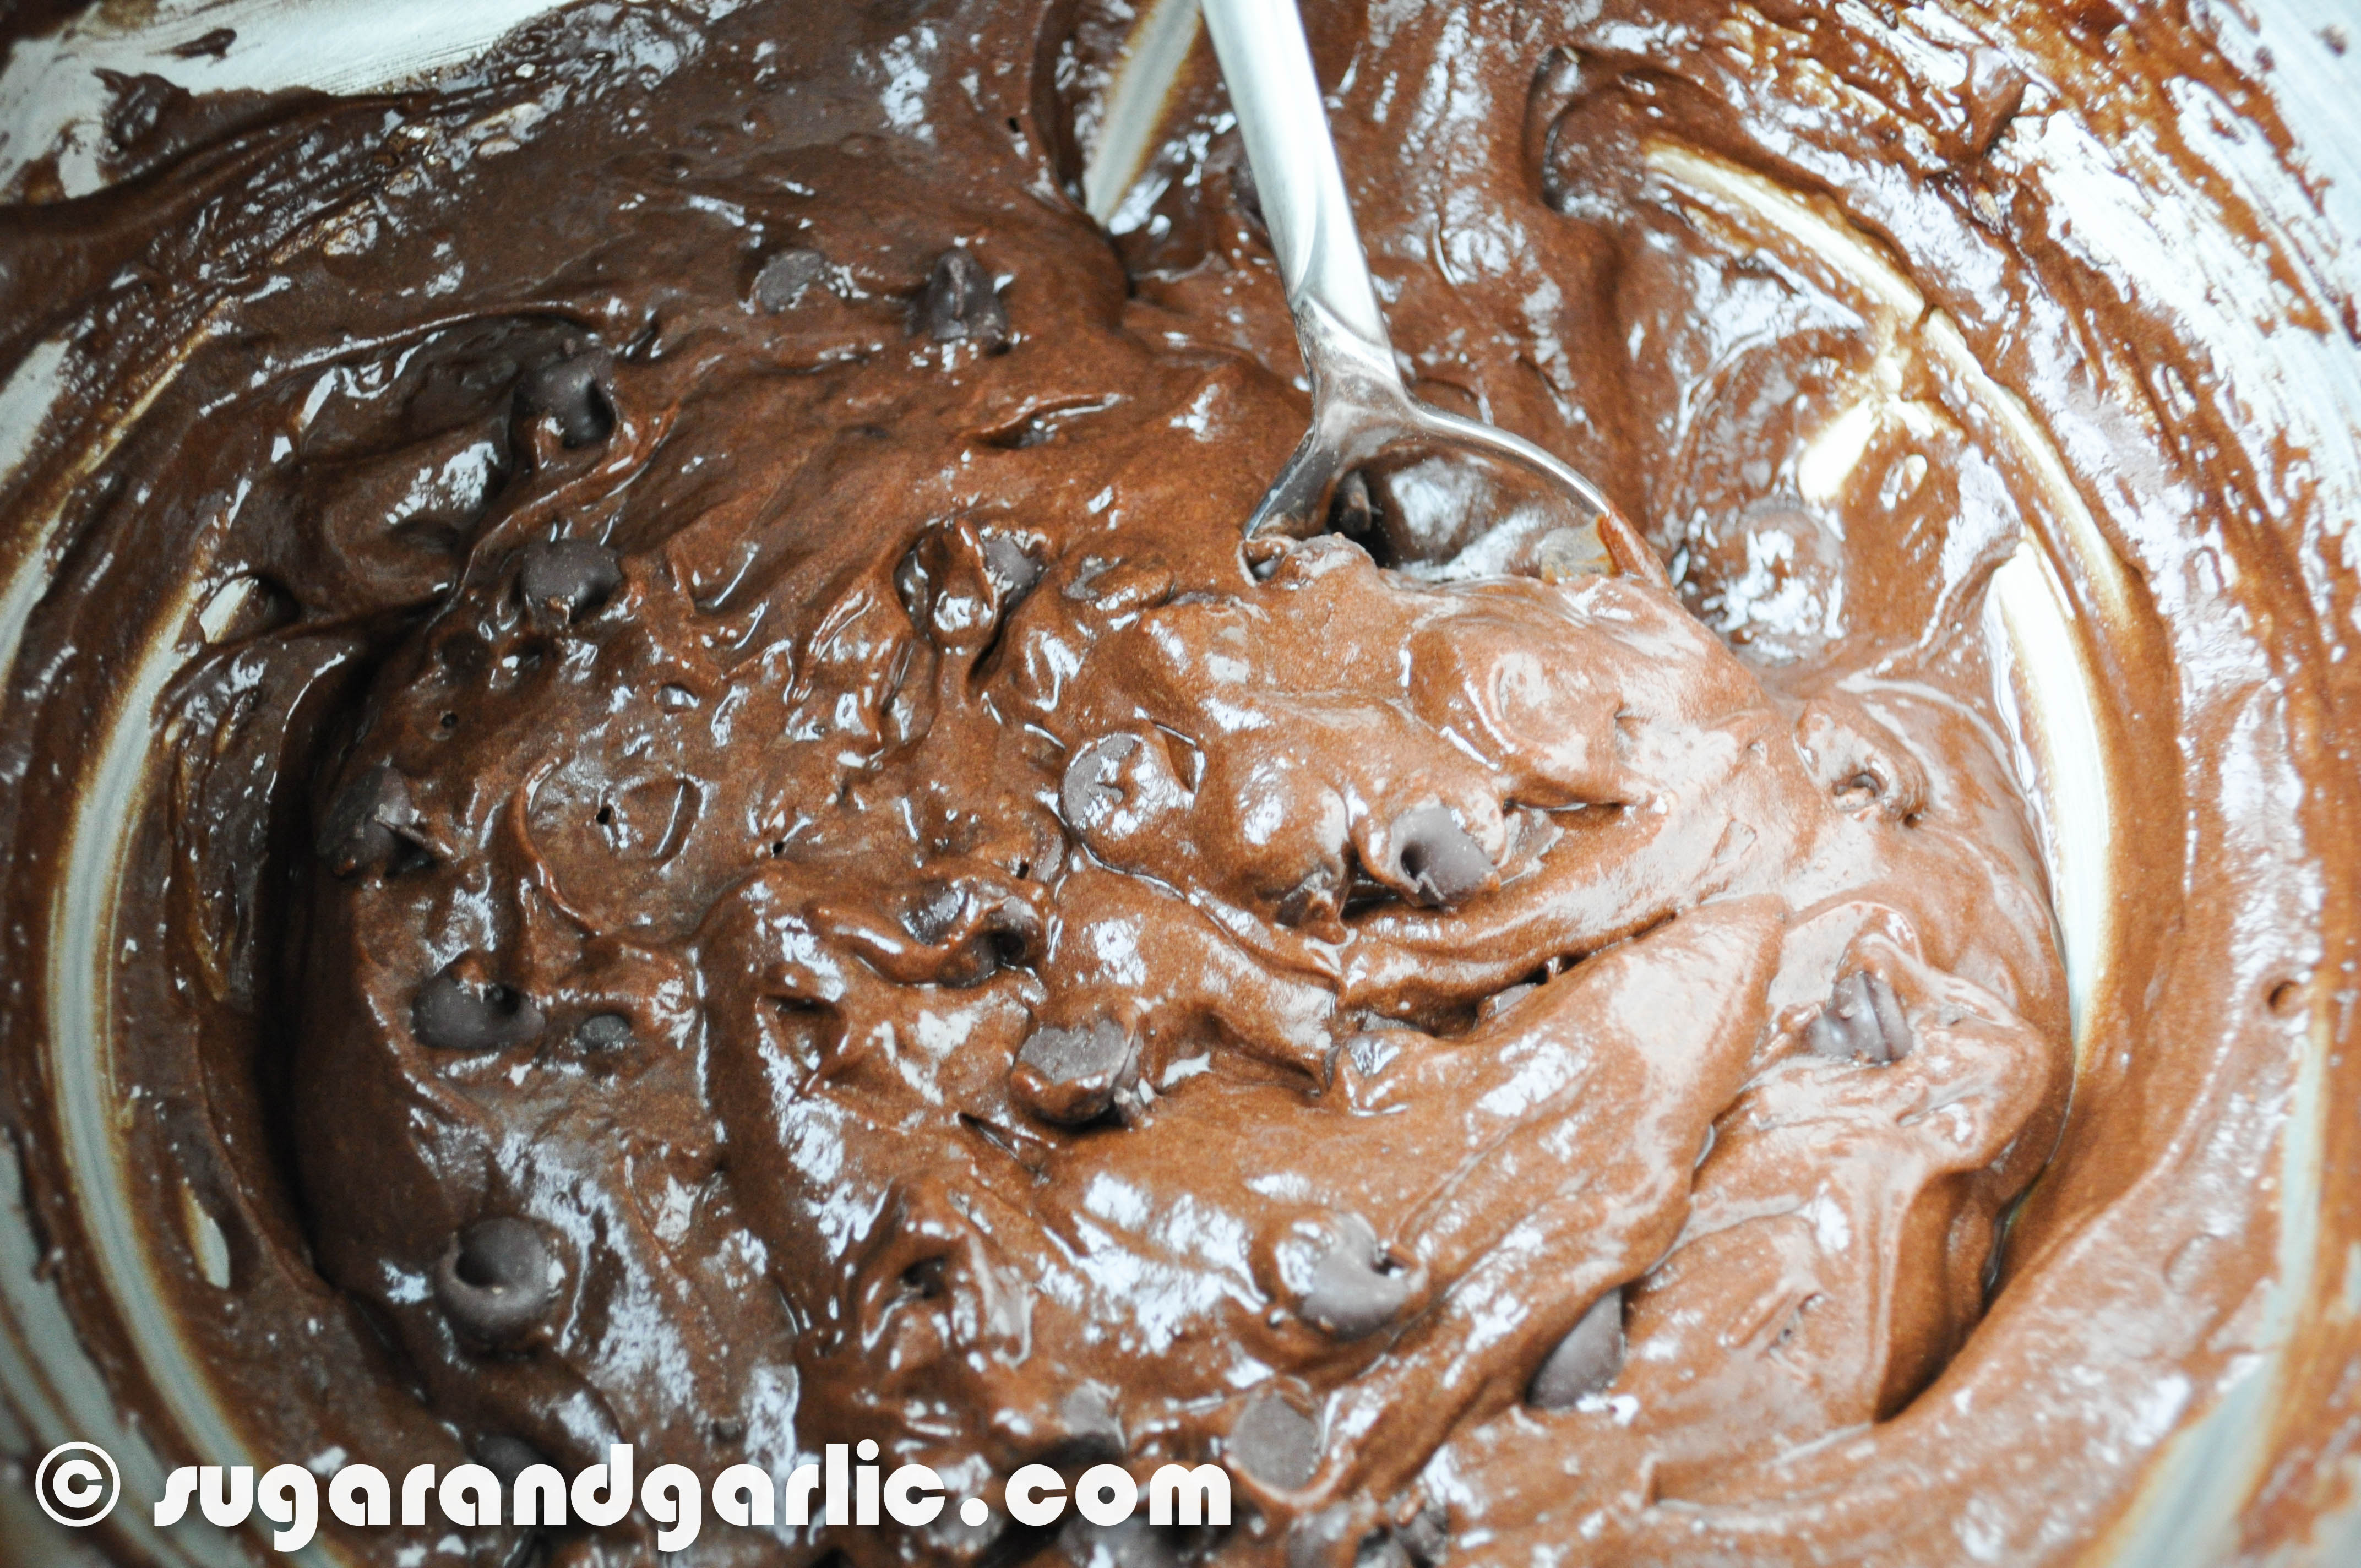
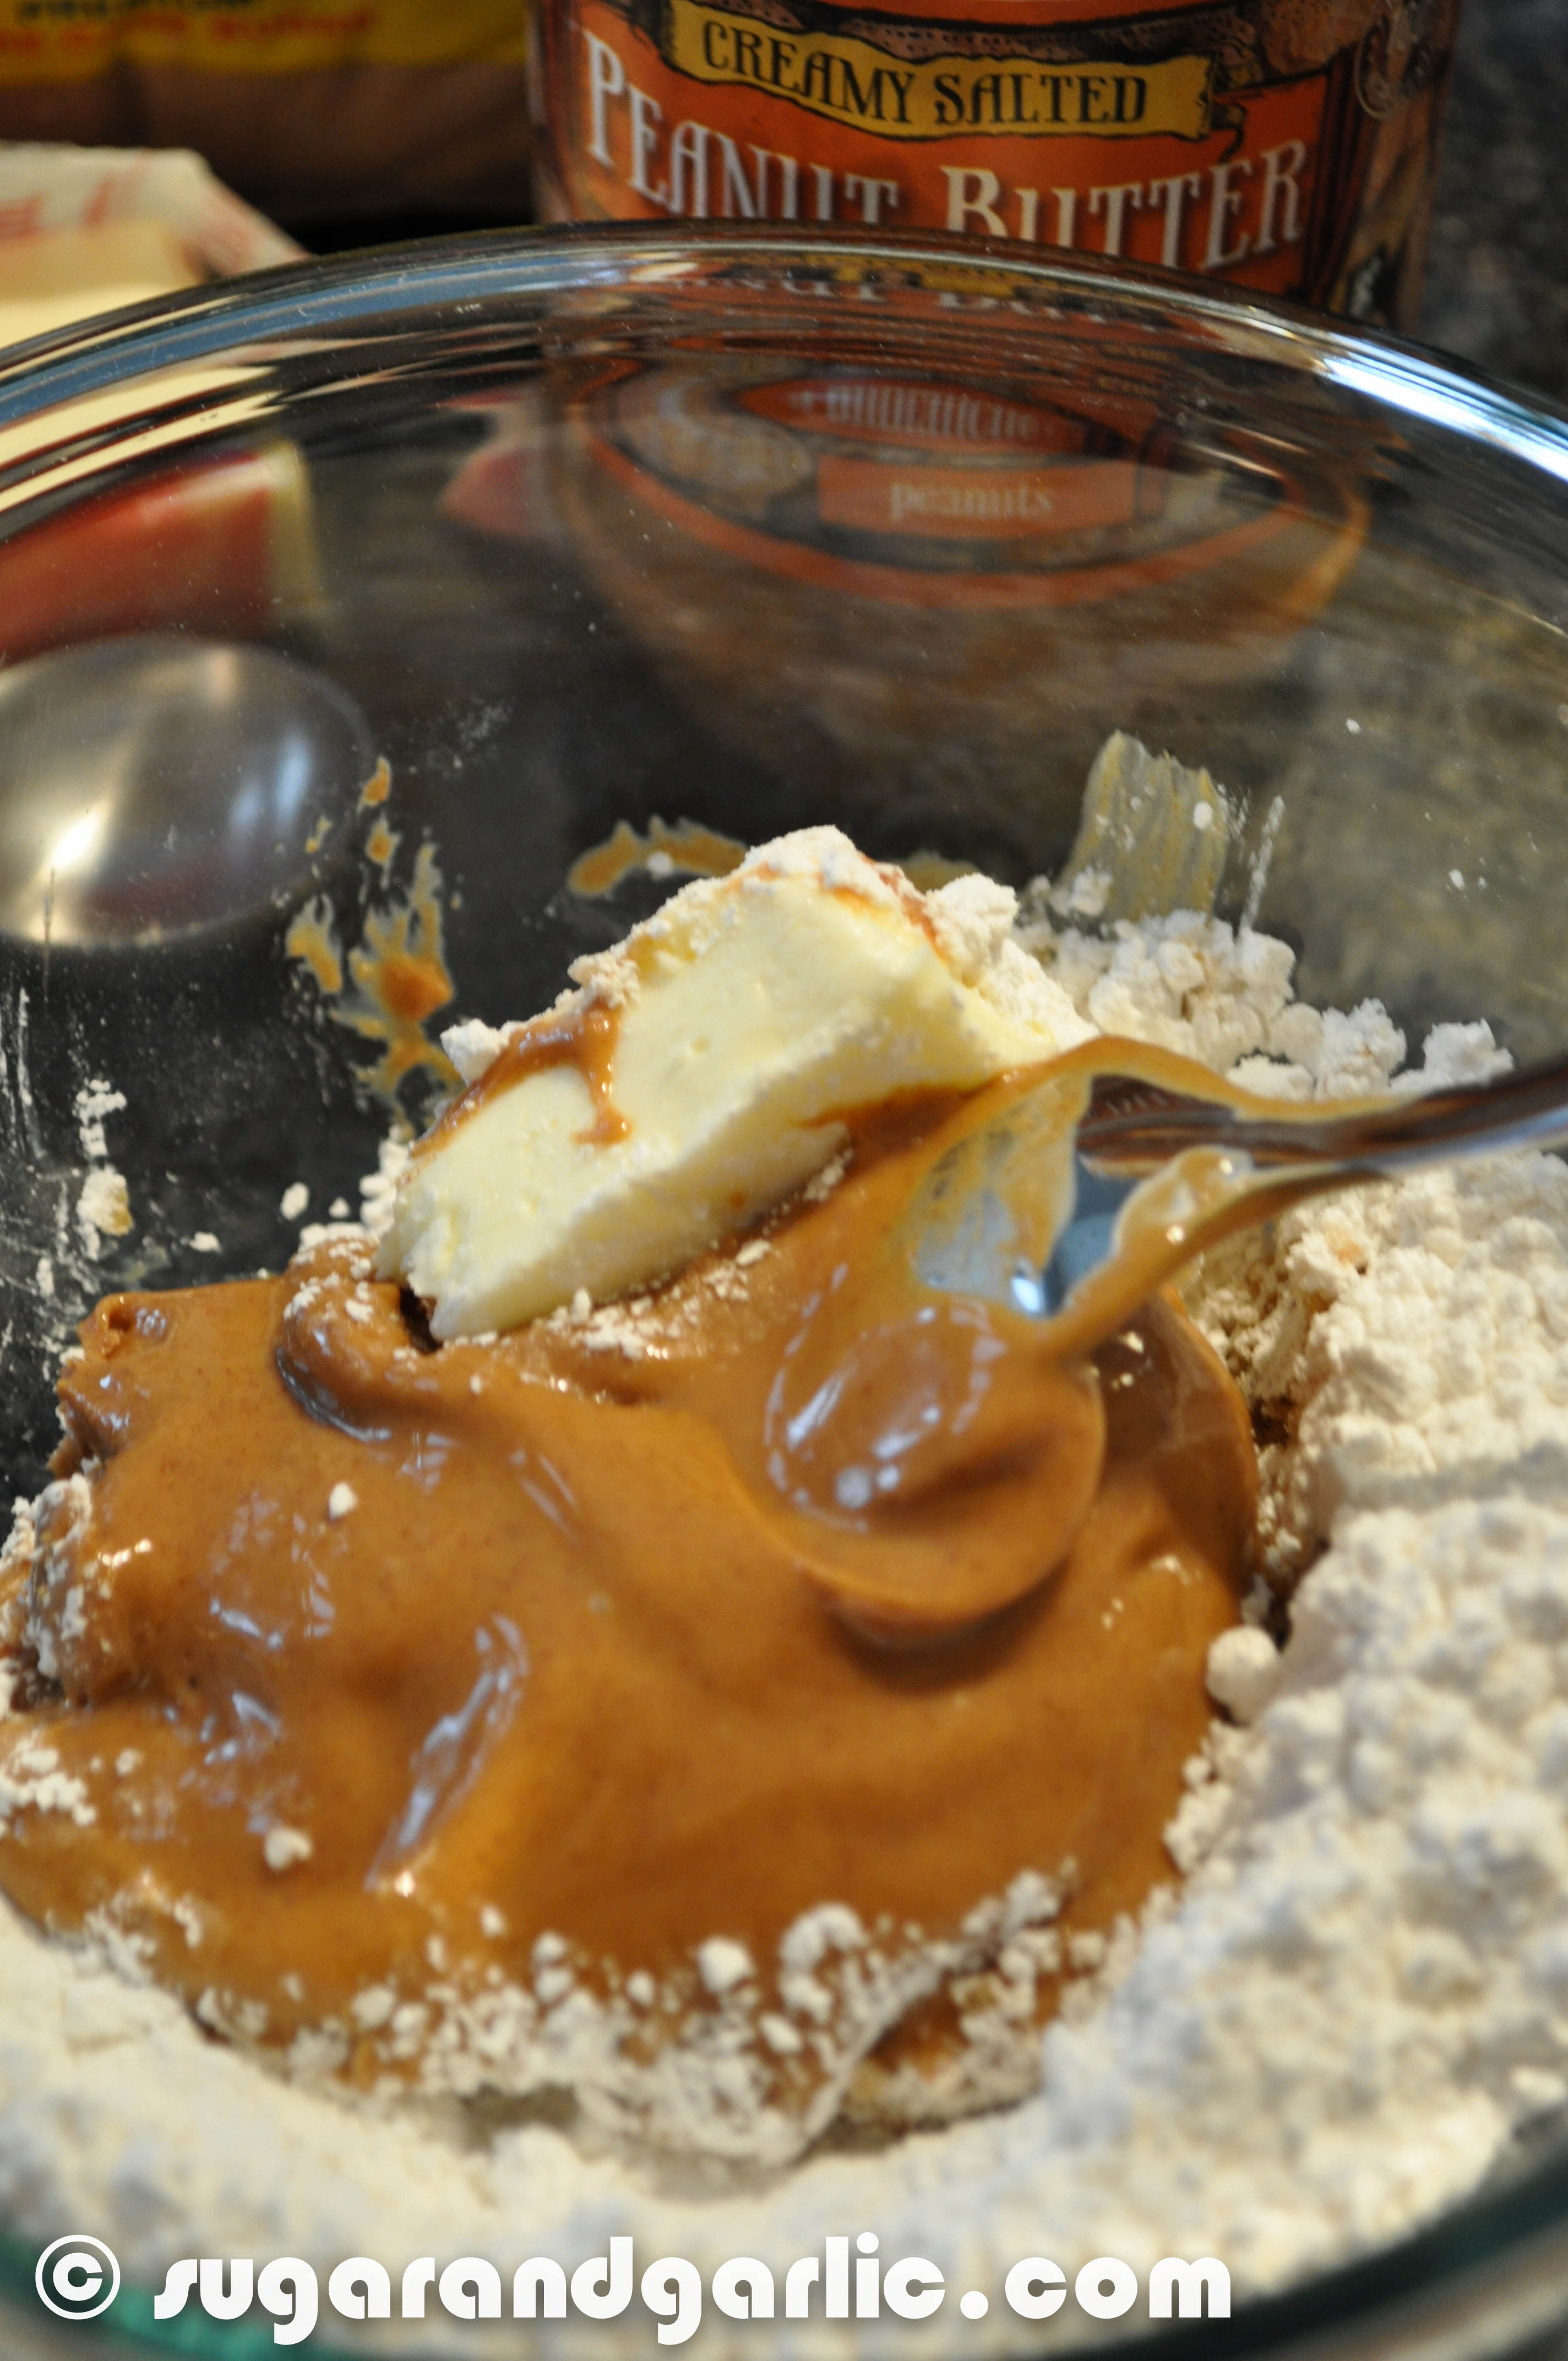
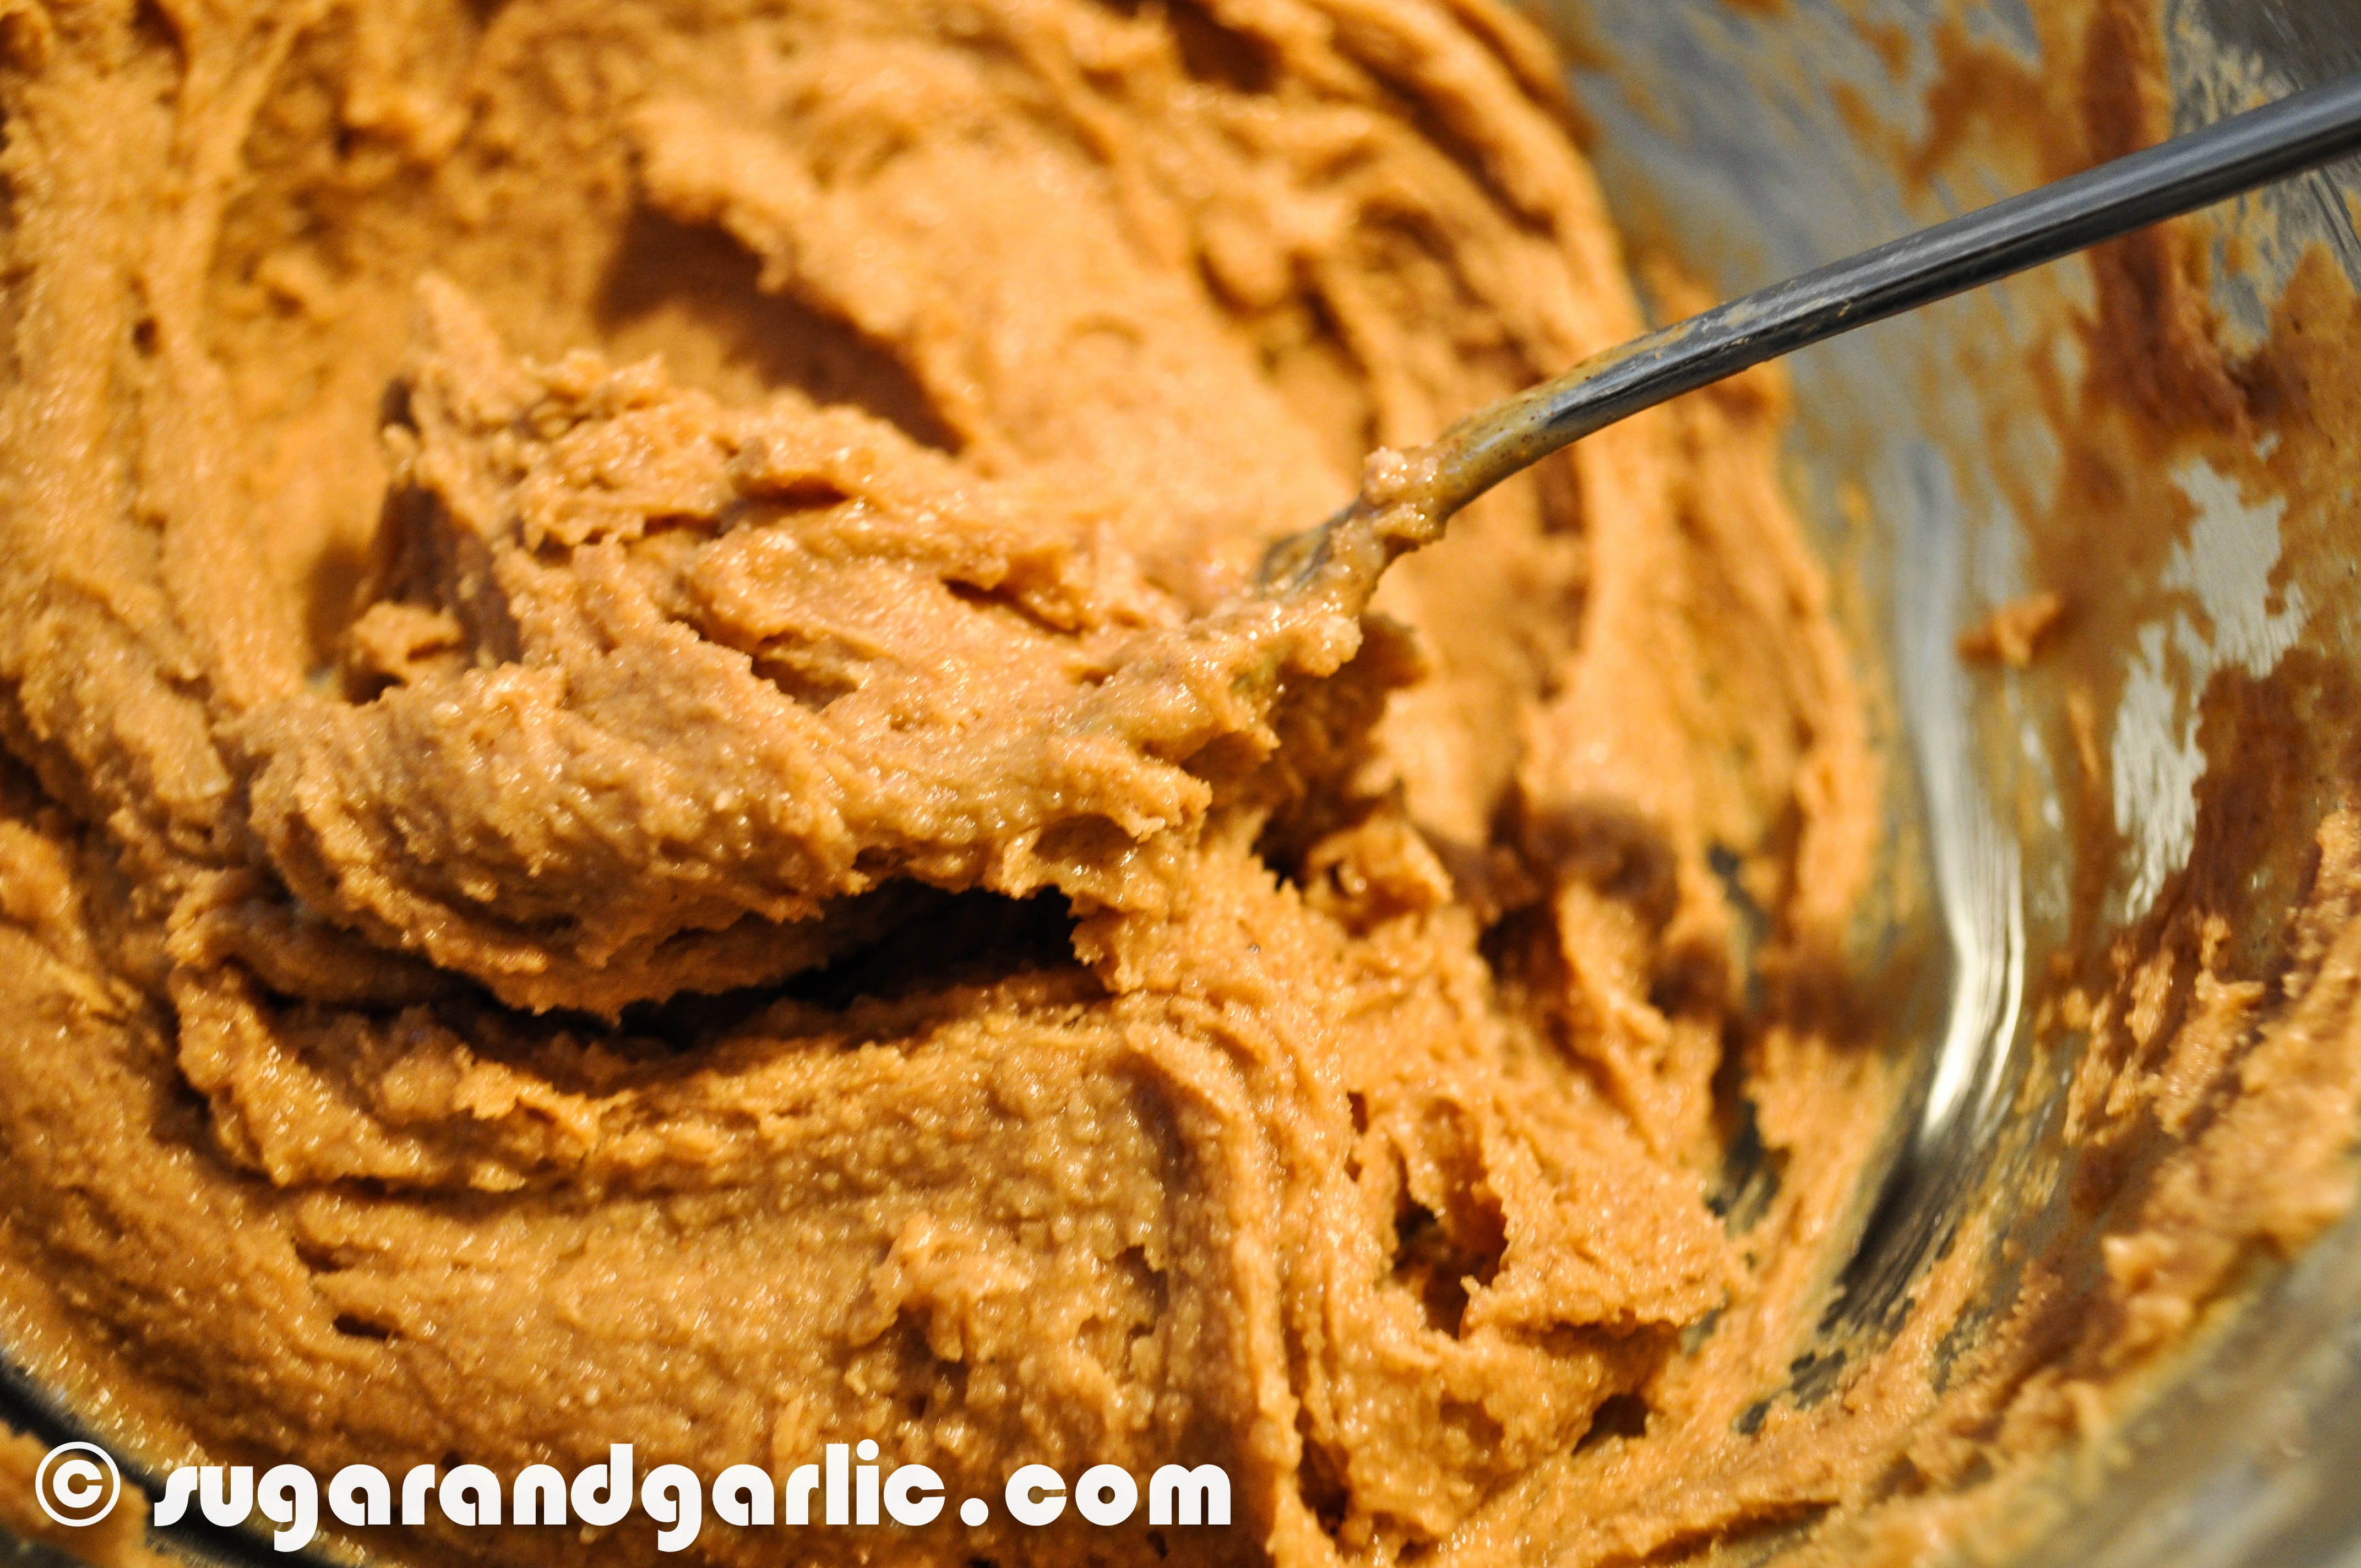
My equally obsessed with chocolate + peanut butter baker buddy Suzane (Hey Suzane!) came over and we decided to embark on our own Ron Bennington because we just cannot afford the time or money to constantly stop at Molly’s. So here is our ripped recipe that is actually super easy. Really, we pulled this off with 2 screaming toddlers running around and a major time crunch! While my walls and bed sheets ended up with a mess of crumbled cheese and whatever else the girls were getting into, these lovely cakes met a much sweeter destiny of chocolatey peanut buttery perfection. The peanut butter filling is very easy: creamy peanut butter, brown sugar, powdered sugar, butter, and whipping cream. The chocolate cupcake  is a very rich and decadent formation of cocoa powder and melted chocolate. The dark chocolate frosting is to die for. This is my favorite chocolate frosting and it is definitely going into my archives!

2013-11-07sugarandgarlic2013 2013-11-06sugarandgarlic2013-21

2013-11-07sugarandgarlic2013-2 2013-11-06sugarandgarlic2013-4 2013-11-06sugarandgarlic2013-9 2013-11-06sugarandgarlic2013-10
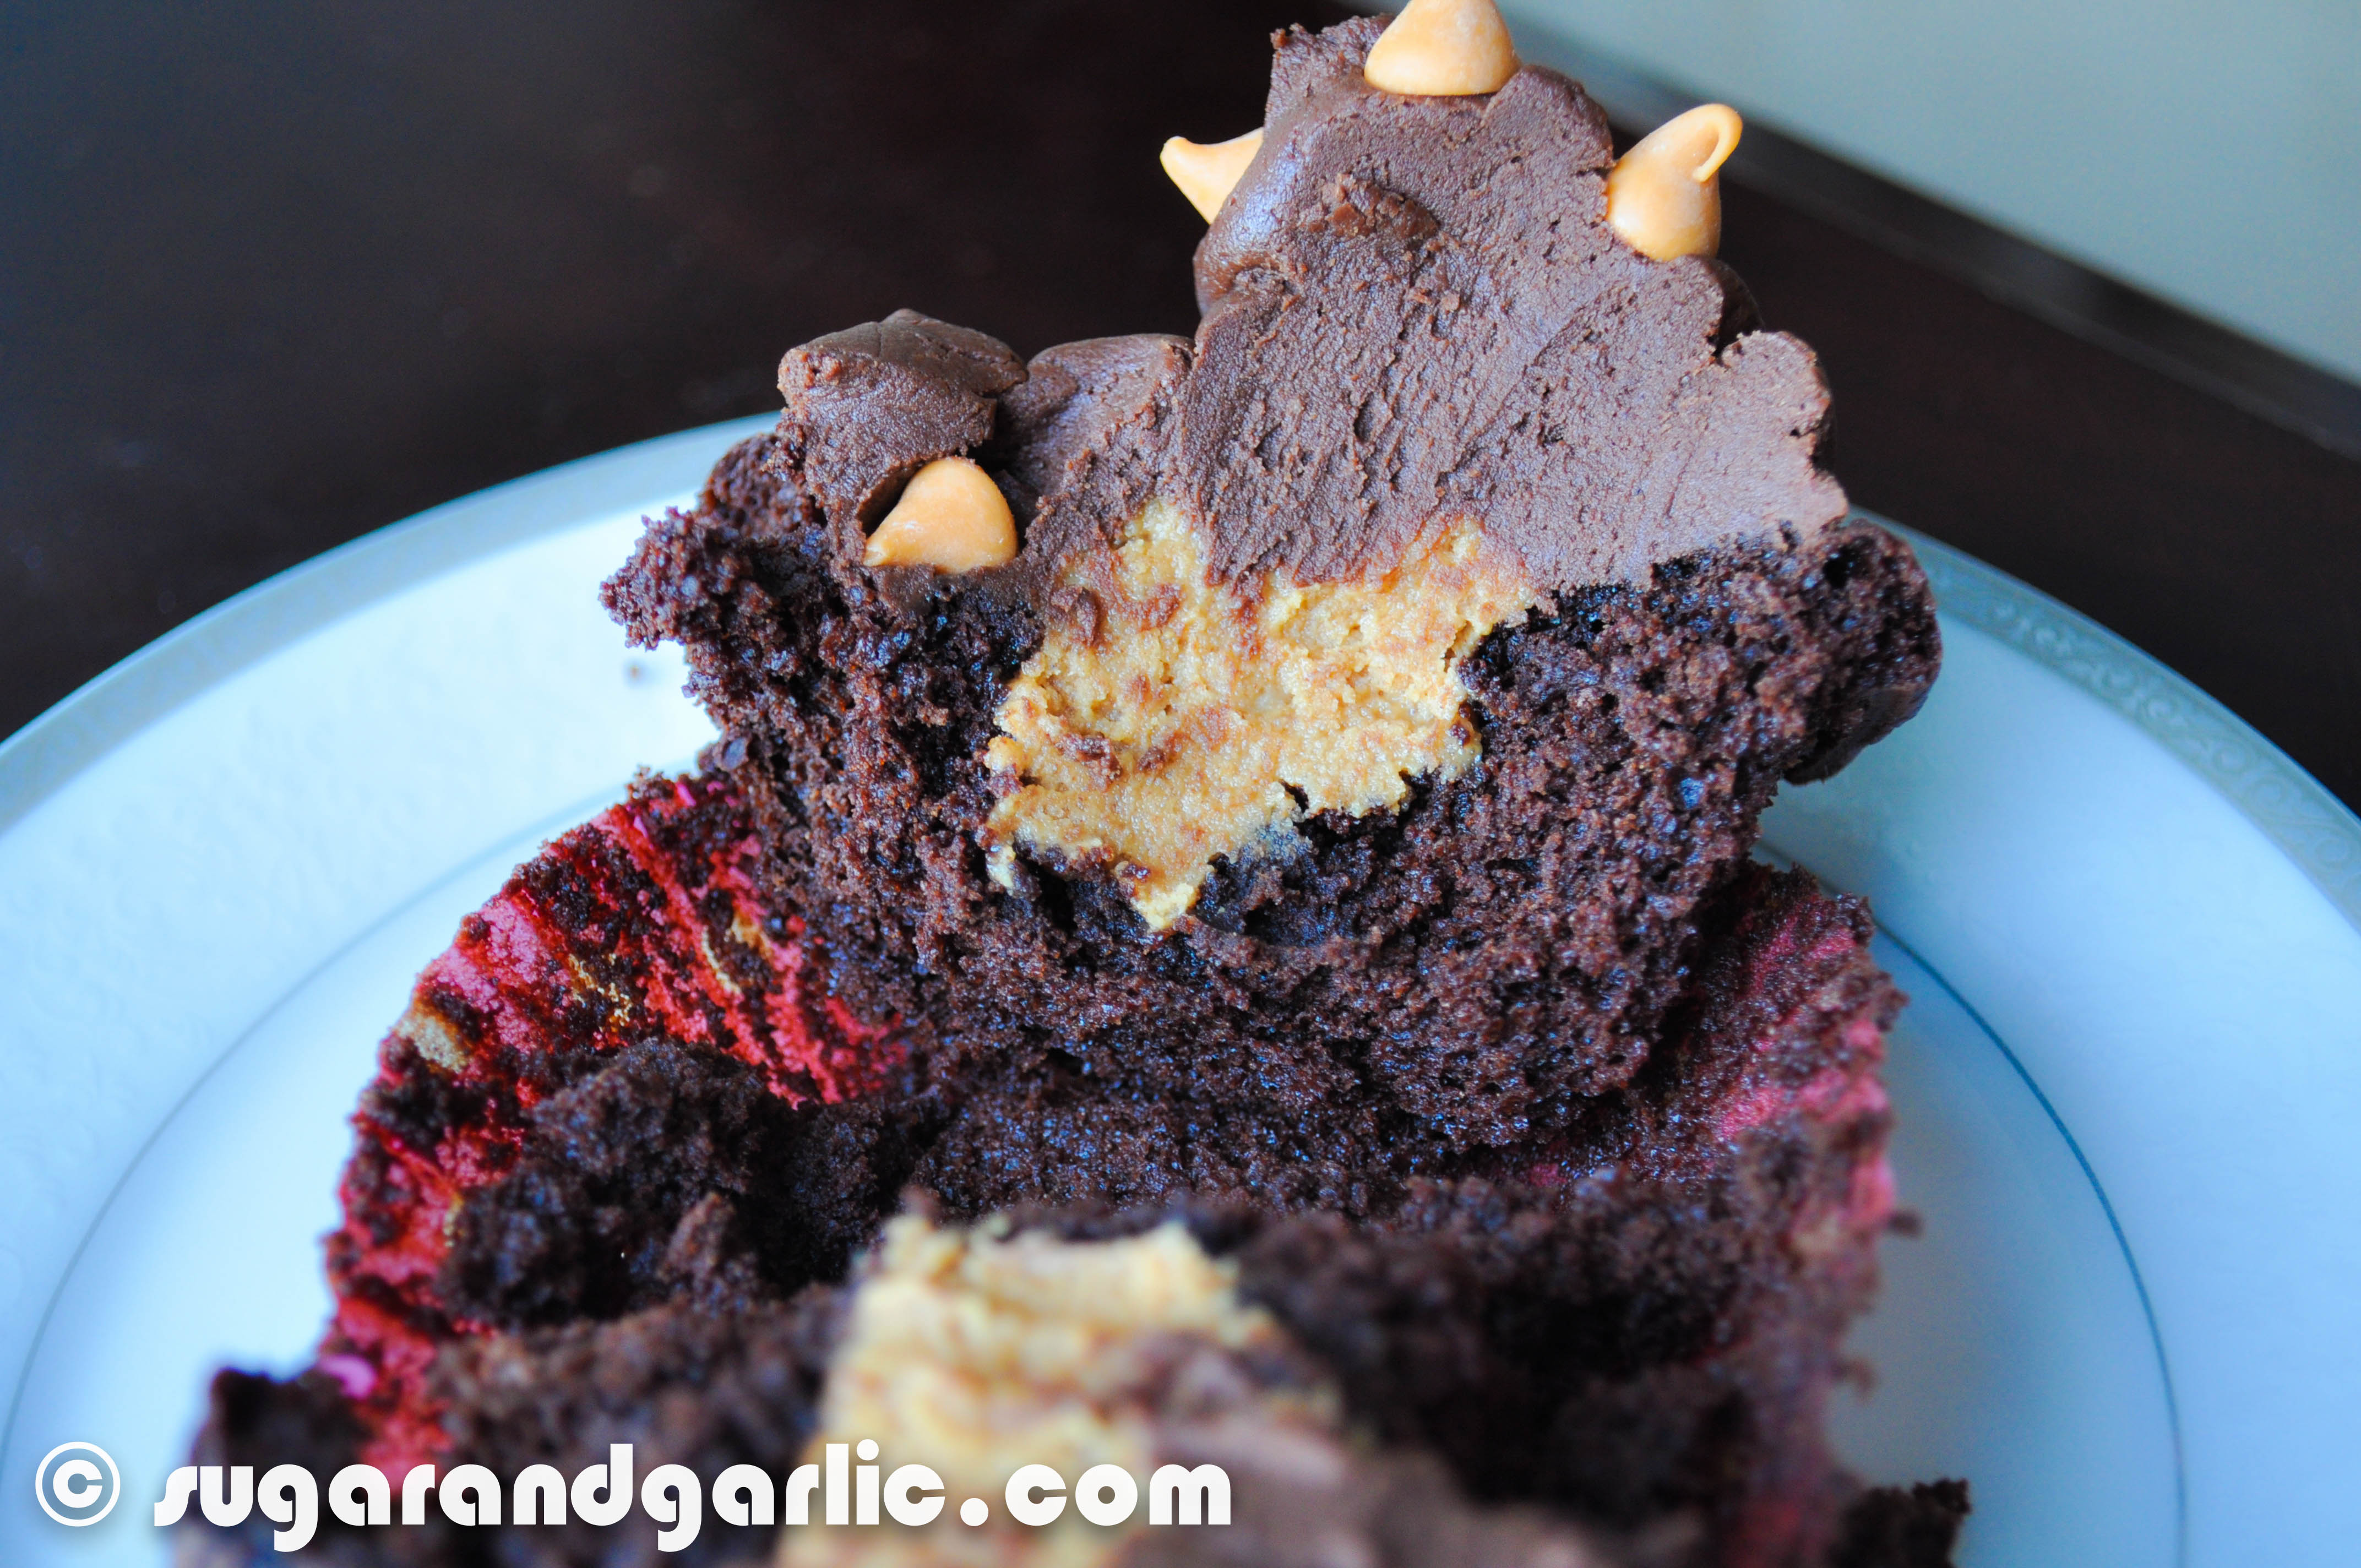
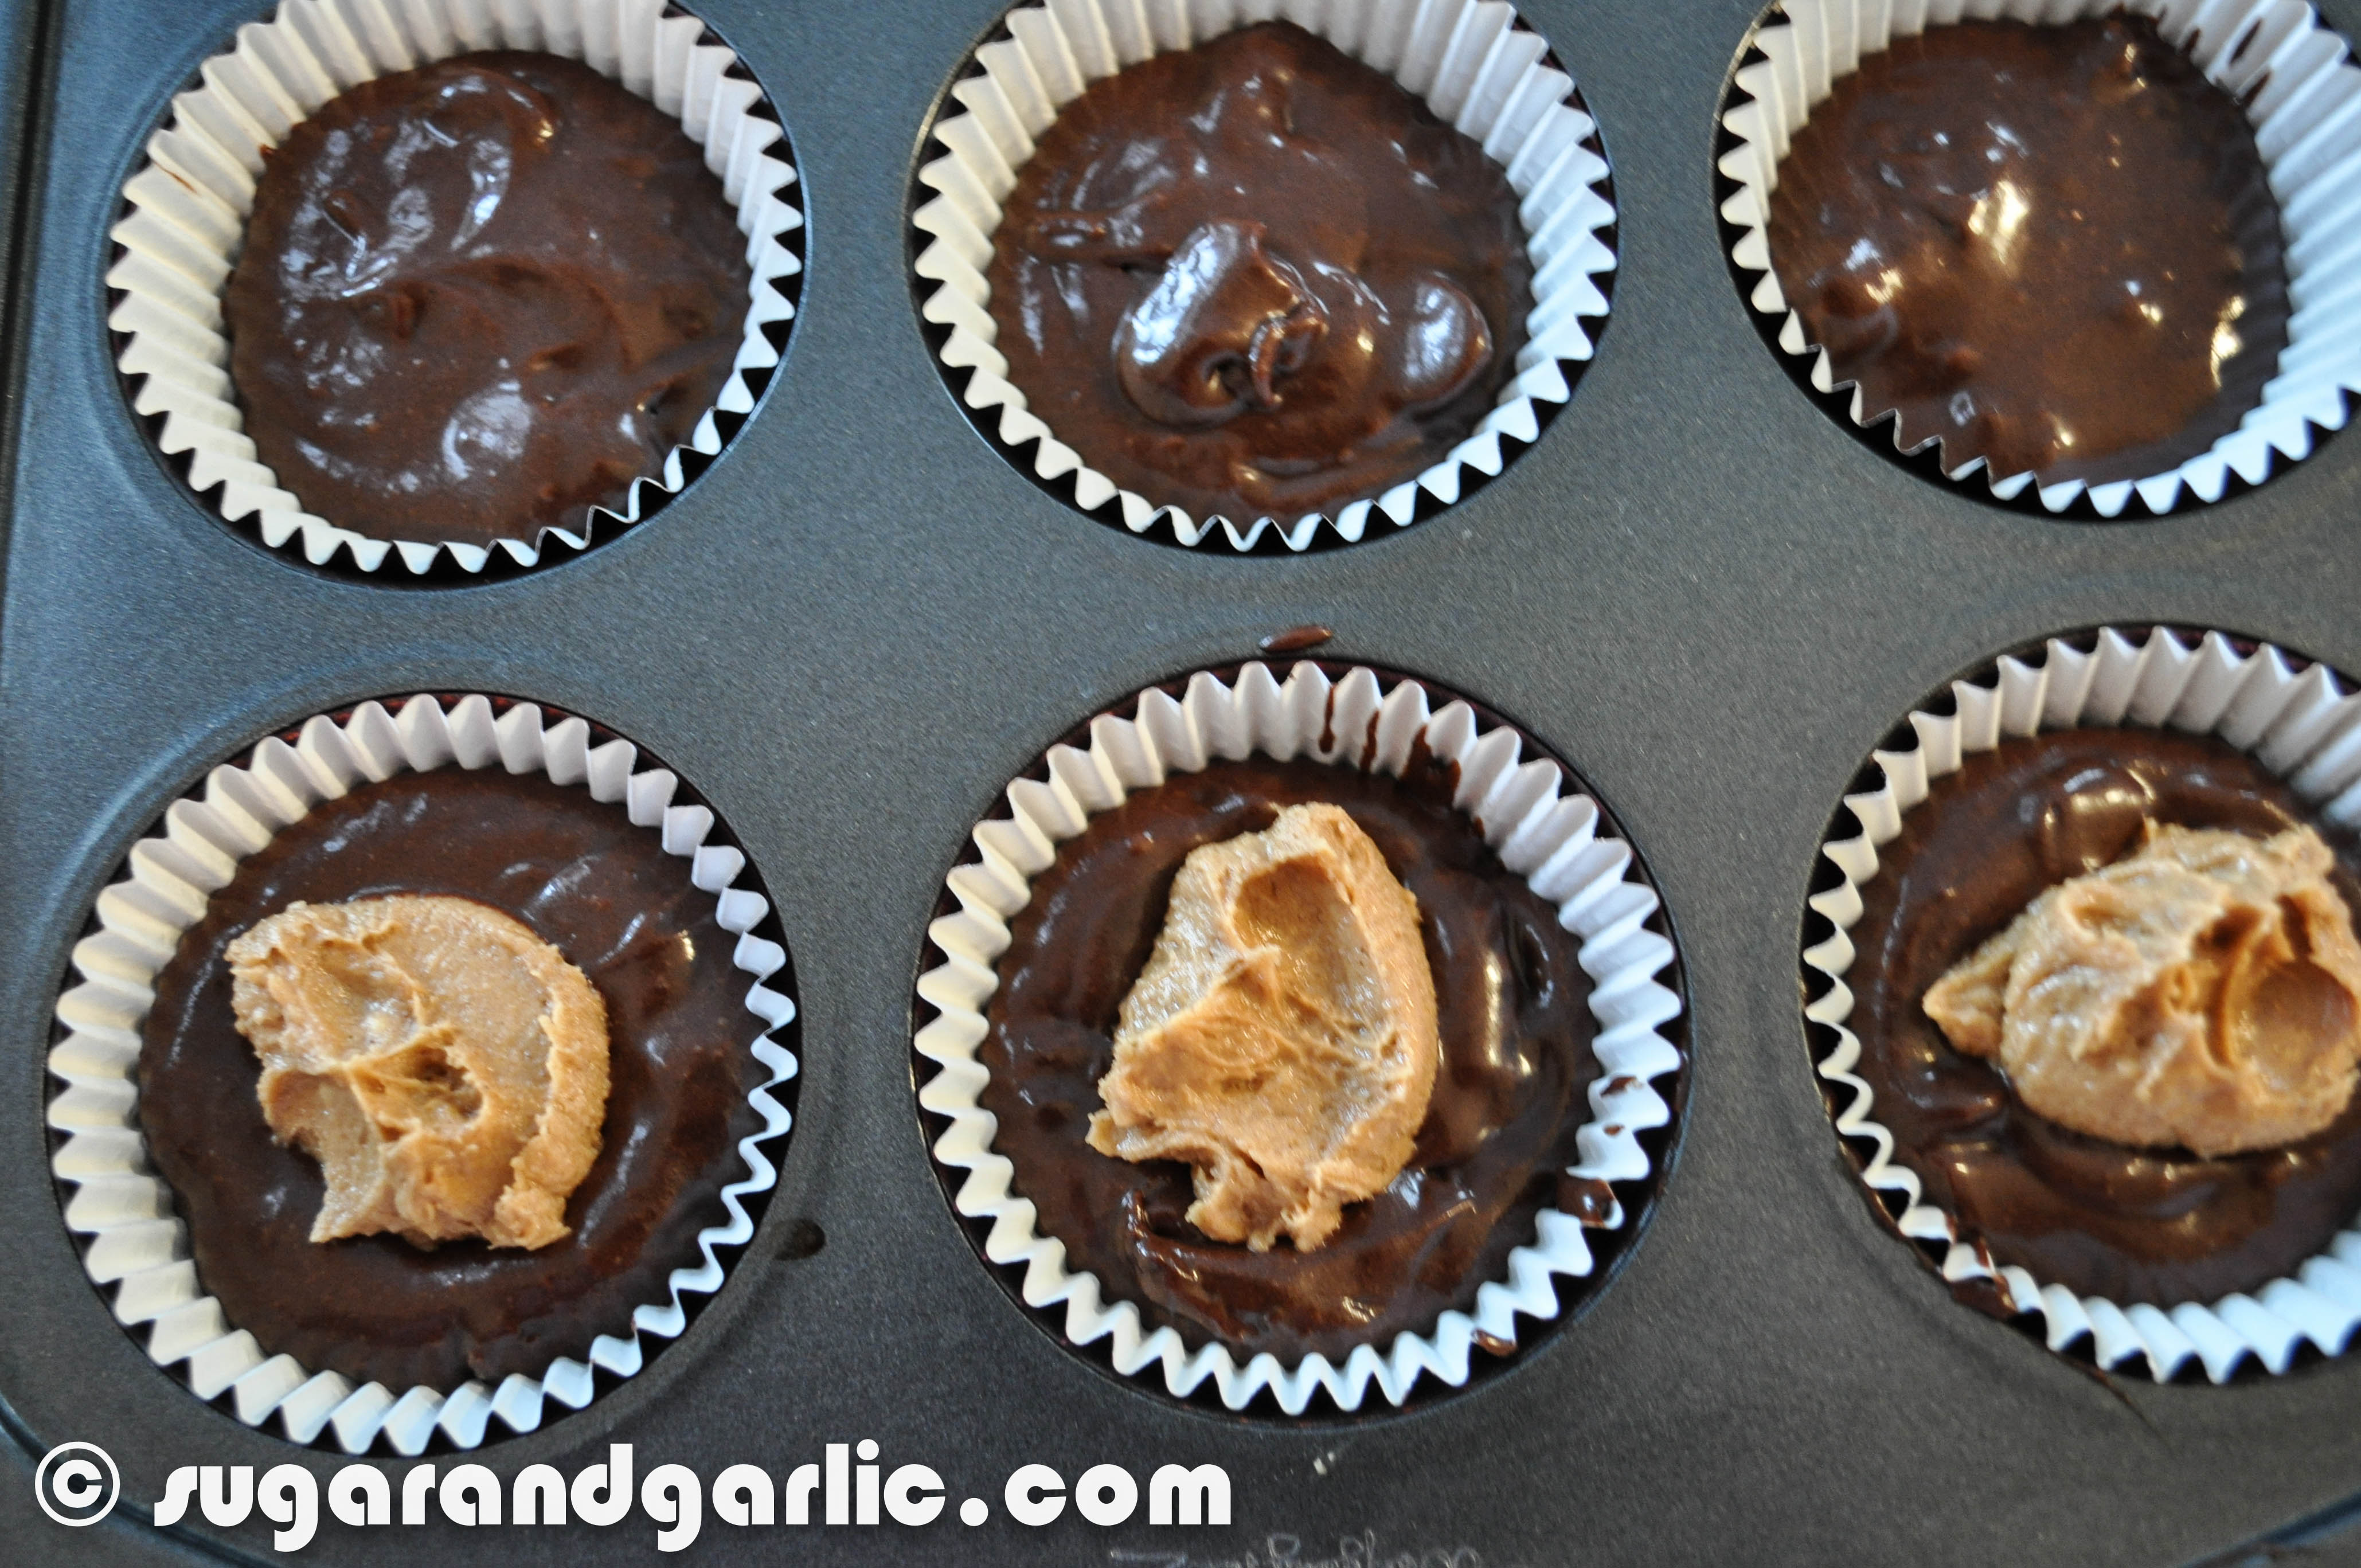
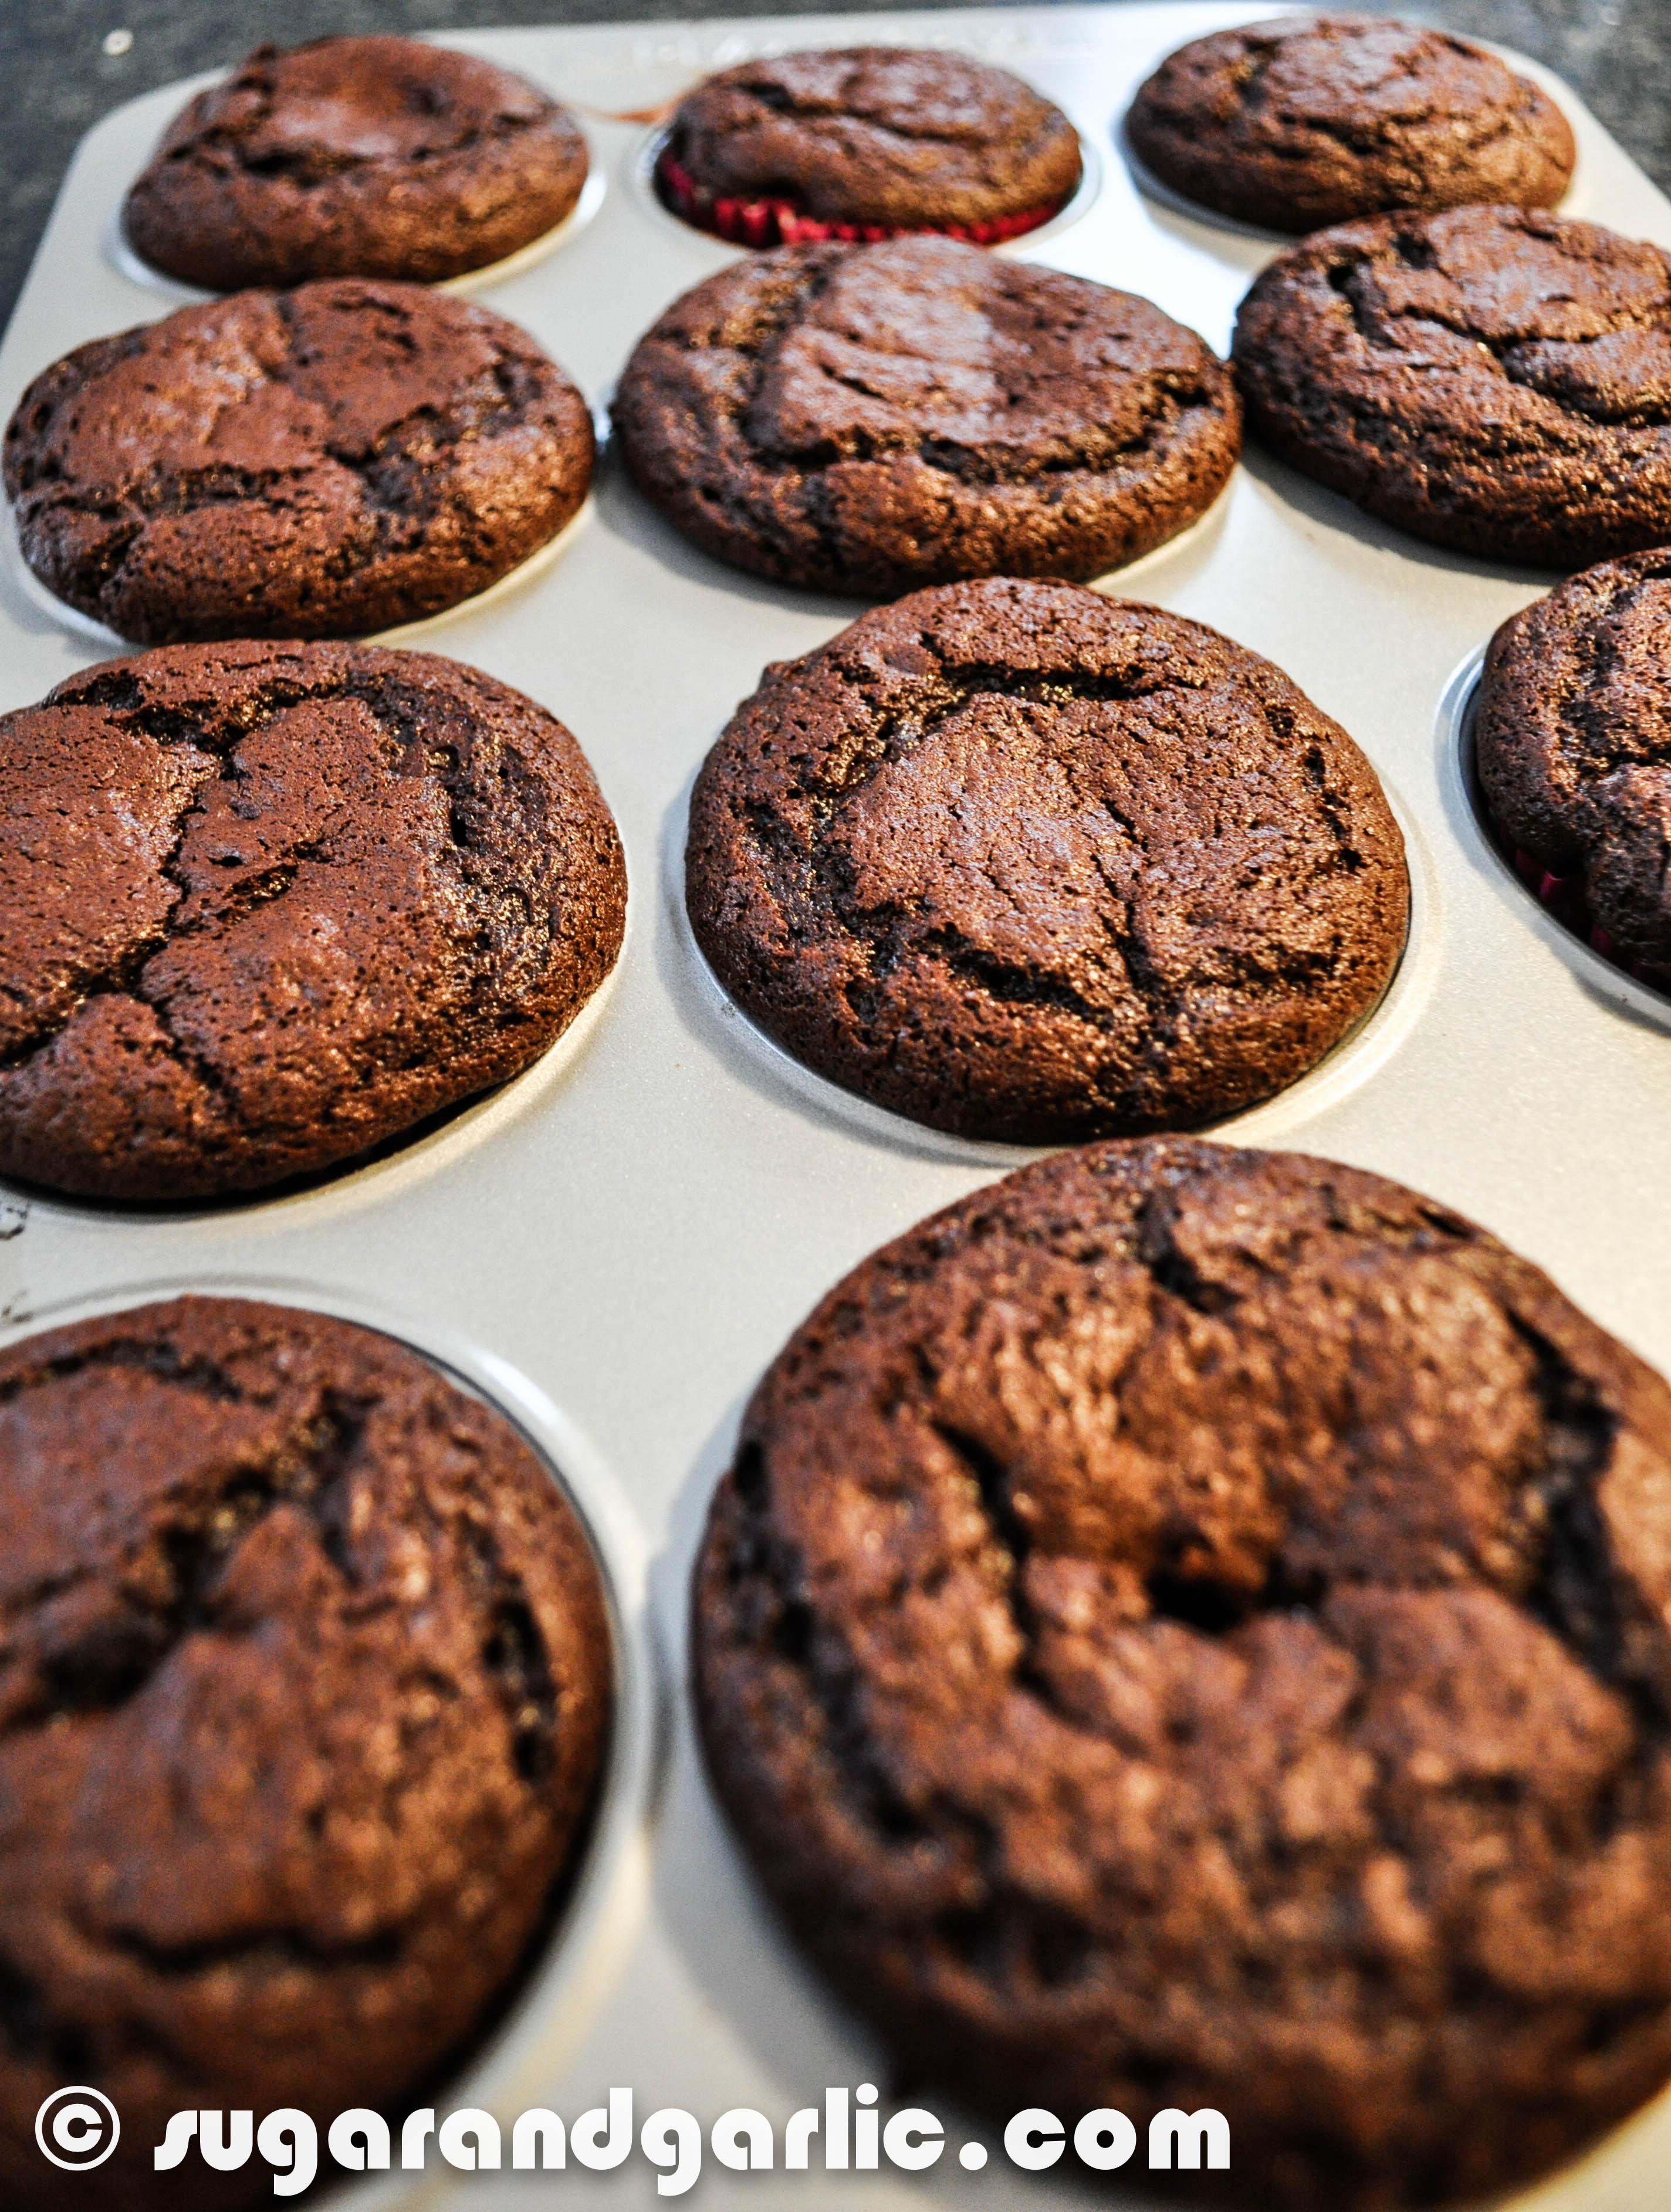
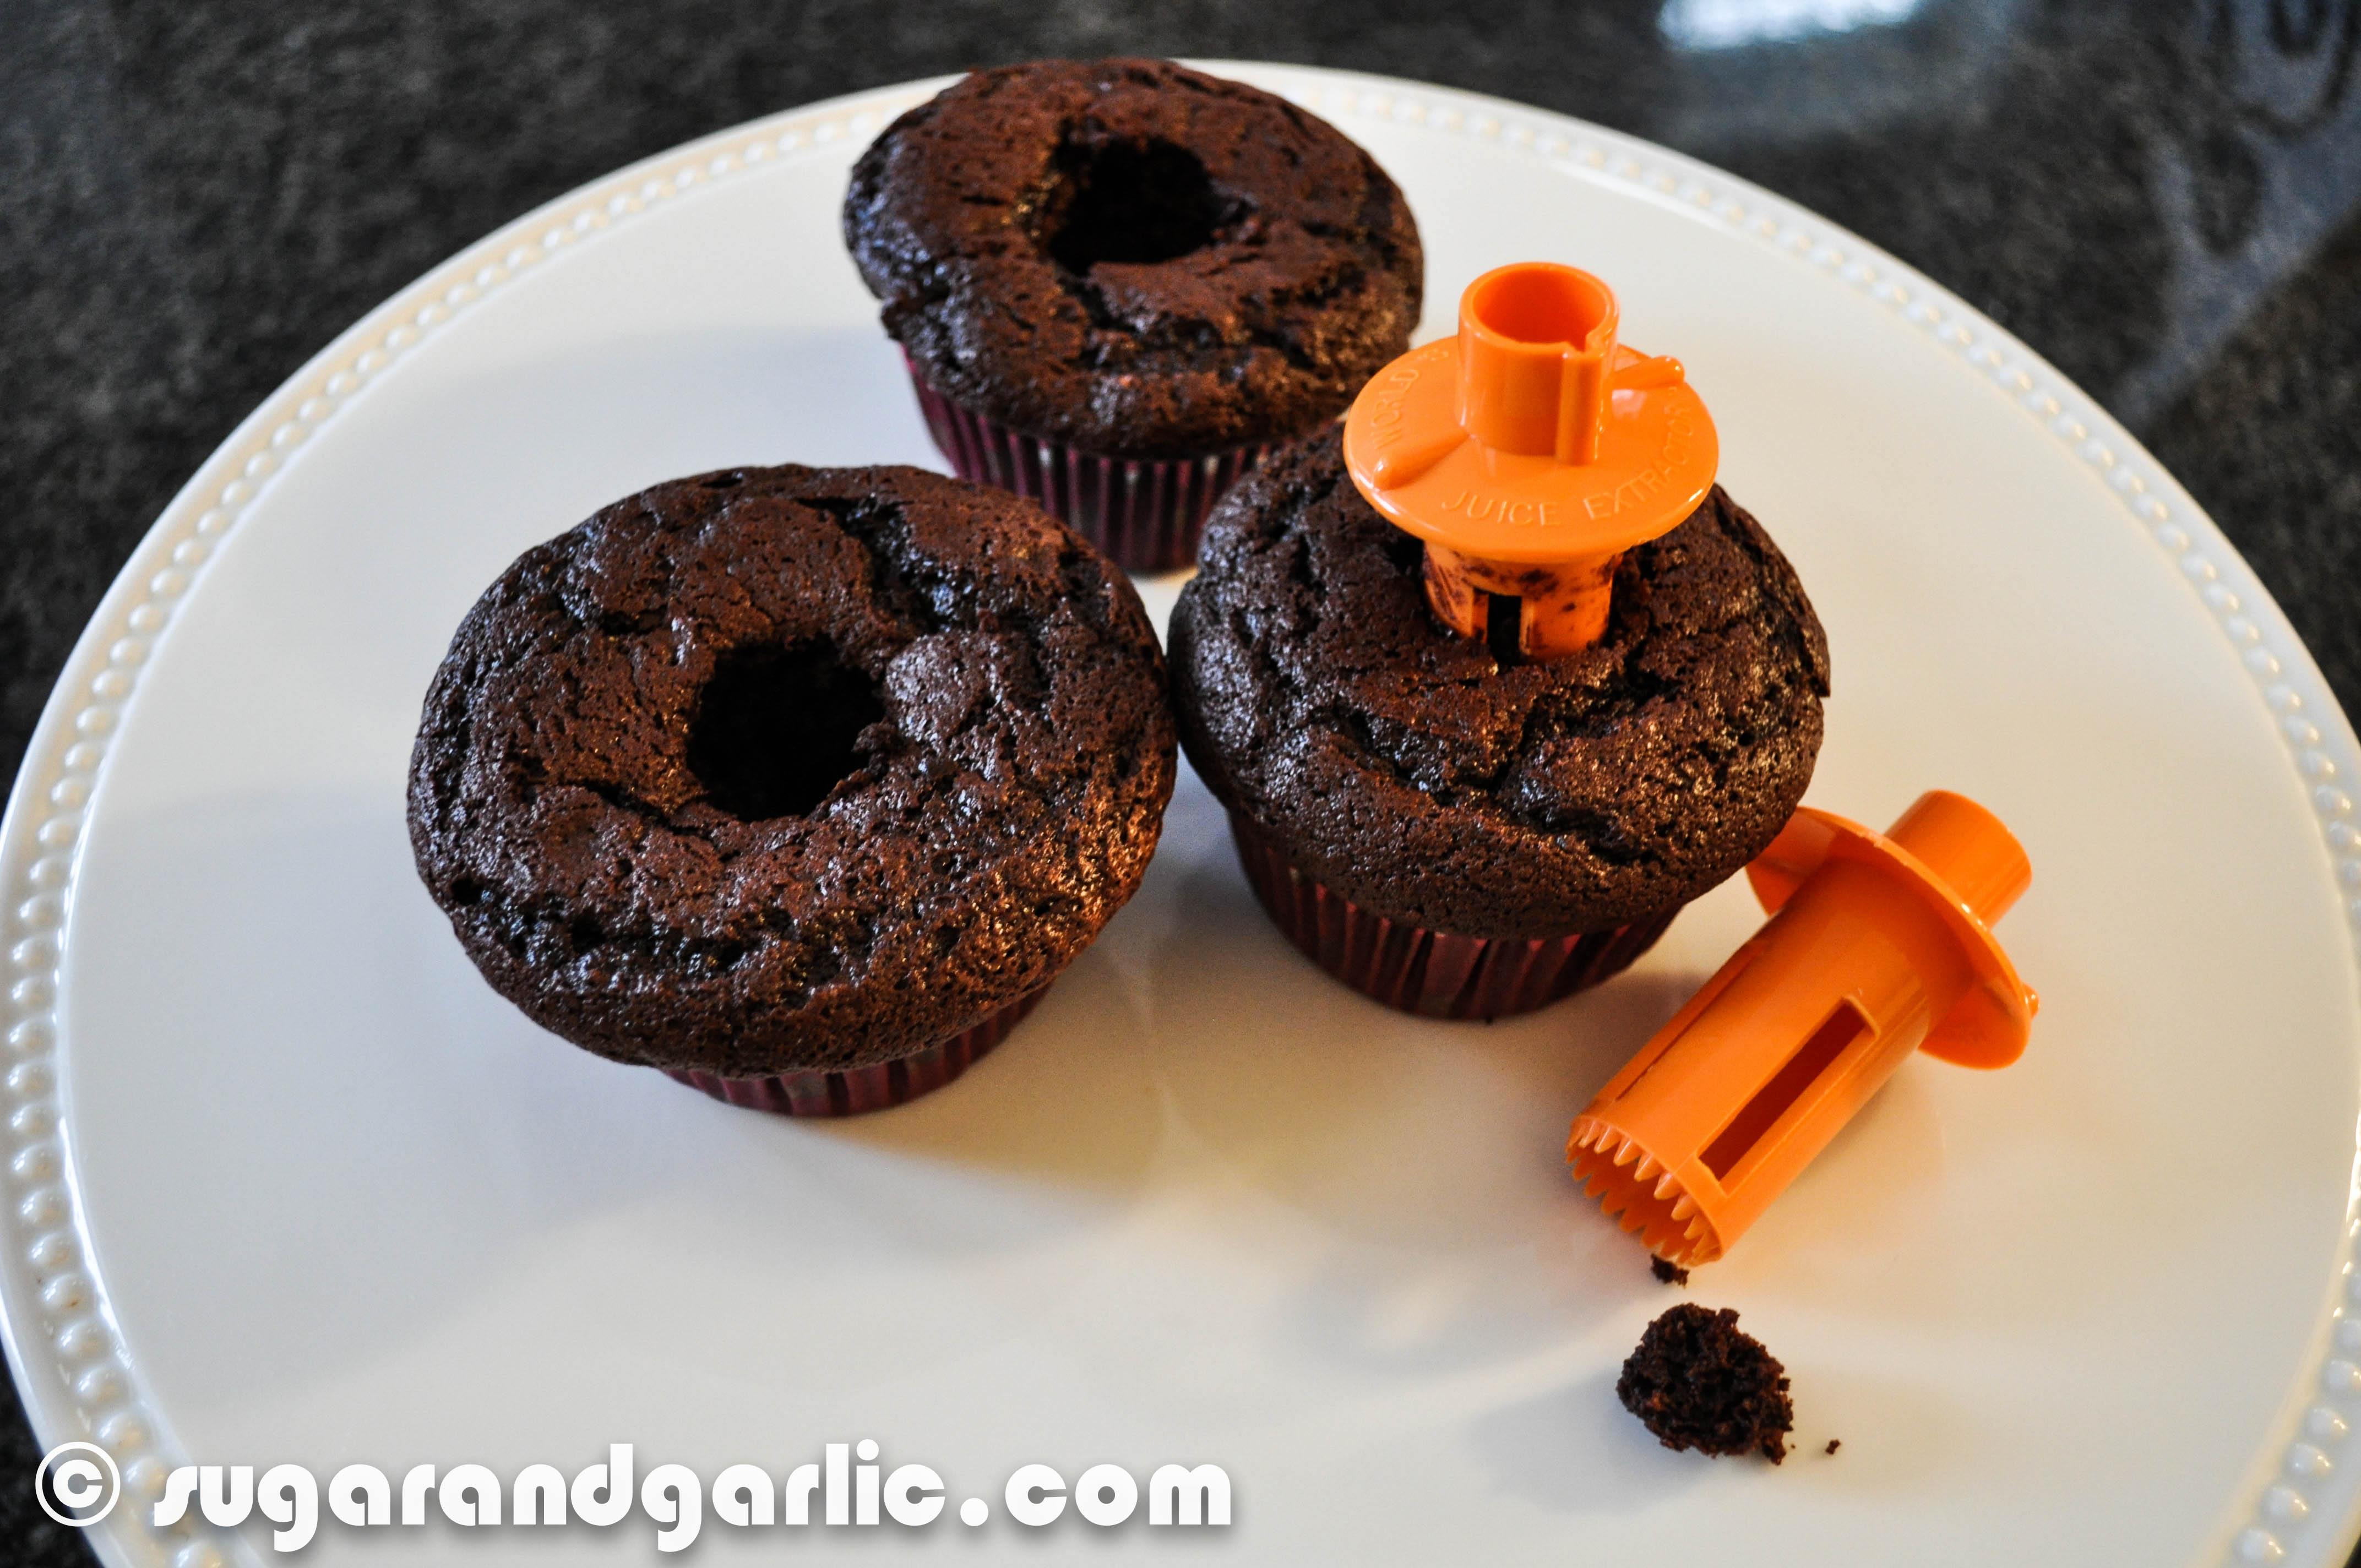
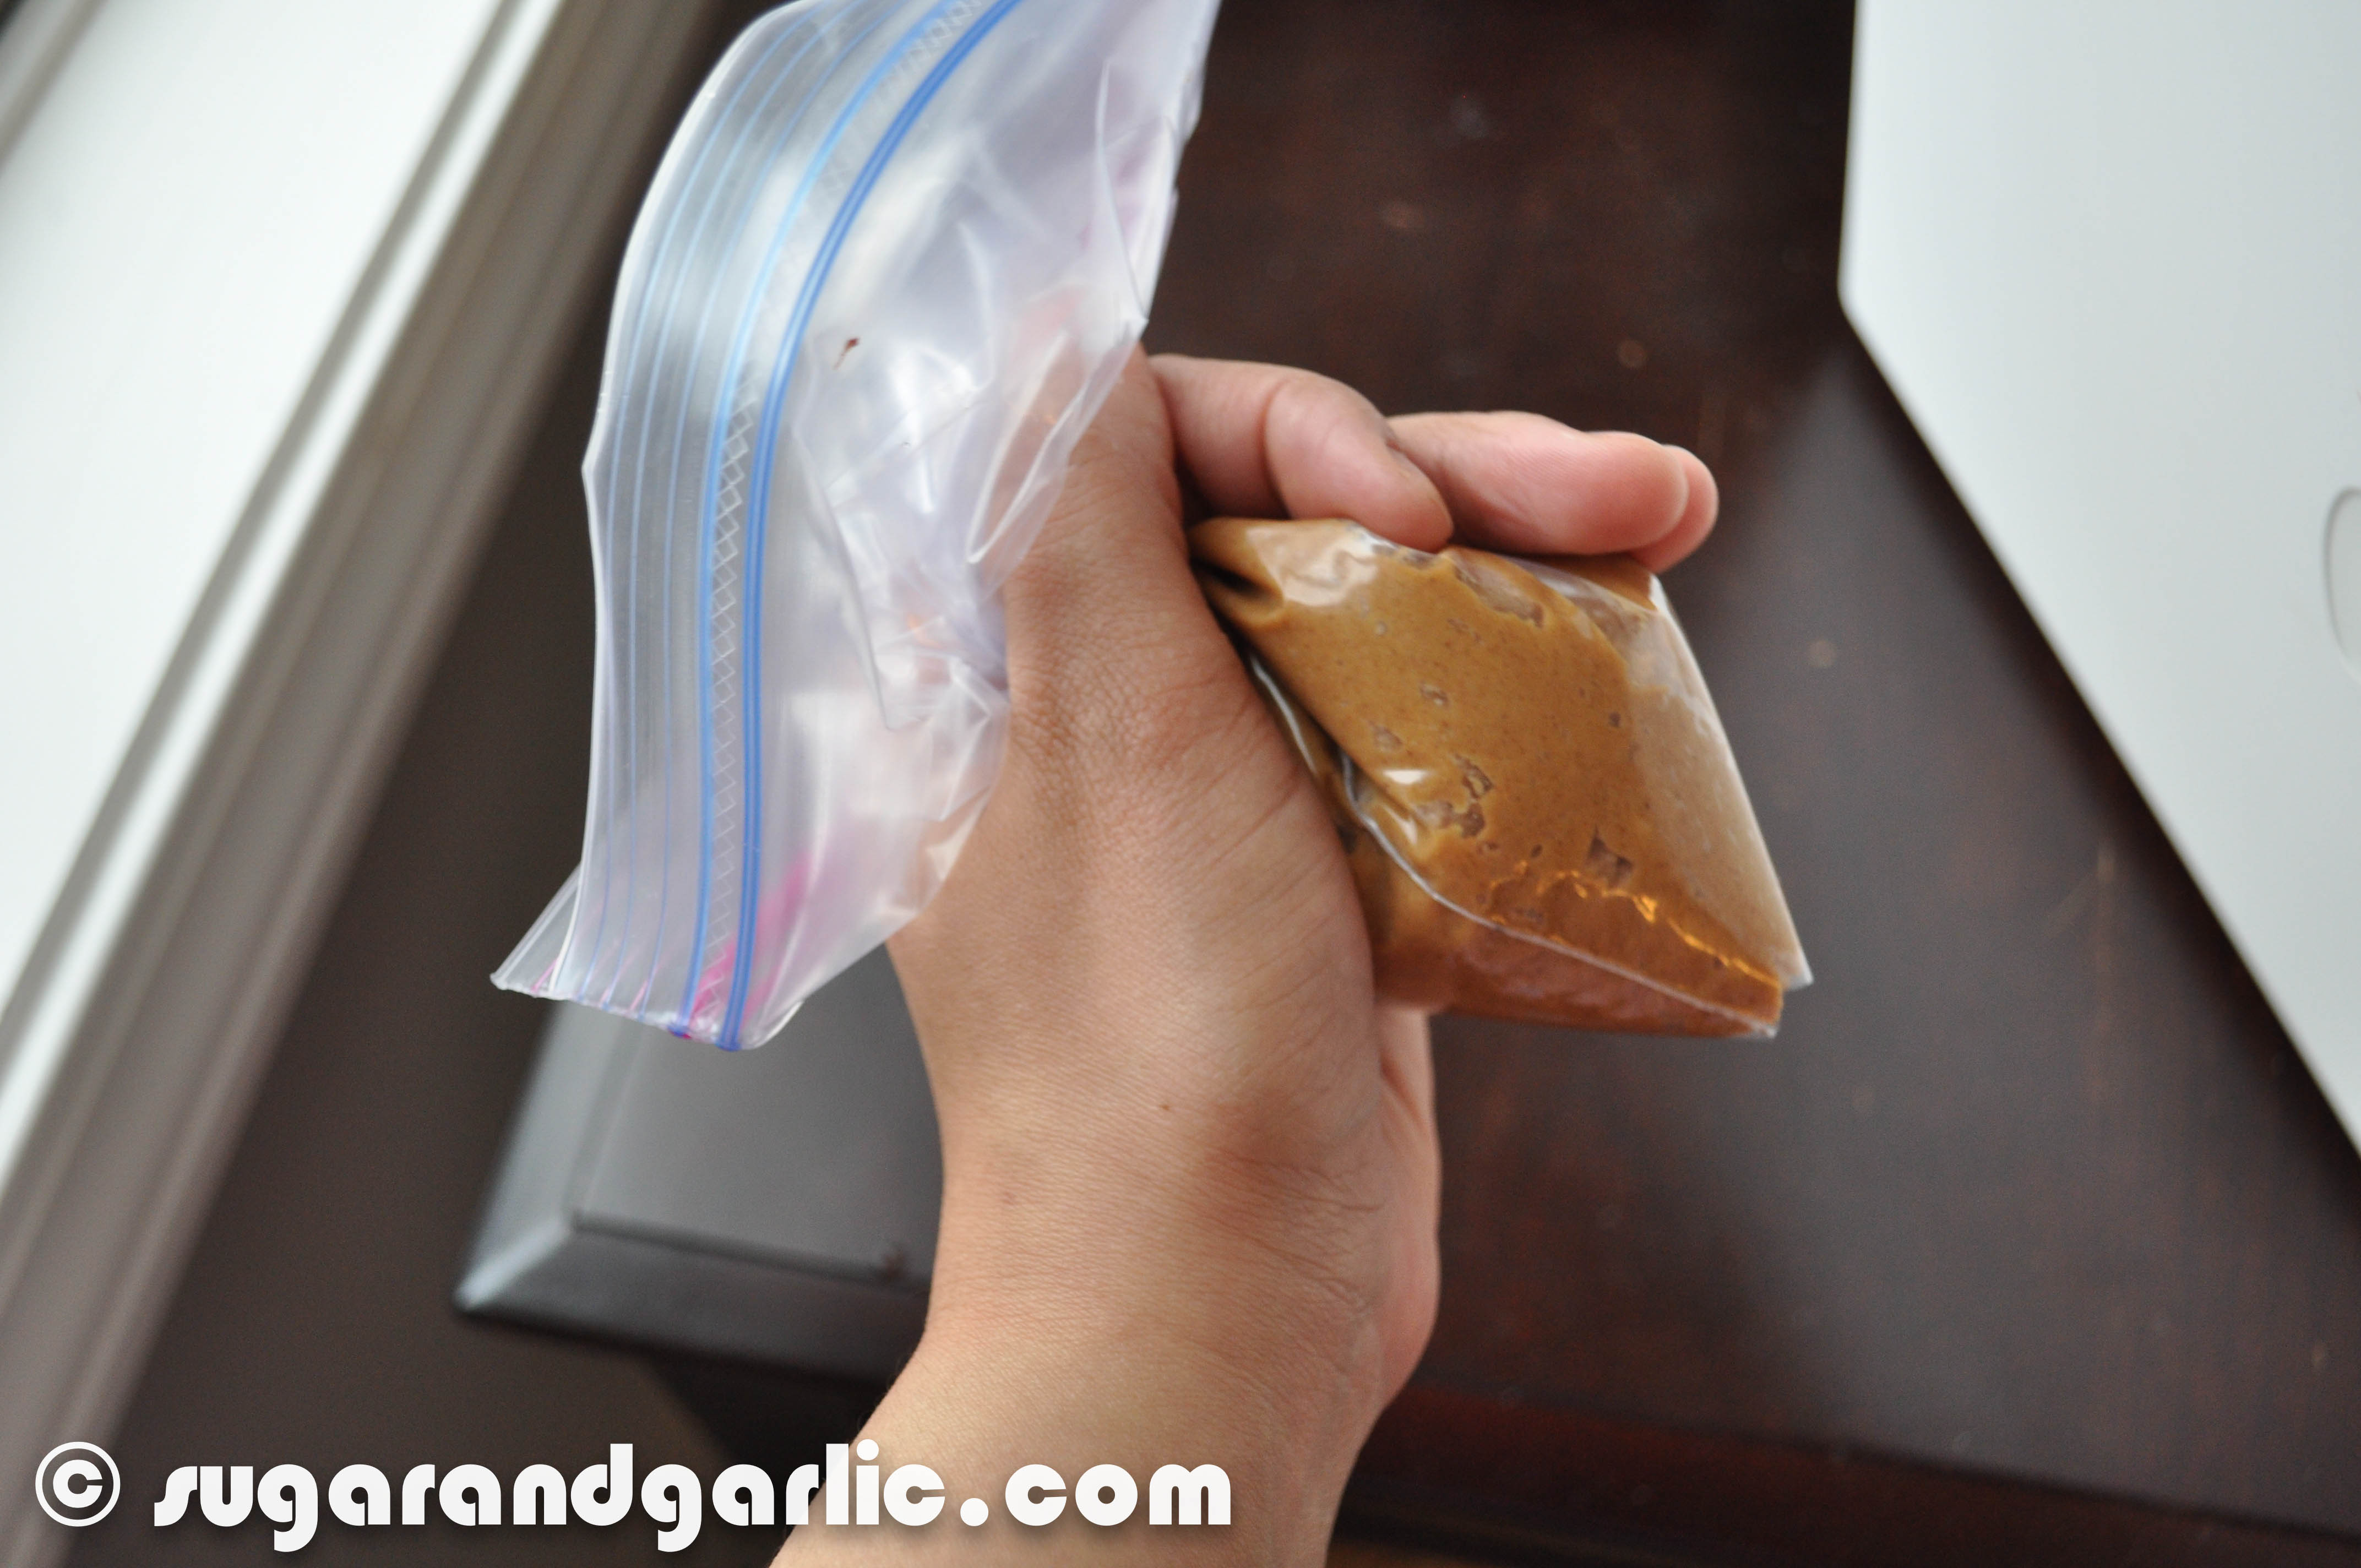
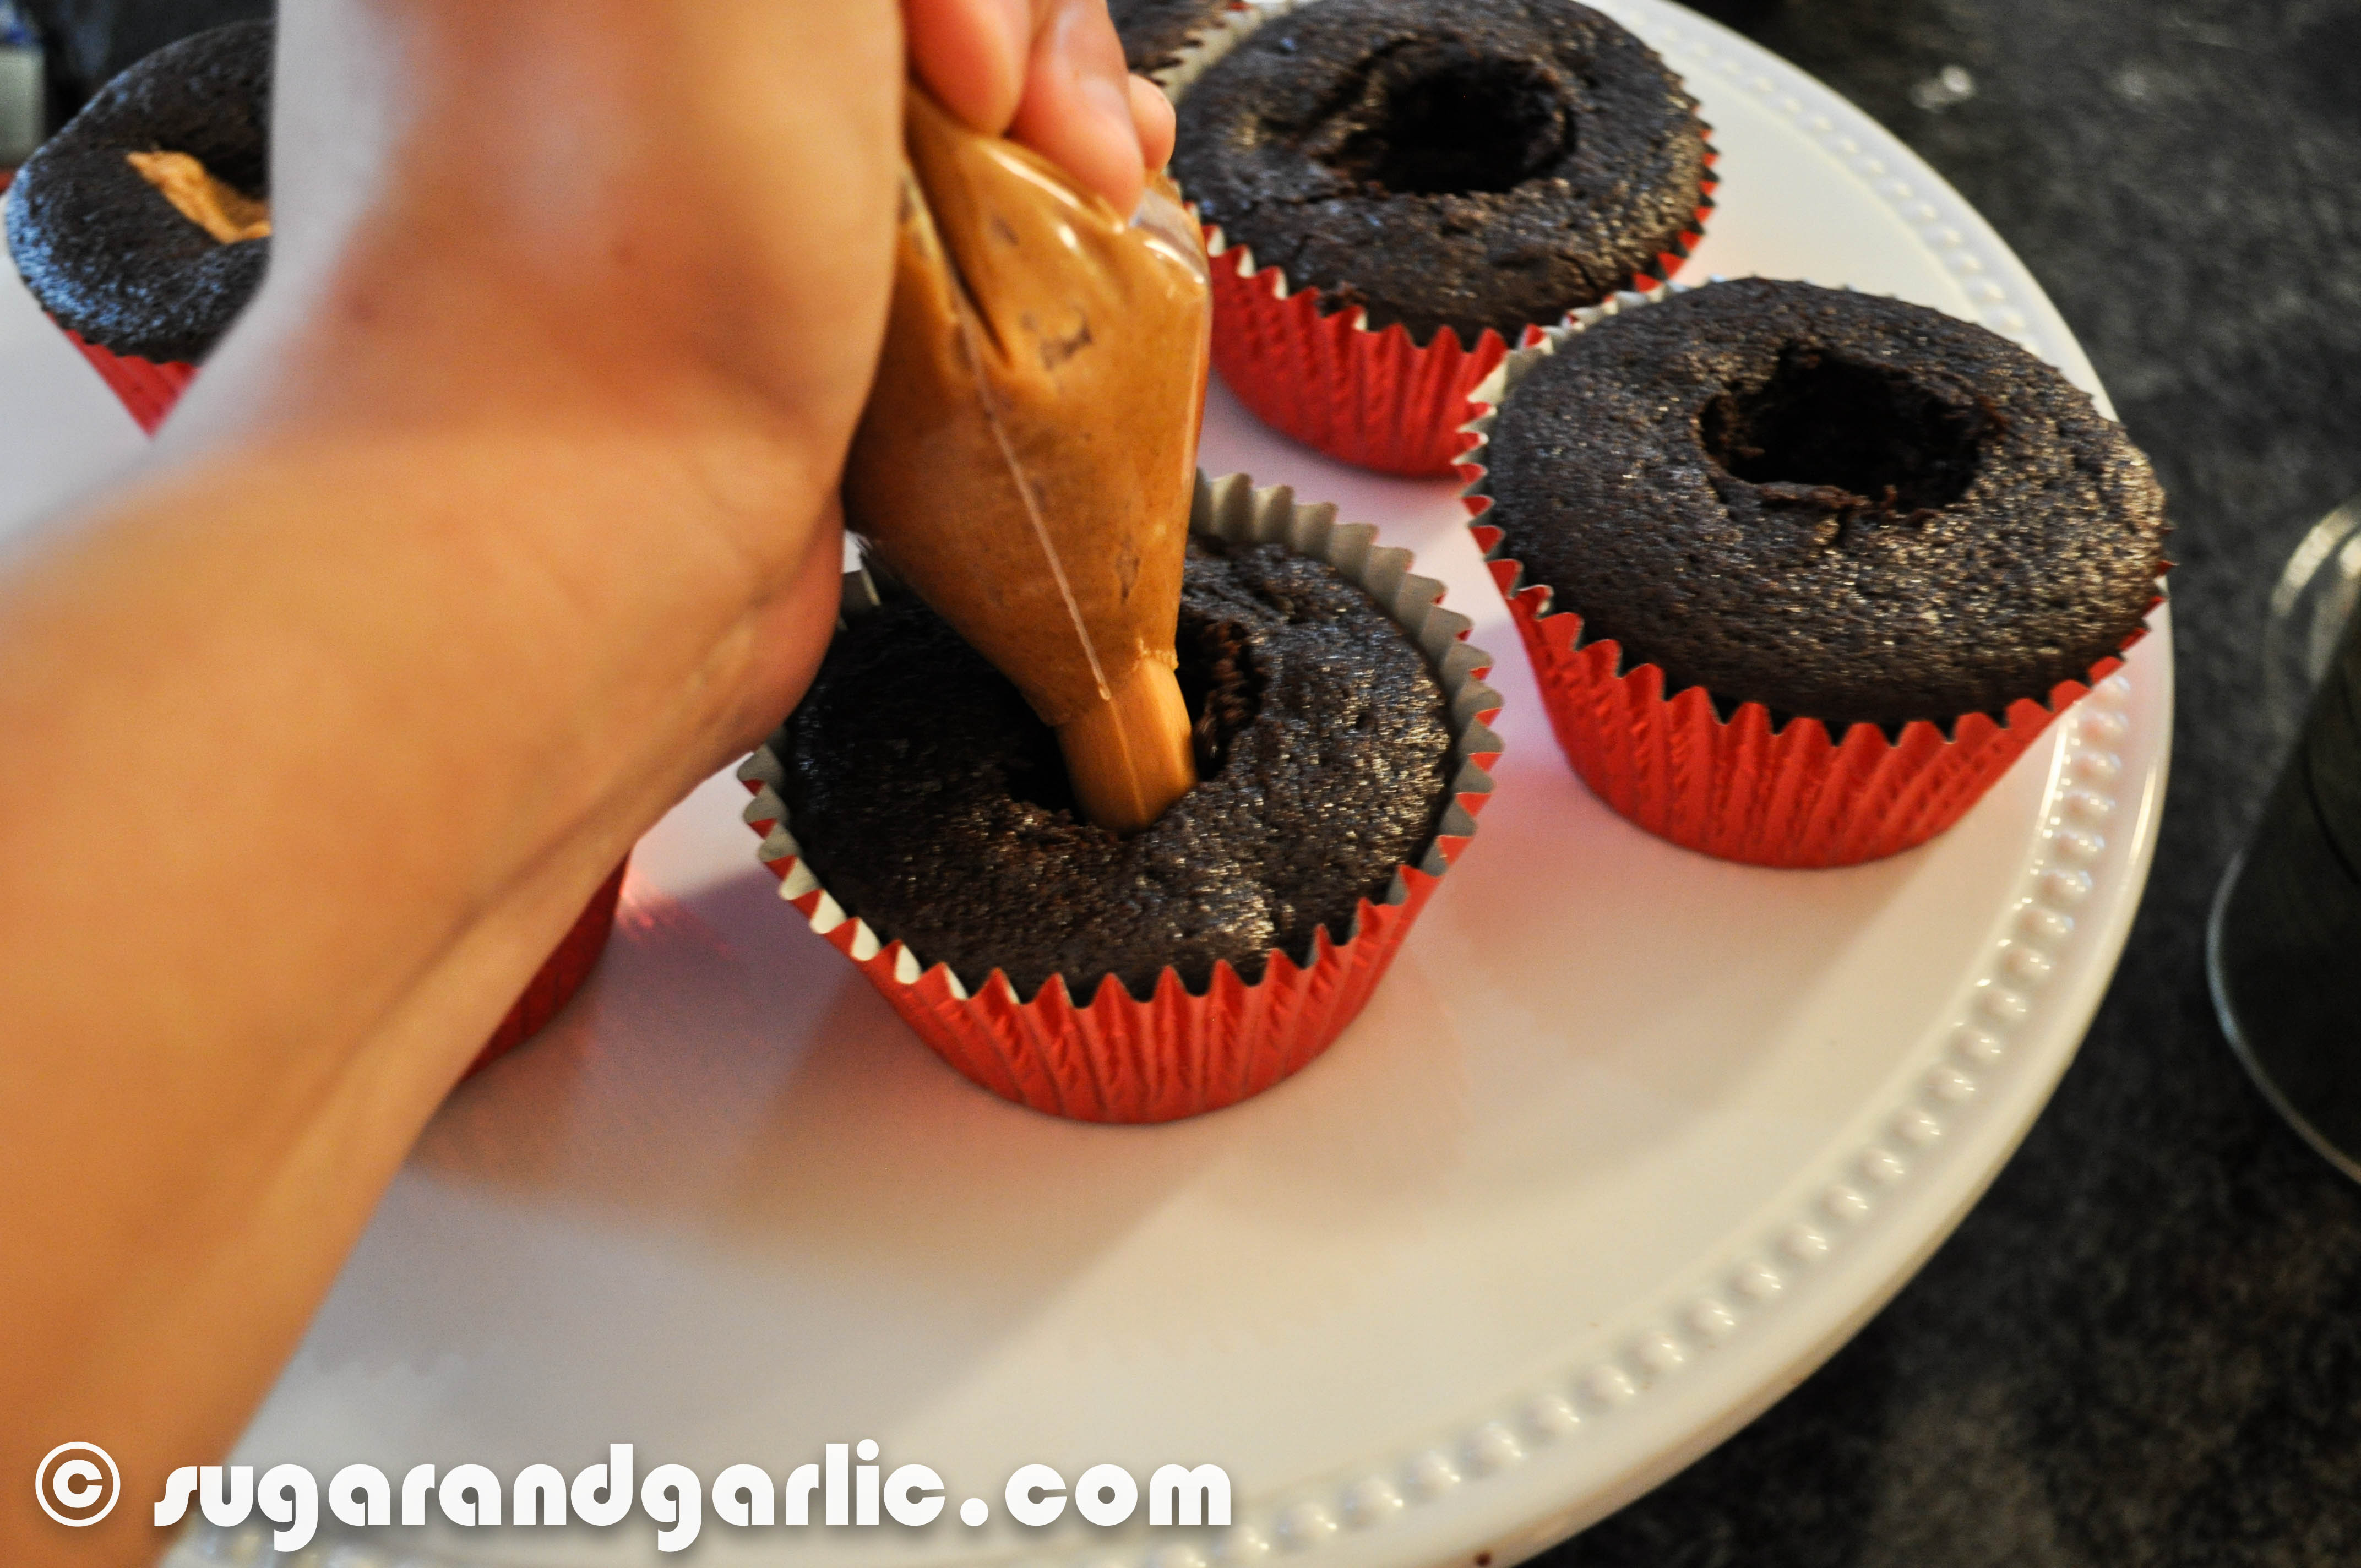
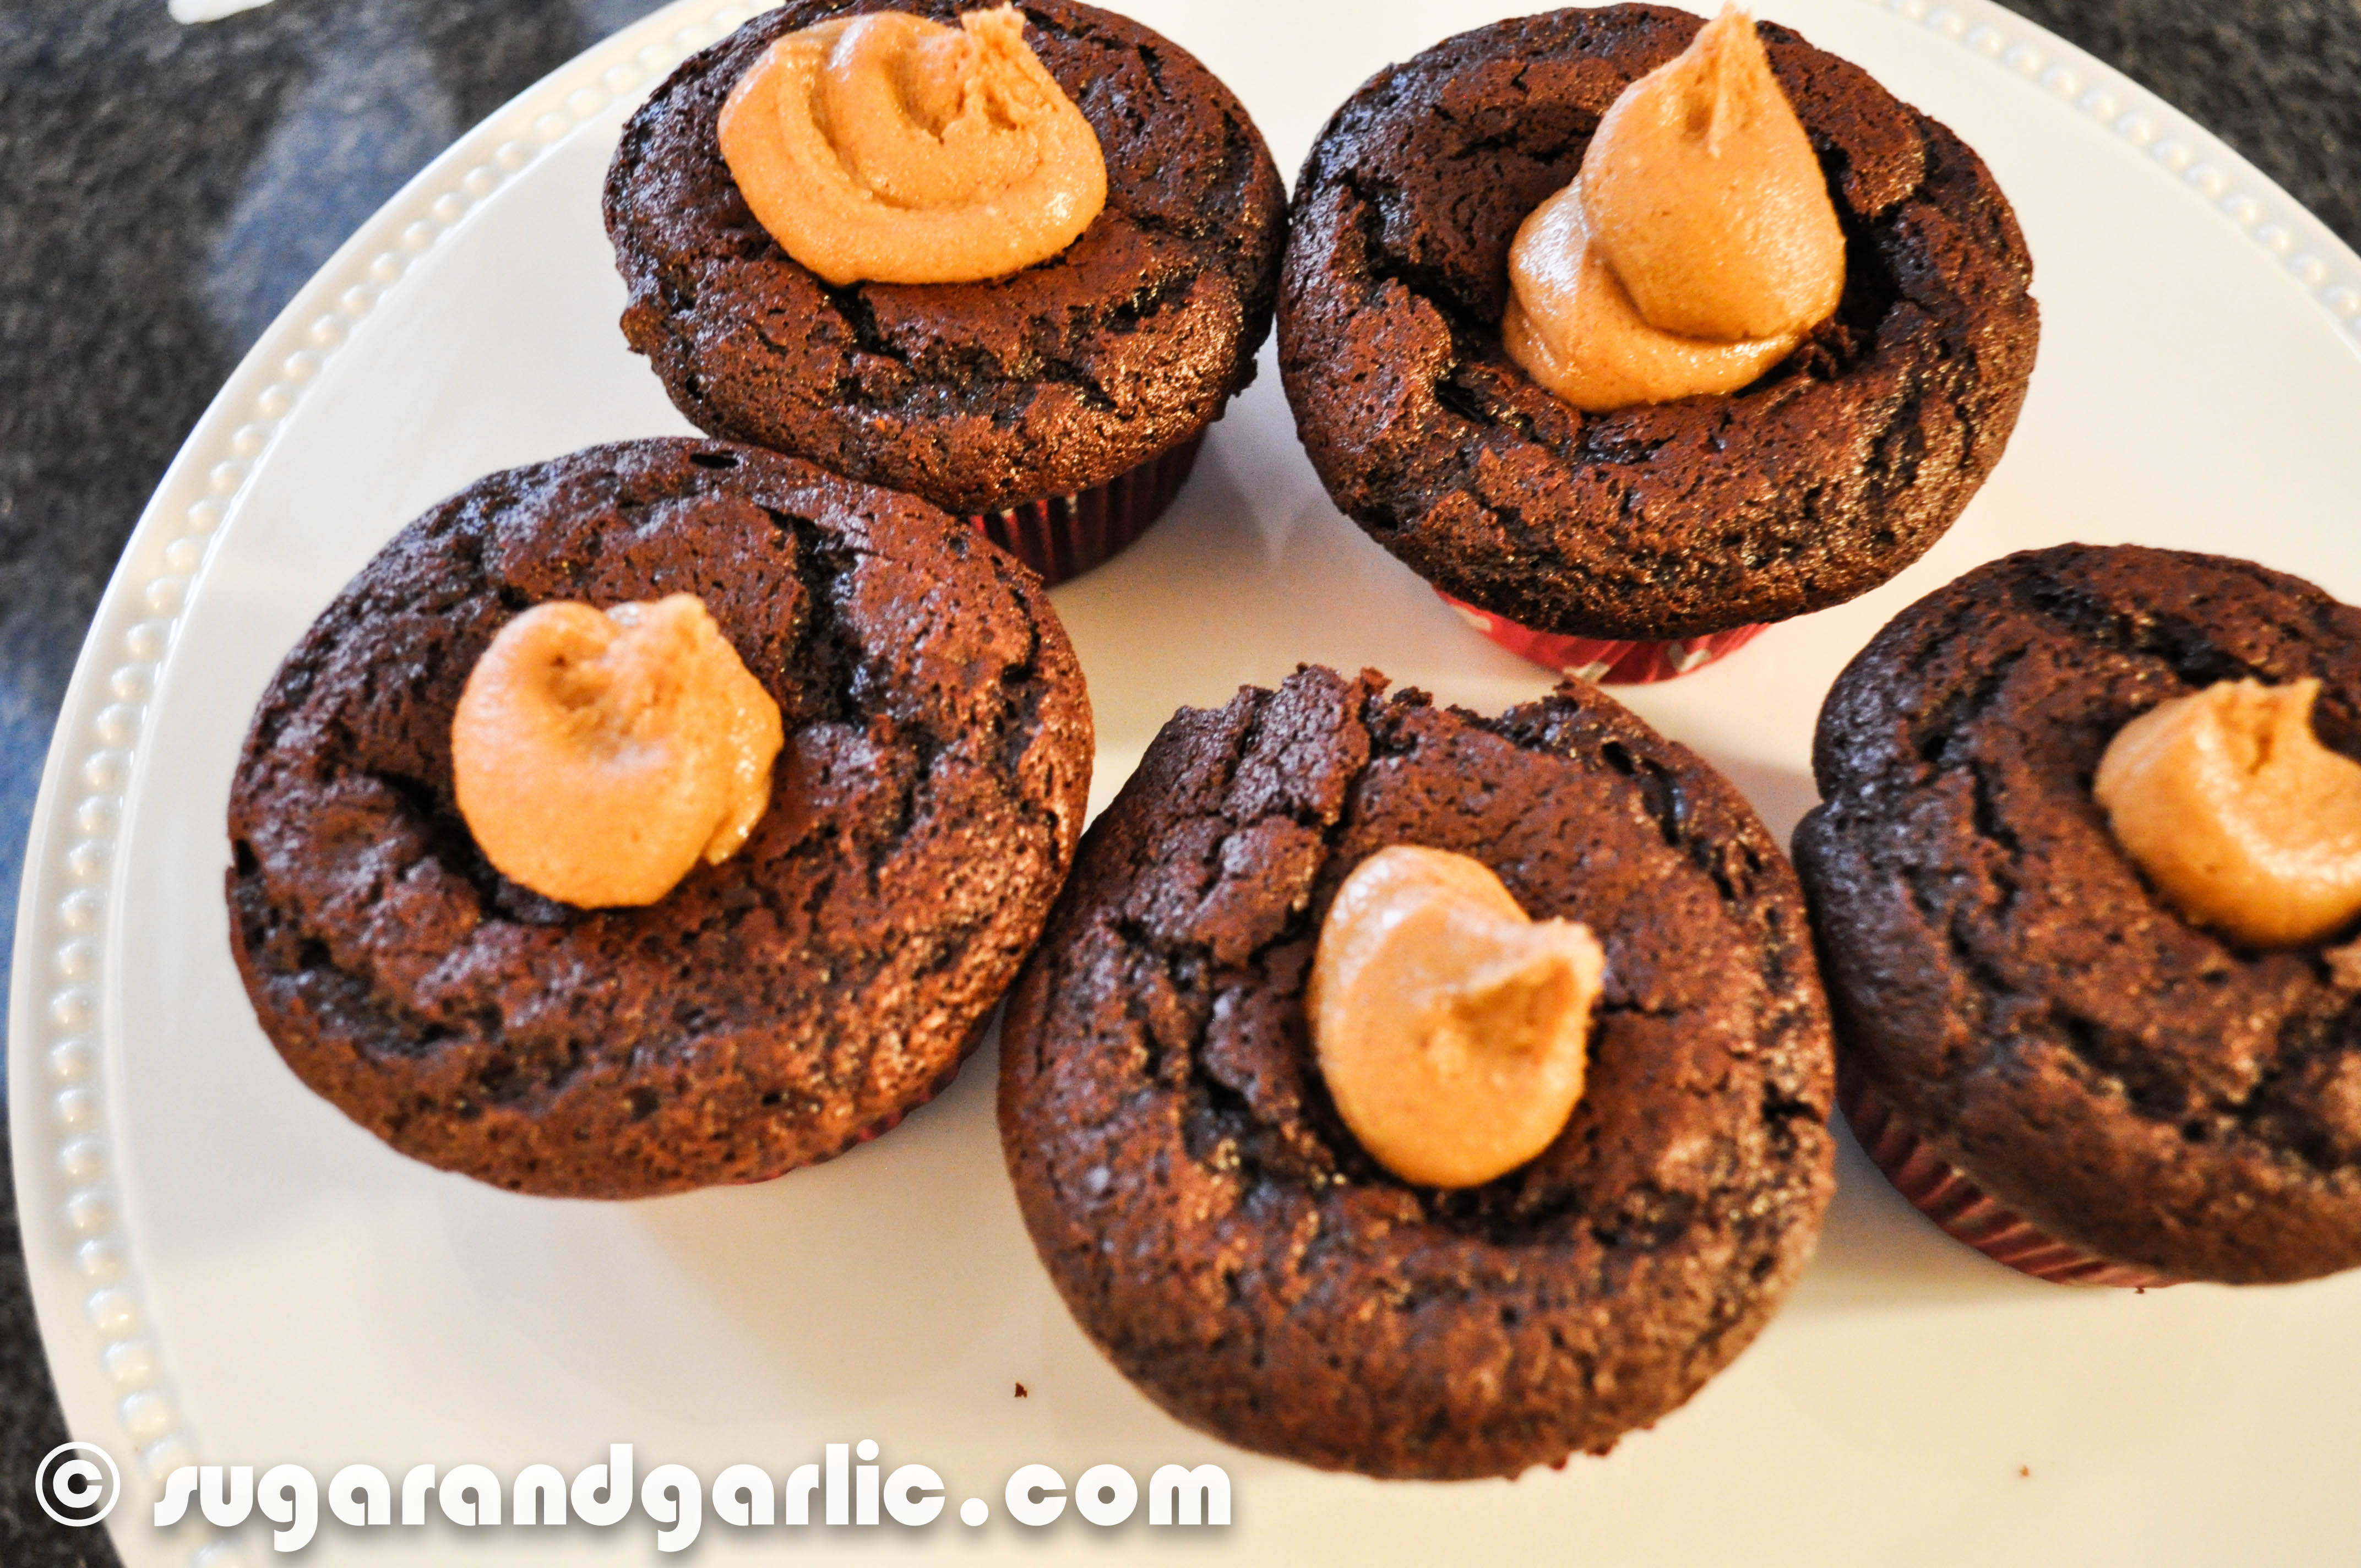
For the cupcakes you must use the buttermilk because  it reacts with the baking soda to fluff up these babies, so as gross as buttermilk looks and/or smells do not omit! To fill the cupcake, there are two ways to go about it. You could actually drop dollops of the peanut butter mixture into the center of the cupcake batter in tin pans before it bakes and it will bake right into the center of the cupcake! You could also bake the cupcakes as usual, then hollow them out with a corer and fill with as much peanut butter filling as you want. The latter option is better if you want to core out more cake and control how much peanut butter you insert. You can follow the process with the images below.

2013-11-07sugarandgarlic2013-4 2013-11-06sugarandgarlic2013-3 2013-11-06sugarandgarlic2013-5 2013-11-07sugarandgarlic2013-5 2013-11-07sugarandgarlic2013-6 2013-11-06sugarandgarlic2013-6 2013-11-06sugarandgarlic2013-8 2013-11-07sugarandgarlic2013-15

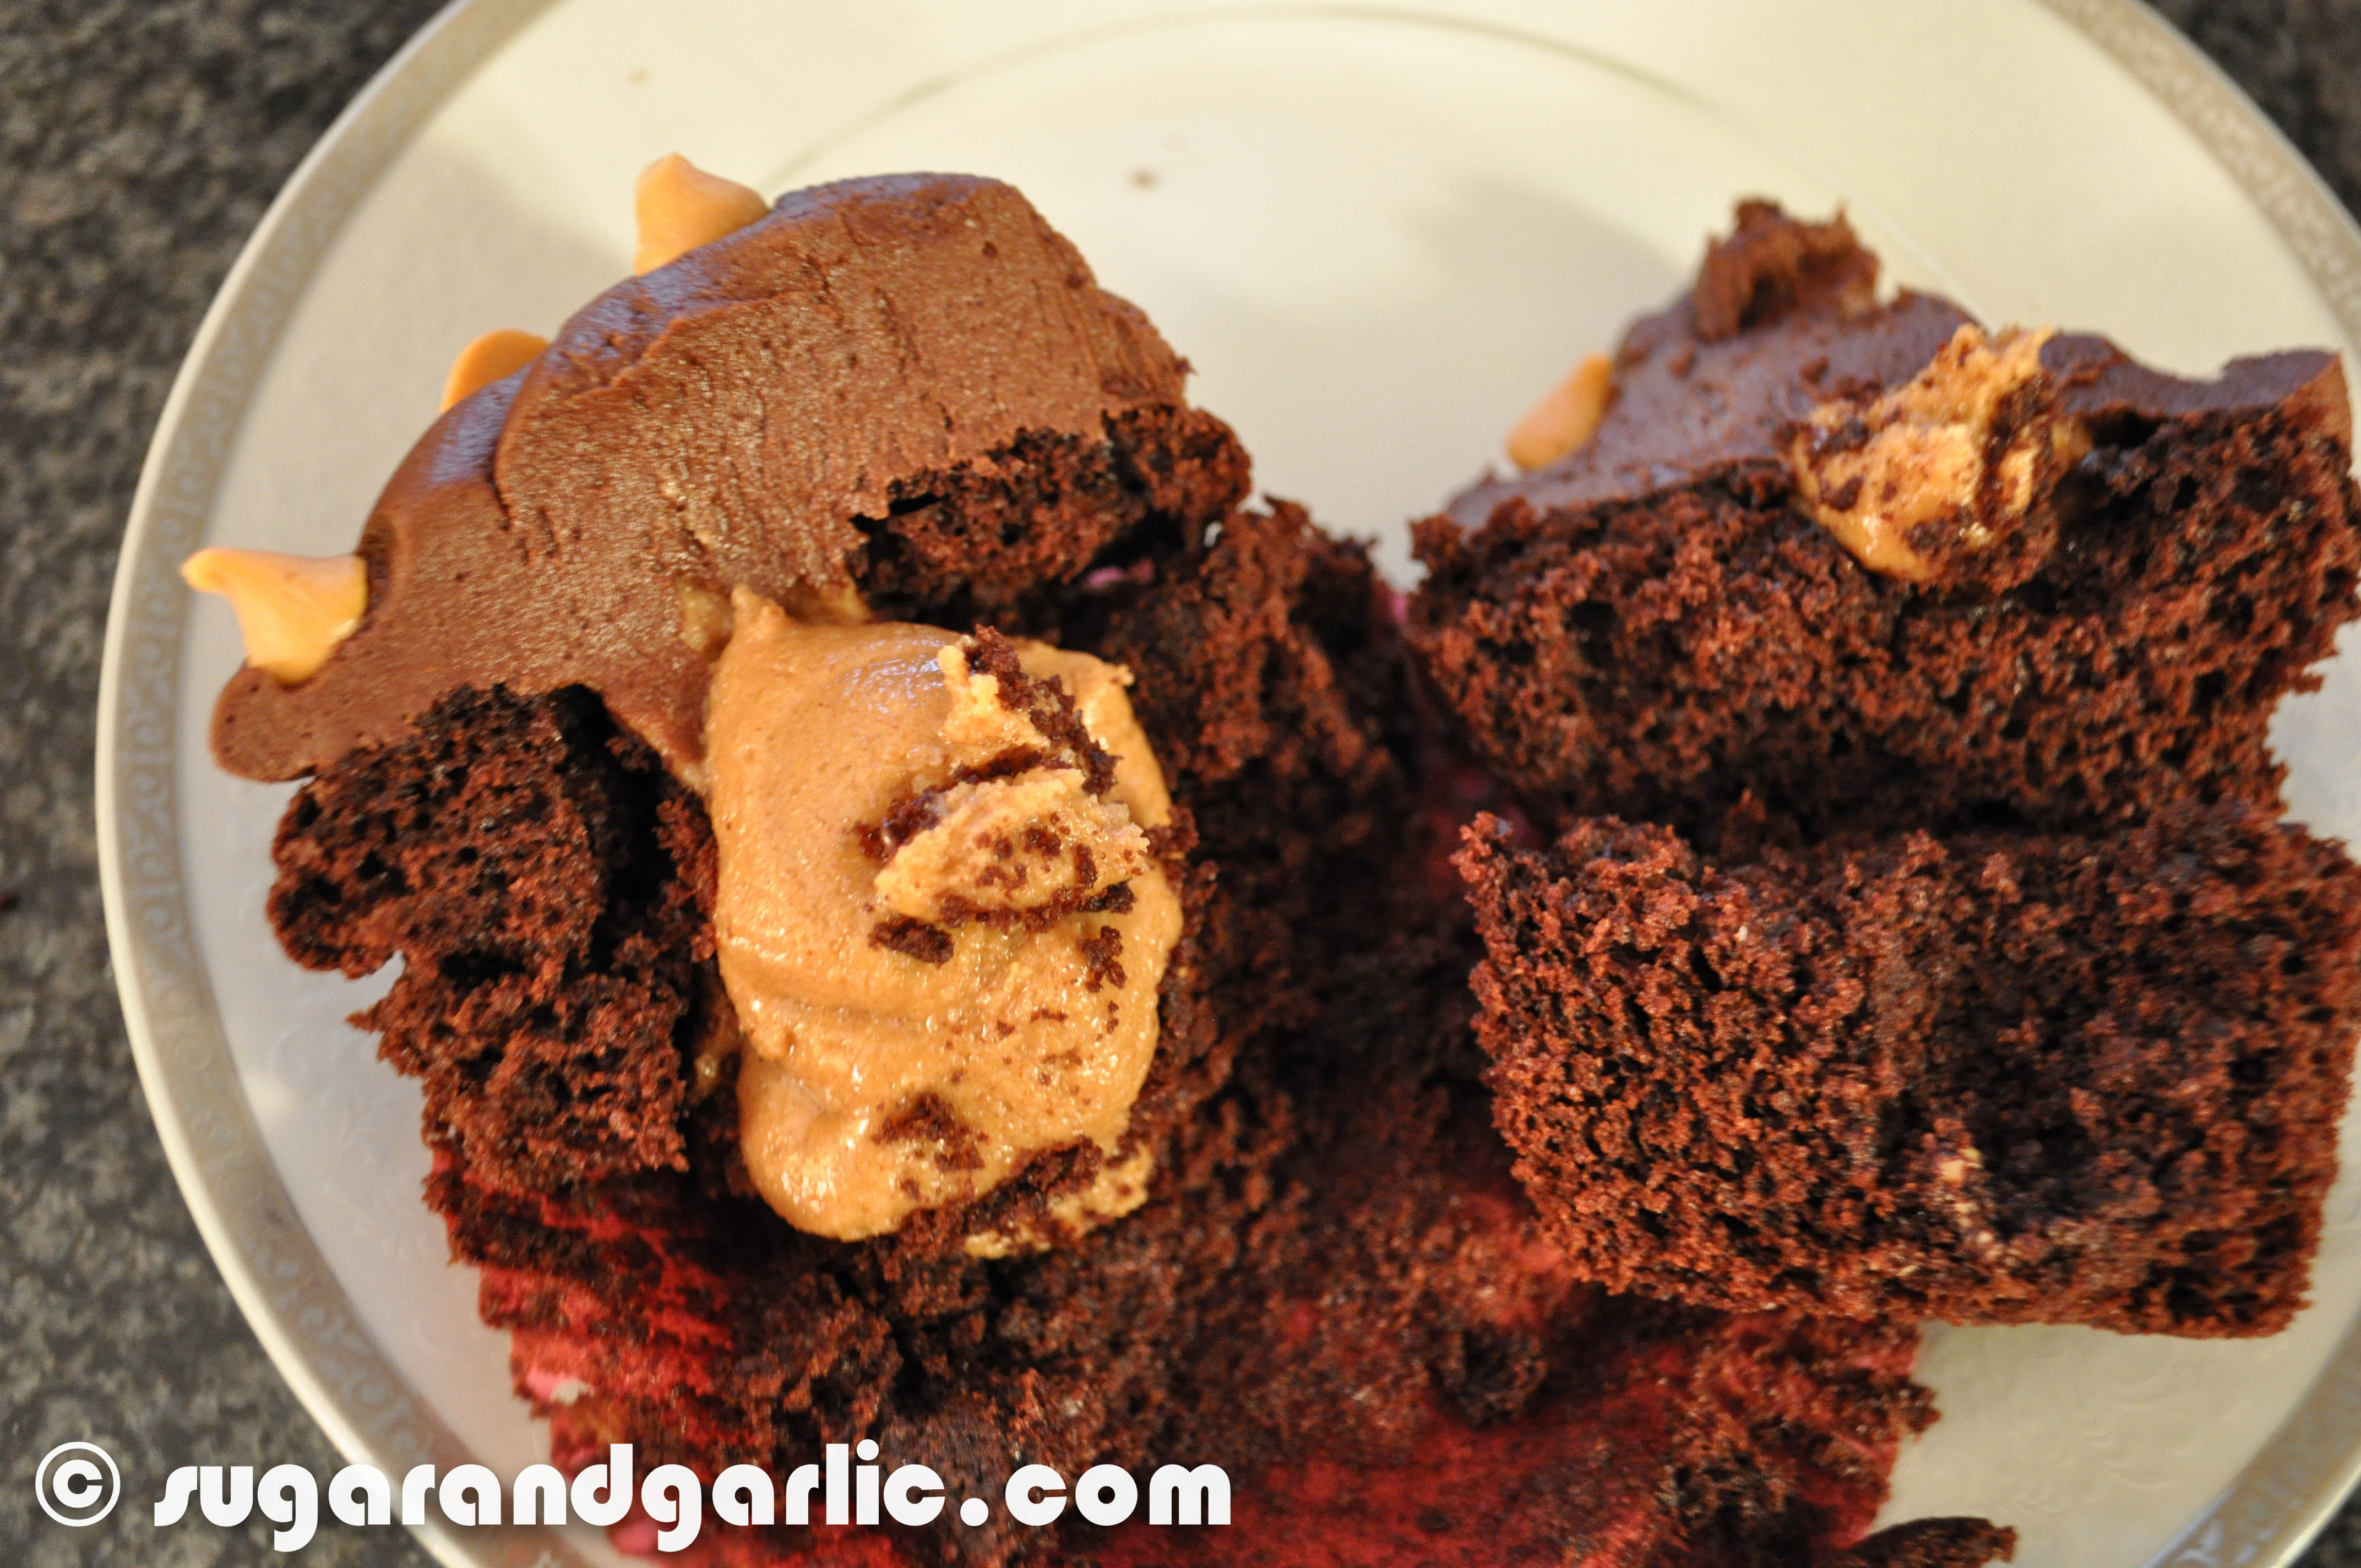
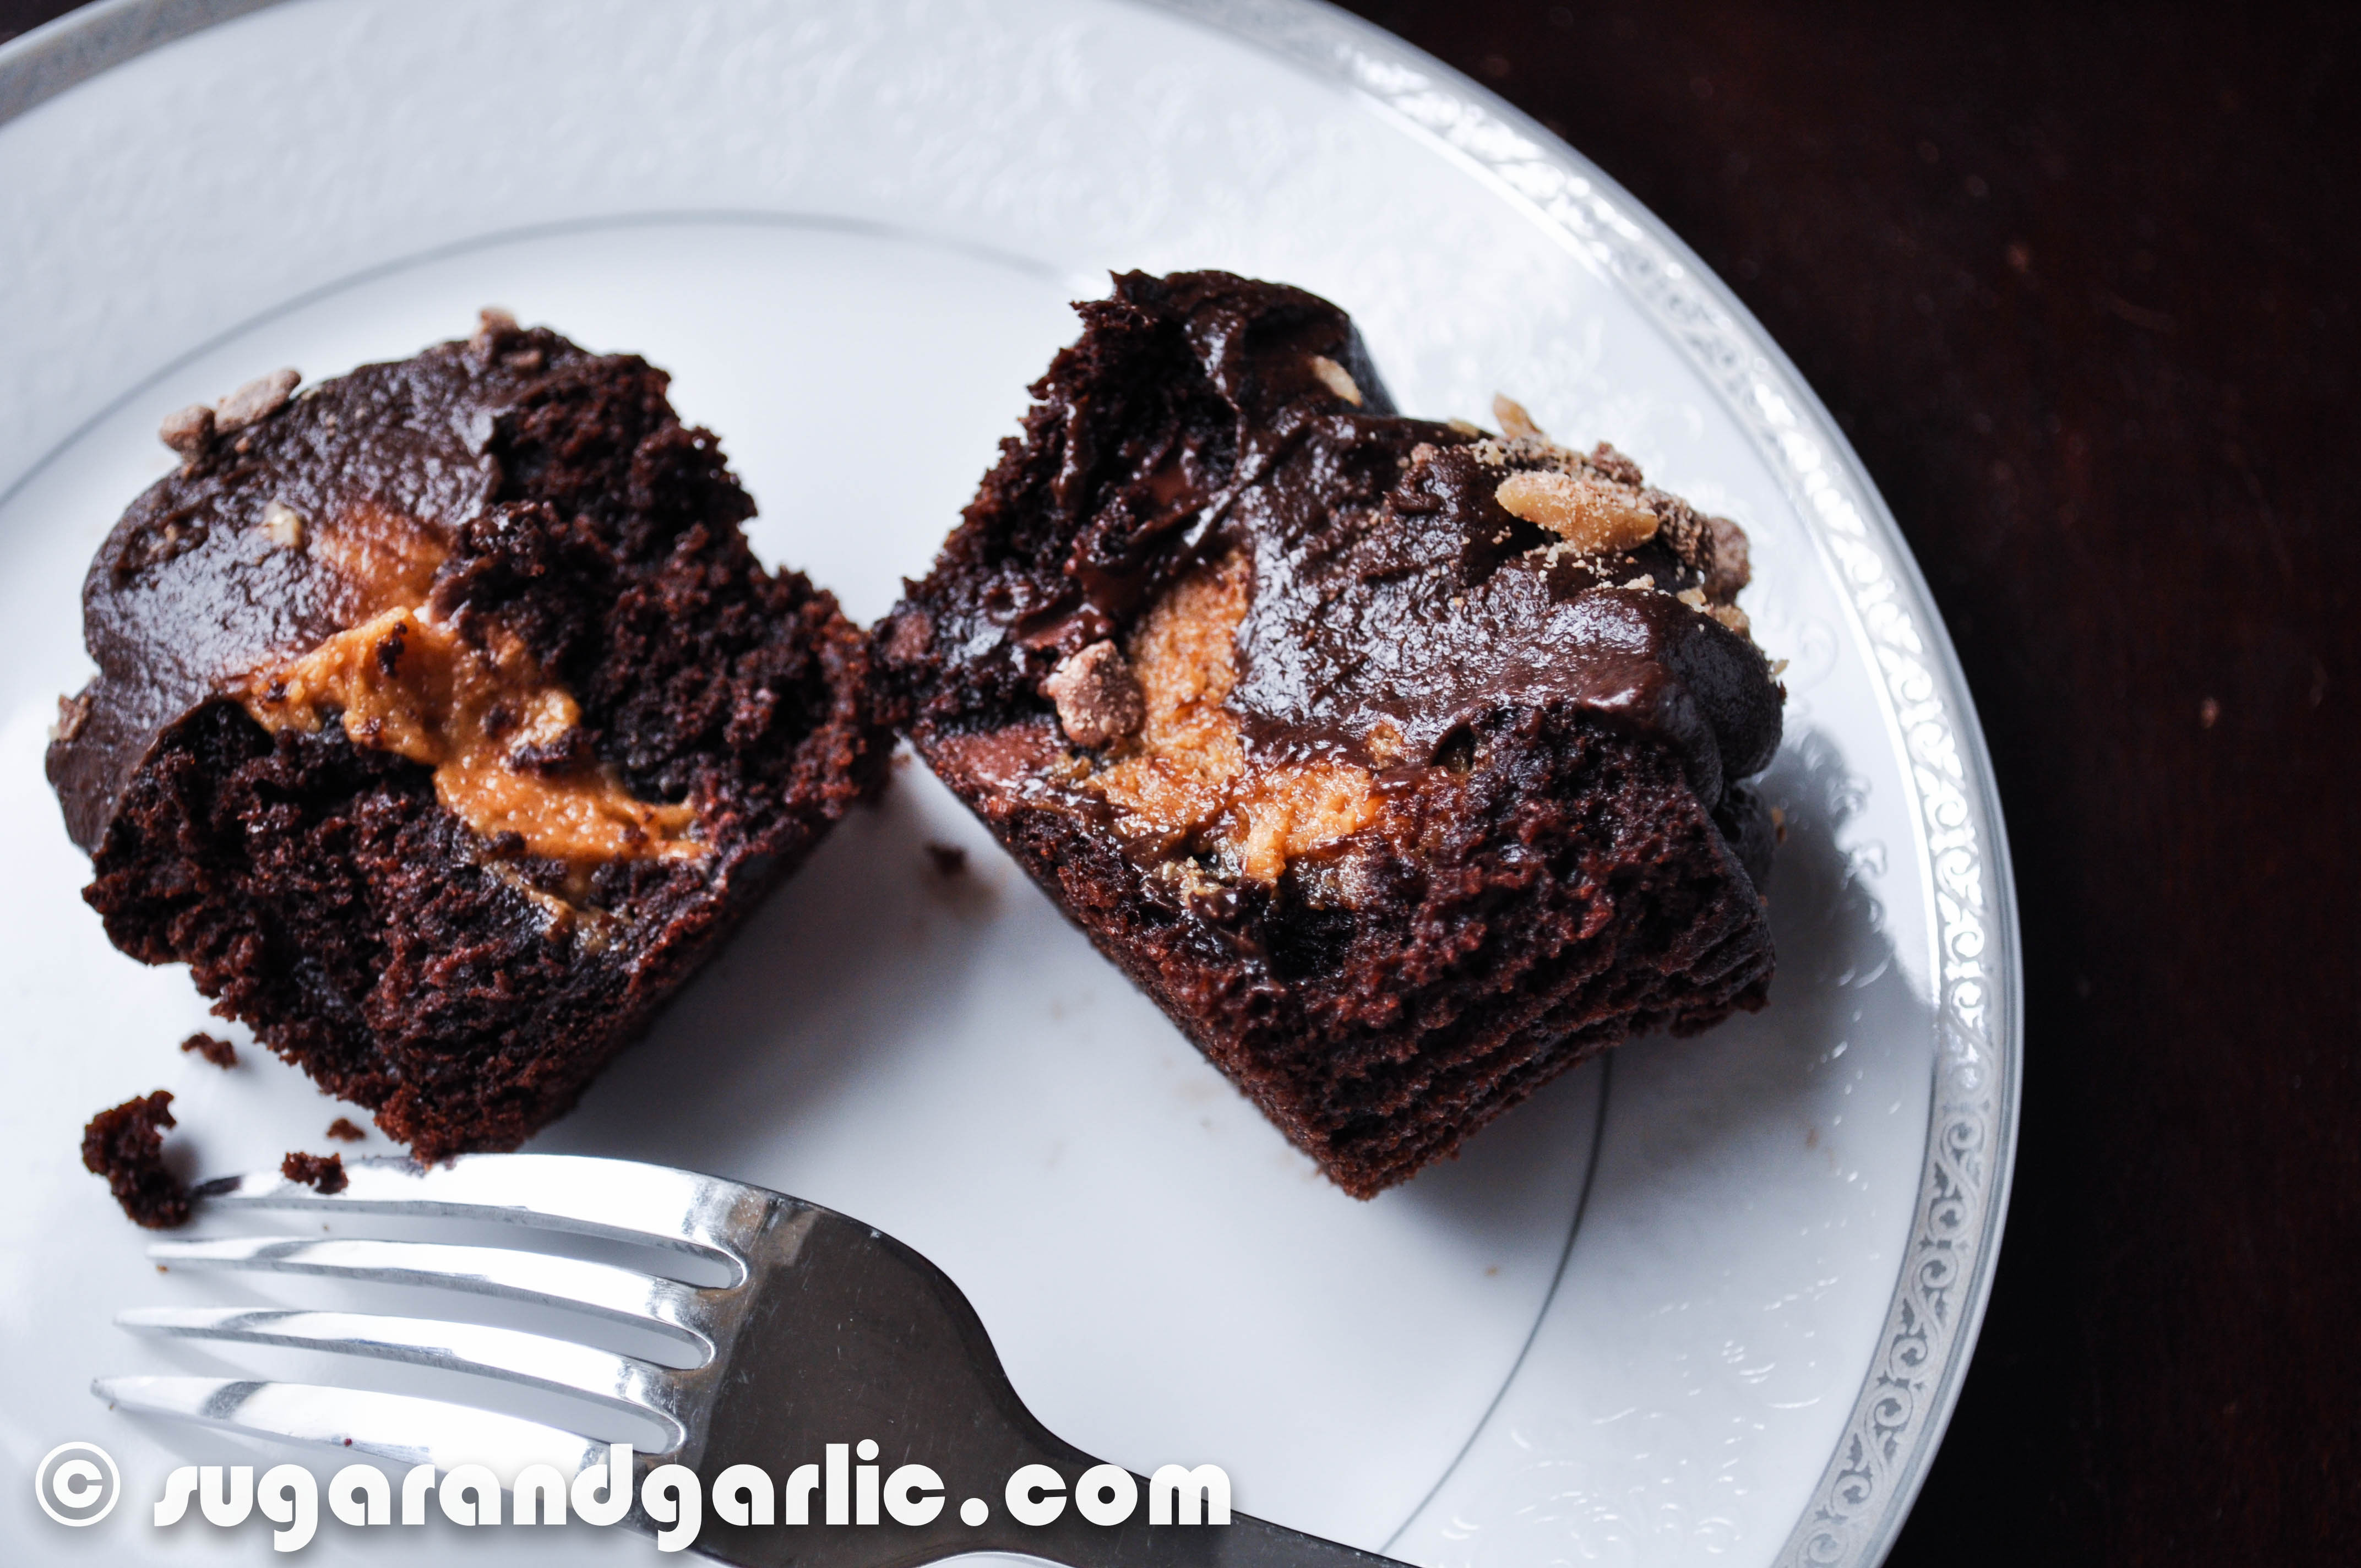
The above cupcake had the peanut butter baked in, and the lower cupcake had it inserted after baking. You cannot really see a difference in the texture except that when baked the peanut butter is melted into the batter.

2013-11-06sugarandgarlic2013-21

2013-11-06sugarandgarlic2013-10 2013-11-07sugarandgarlic2013-7 2013-11-07sugarandgarlic2013-11 2013-11-07sugarandgarlic2013-8 2013-11-06sugarandgarlic2013-12

Chocolate Peanut Butter Cup Cupcake
Write a review
Print
Prep Time
20 min
Cook Time
18 min
Total Time
38 min
Prep Time
20 min
Cook Time
18 min
Total Time
38 min
For the Cupcake
  1. 1/2 c unsalted butter (1 stick)
  2. 2 oz semi-sweet chocolate
  3. 1/2 c cocoa powder (not dutch processed)
  4. 3/4 c all purpose flour
  5. 1/2 tsp baking soda
  6. 3/4 tsp baking powder
  7. 1/4 tsp salt
  8. 2 large eggs at room temperature
  9. 1/2 c granulated sugar
  10. 1/4 c light brown sugar
  11. 1 tsp vanilla extract
  12. 1/2 c buttermilk
  13. 6 oz warm espresso
For the peanut butter filling
  1. 1 c peanut butter
  2. 4 tbsp unsalted butter, softened
  3. 1/3 c light brown sugar
  4. 3/4 c powdered sugar
  5. 2 tbsp of heavy cream
For the frosting
  1. 2 3/4 confectioner sugar
  2. 2/3 c unsweetened cocoa powder
  3. 6 tbsp softened butter
  4. 6 tbsp heavy cream
  5. 1 tsp vanilla extract
Instructions
  1. Preheat oven to 350 degrees and line cupcake pan with wrappers.
For the Peanut butter filling
  1. Start by preparing the peanut butter filling. Combine all the ingredients in a medium bowl until smooth and creamy.
For the Cupcakes
  1. Melt the chocolate and butter together in a microwave stirring every 20-30 seconds.
  2. In a medium bowl sift together the flour, cocoa, baking powder, and baking soda.
  3. In a larger bowl combine the sugars, eggs, and vanilla extract.
  4. Add the cooled melted chocolate mixture and stir until smooth.
  5. Add half the flour mixture and then half the buttermilk and stir. Repeat to combine the remaining flour and buttermilk. Do not over mix. Stir in the warm espresso.
  6. Fill the cupcake liners about 2/3 of the way, then drop a teaspoon of peanut butter into the center of each cupcake, and bake for 30 minutes. You could also add the peanut butter AFTER you bake the cupcakes by coring them out once cooled and piping in the peanut butter with a pastry bag.
For the Frosting
  1. Whip the butter until fluffy.
  2. Sift the powdered sugar and cocoa to ensure there are no lumps. Slowly stir into the butter until combined.
  3. Add the heavy cream and stir to dark chocolatey perfection.
  4. Pipe the frosting on with a zip bag or a pastry bag.
Adapted from Sally's Baking Addiction
Sugar & Garlic https://sugarandgarlic.com/

Blueberry Orange Oatmeal Muffins

Blueberry Orange Oatmeal Muffins

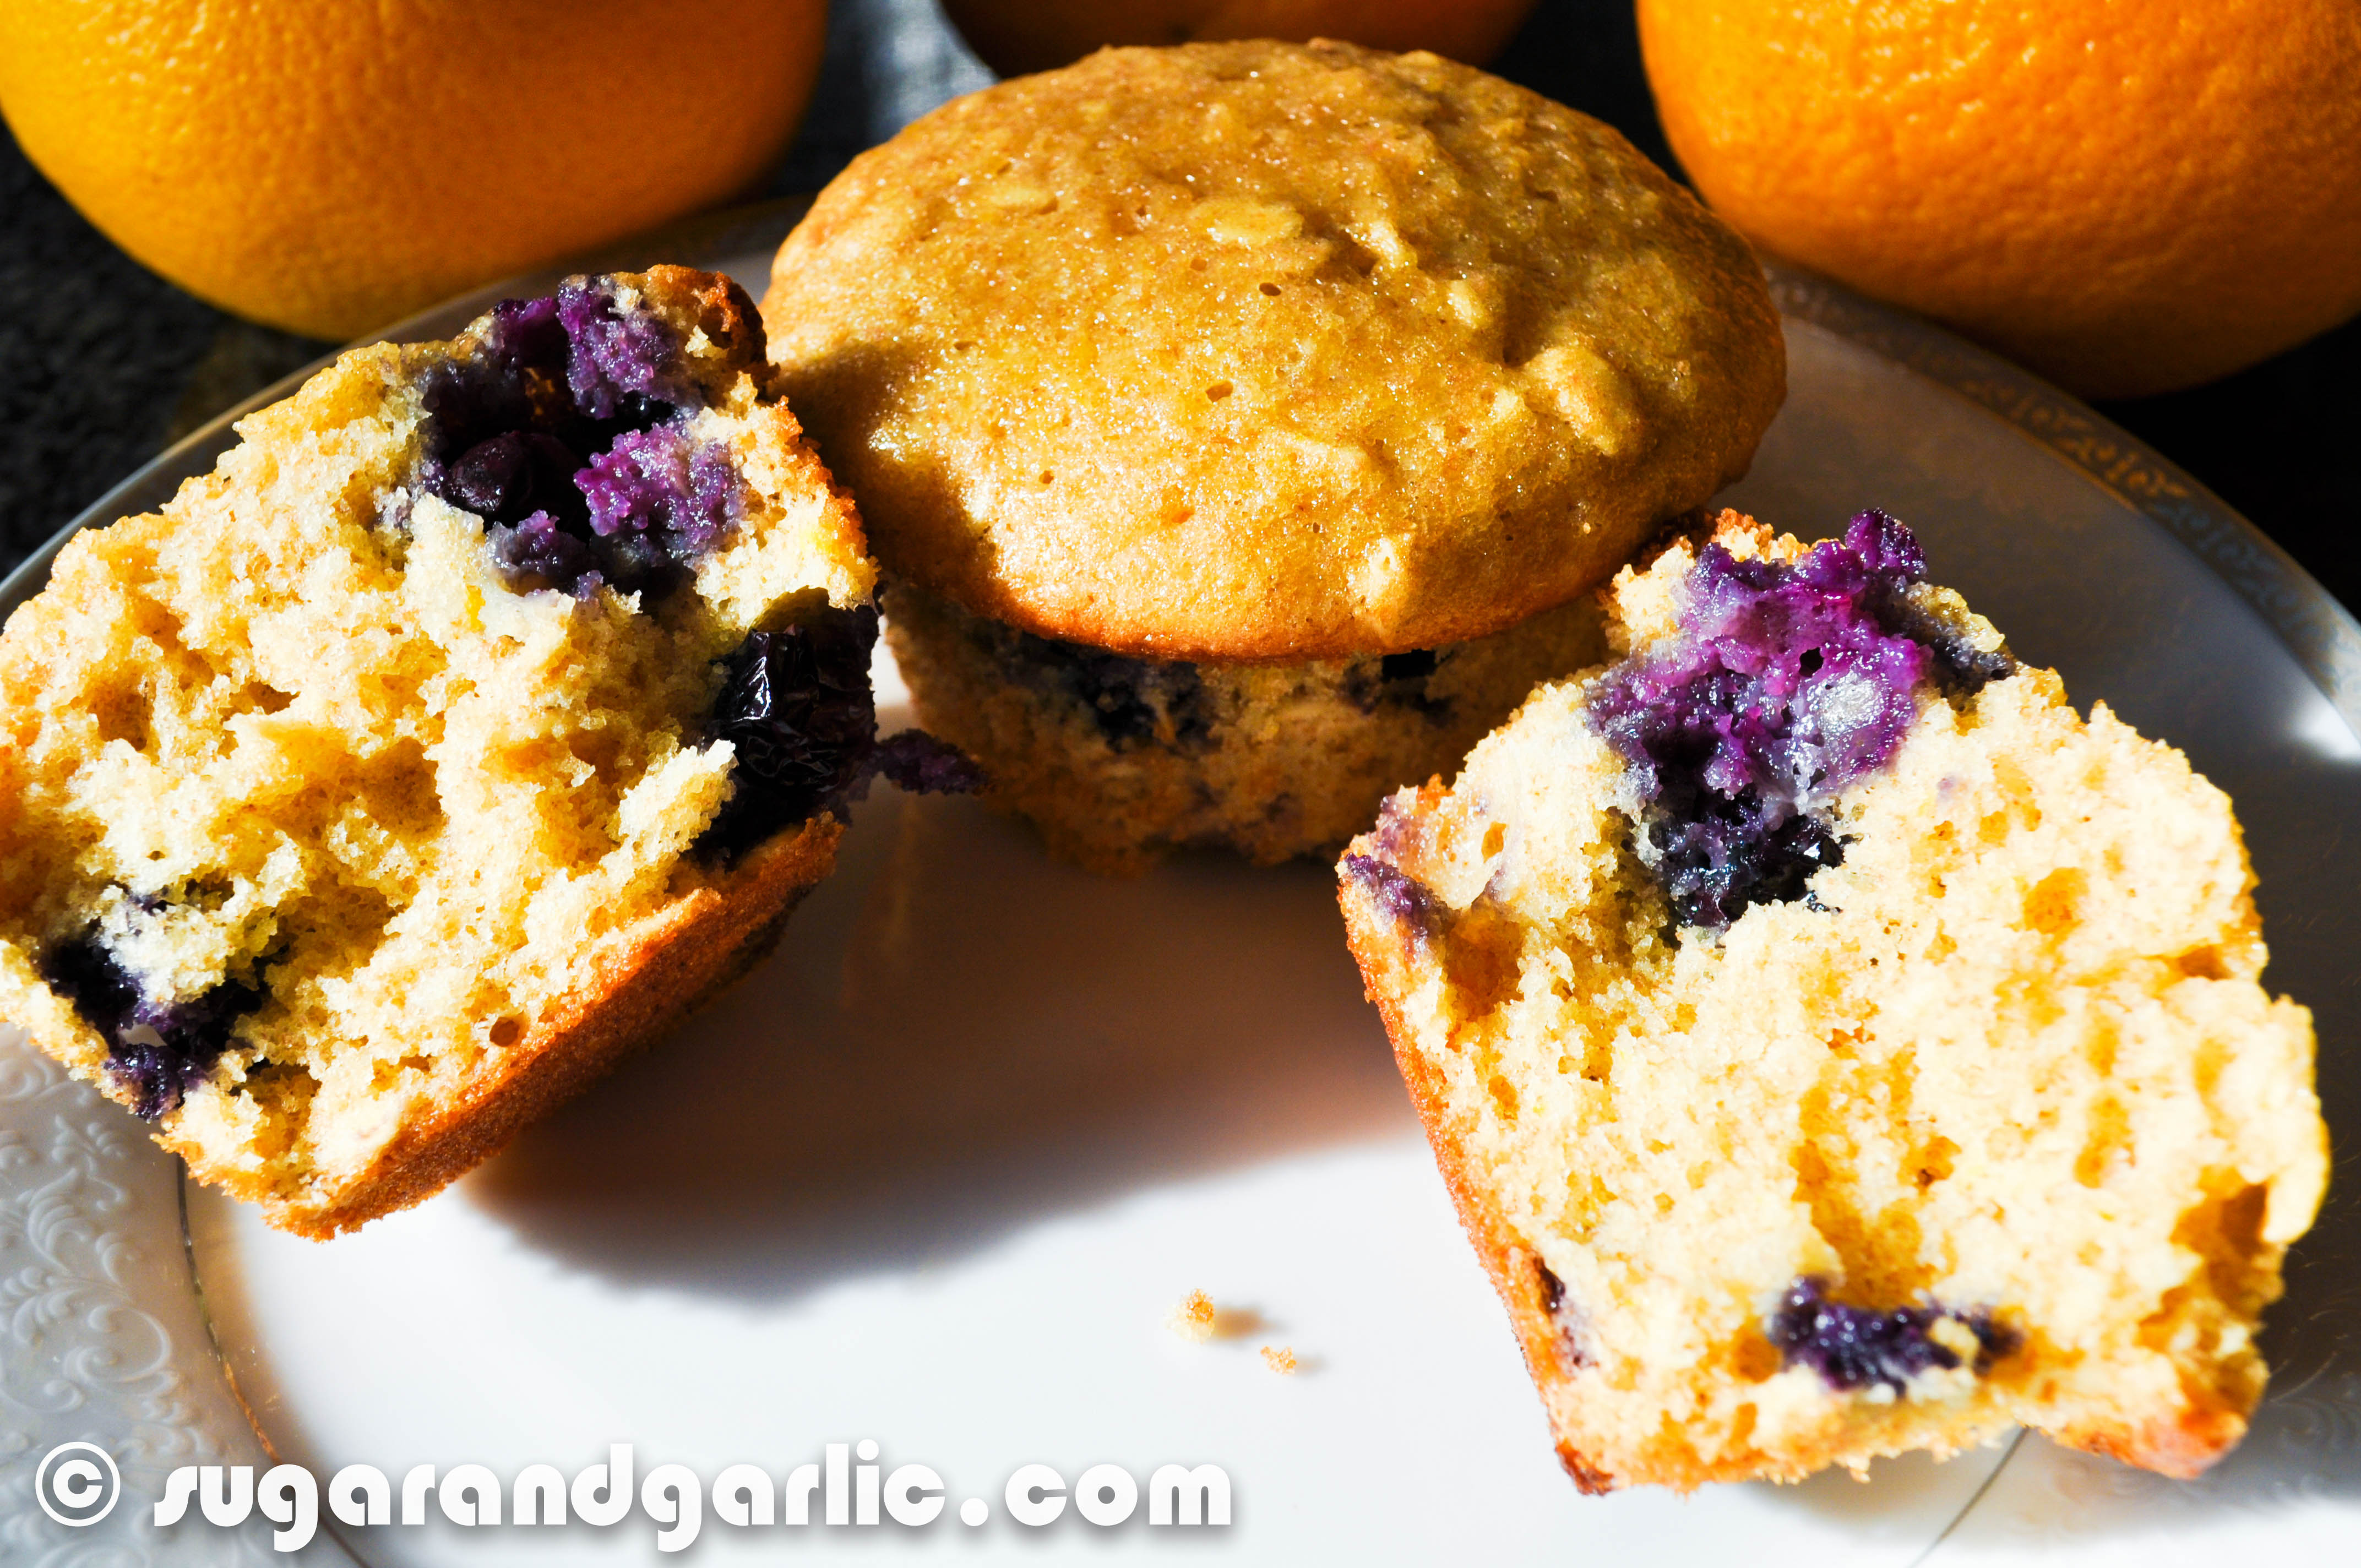
These muffins are full of fiber and bursting with orange and blueberry juiciness. I love to bake with seasonal produce. I have a bowl of zesty juicy oranges sitting on my counter and they were perfect for these muffins . This recipe originates from my…

Tasty Beef Tacos

I’m all about cooking easy meals, especially if they are kid friendly. My daughter LOVES cheese and she loves corn. So naturally, tacos came to mind! But they have to be full of flavor! Its all about the meat with this recipe, and it is…