Author: Noha

Strawberry Preserves

Strawberry Preserves

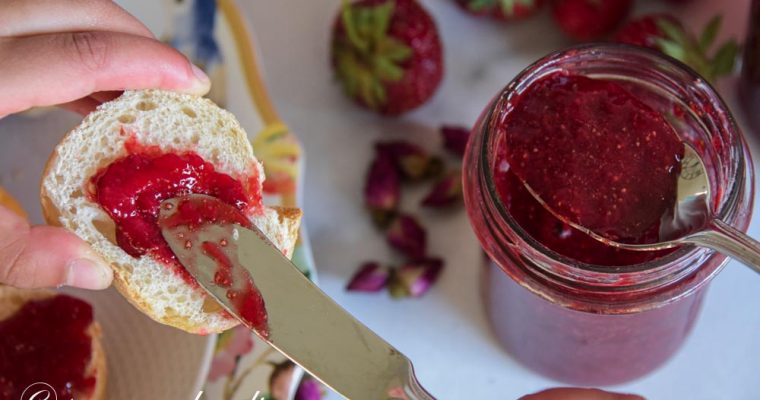
If your family loves to go berry picking like mine does, you are likely going to end up with baskets full of of luscious red strawberries, raspberries, or juicy blueberries. This recipe for strawberry preserves will work for any type of berry. It is easy,…
Kafta Kebab

Kafta Kebab

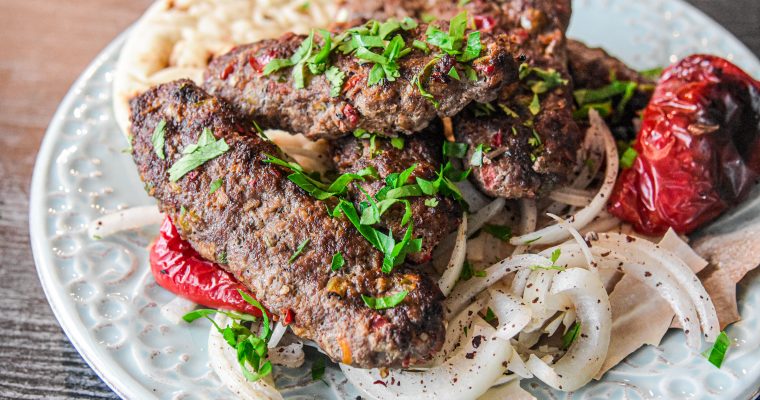
If there is only one way to eat meat, it should be kafta kabob. So juicy, tender, flavorful, and perfect with bread, rice, or salad. This kafta is seasoned with spices, onions, peppers, and tomato paste. This is one kafta recipe you can count on…

Eid Gifts for Summer Fun

Eid Gifts for Summer Fun

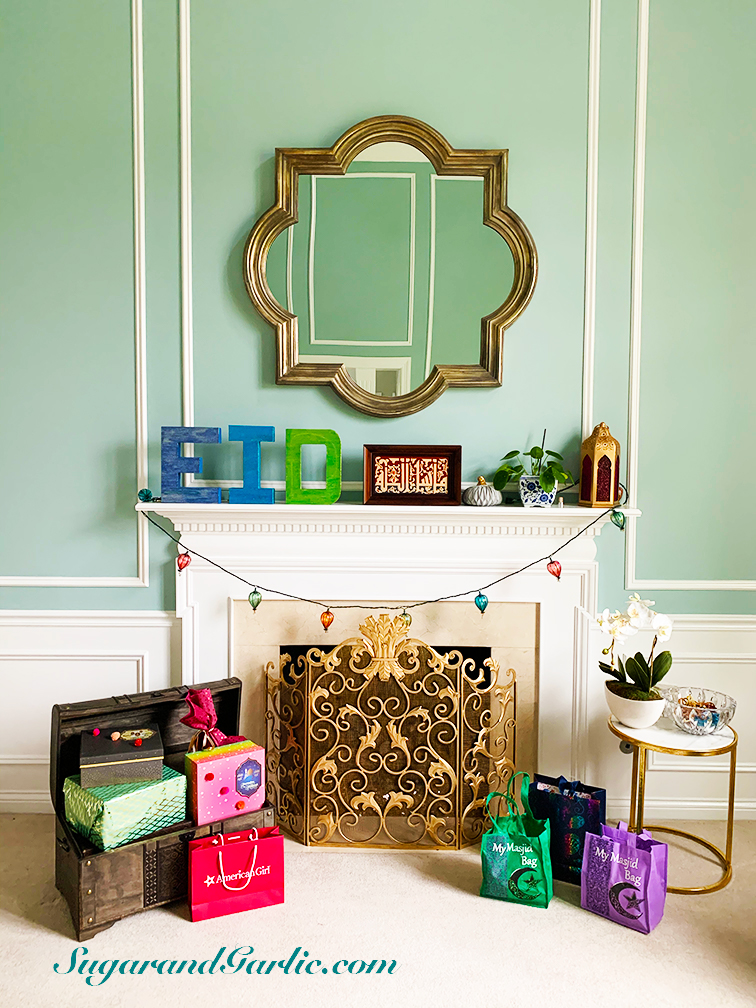
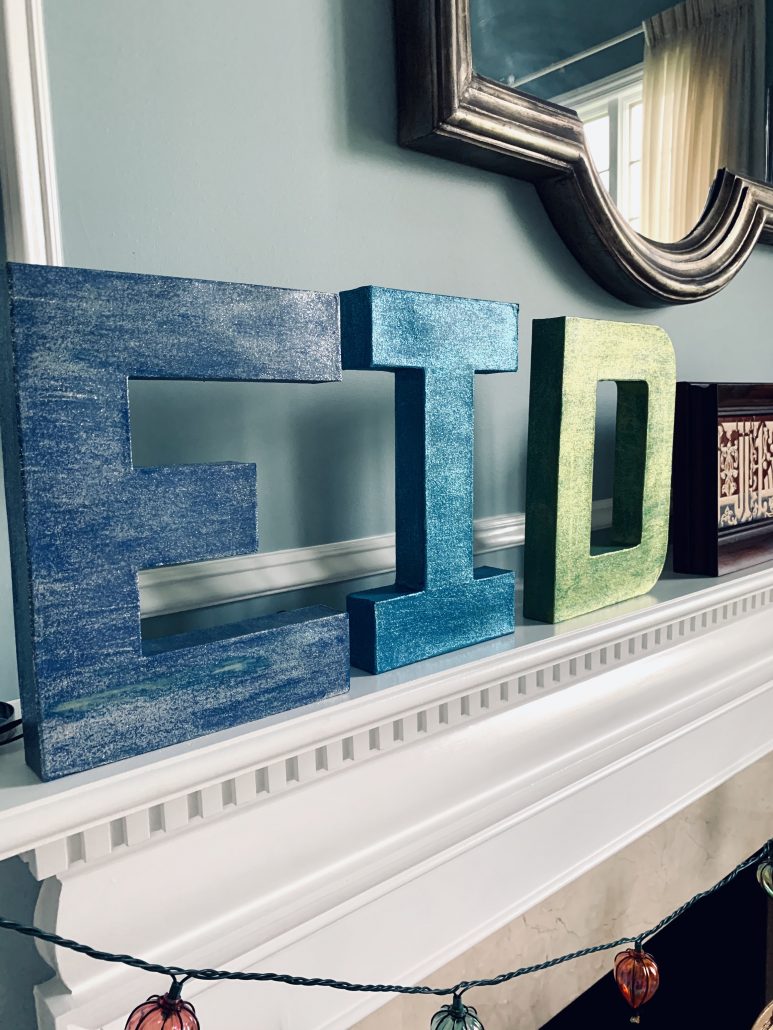
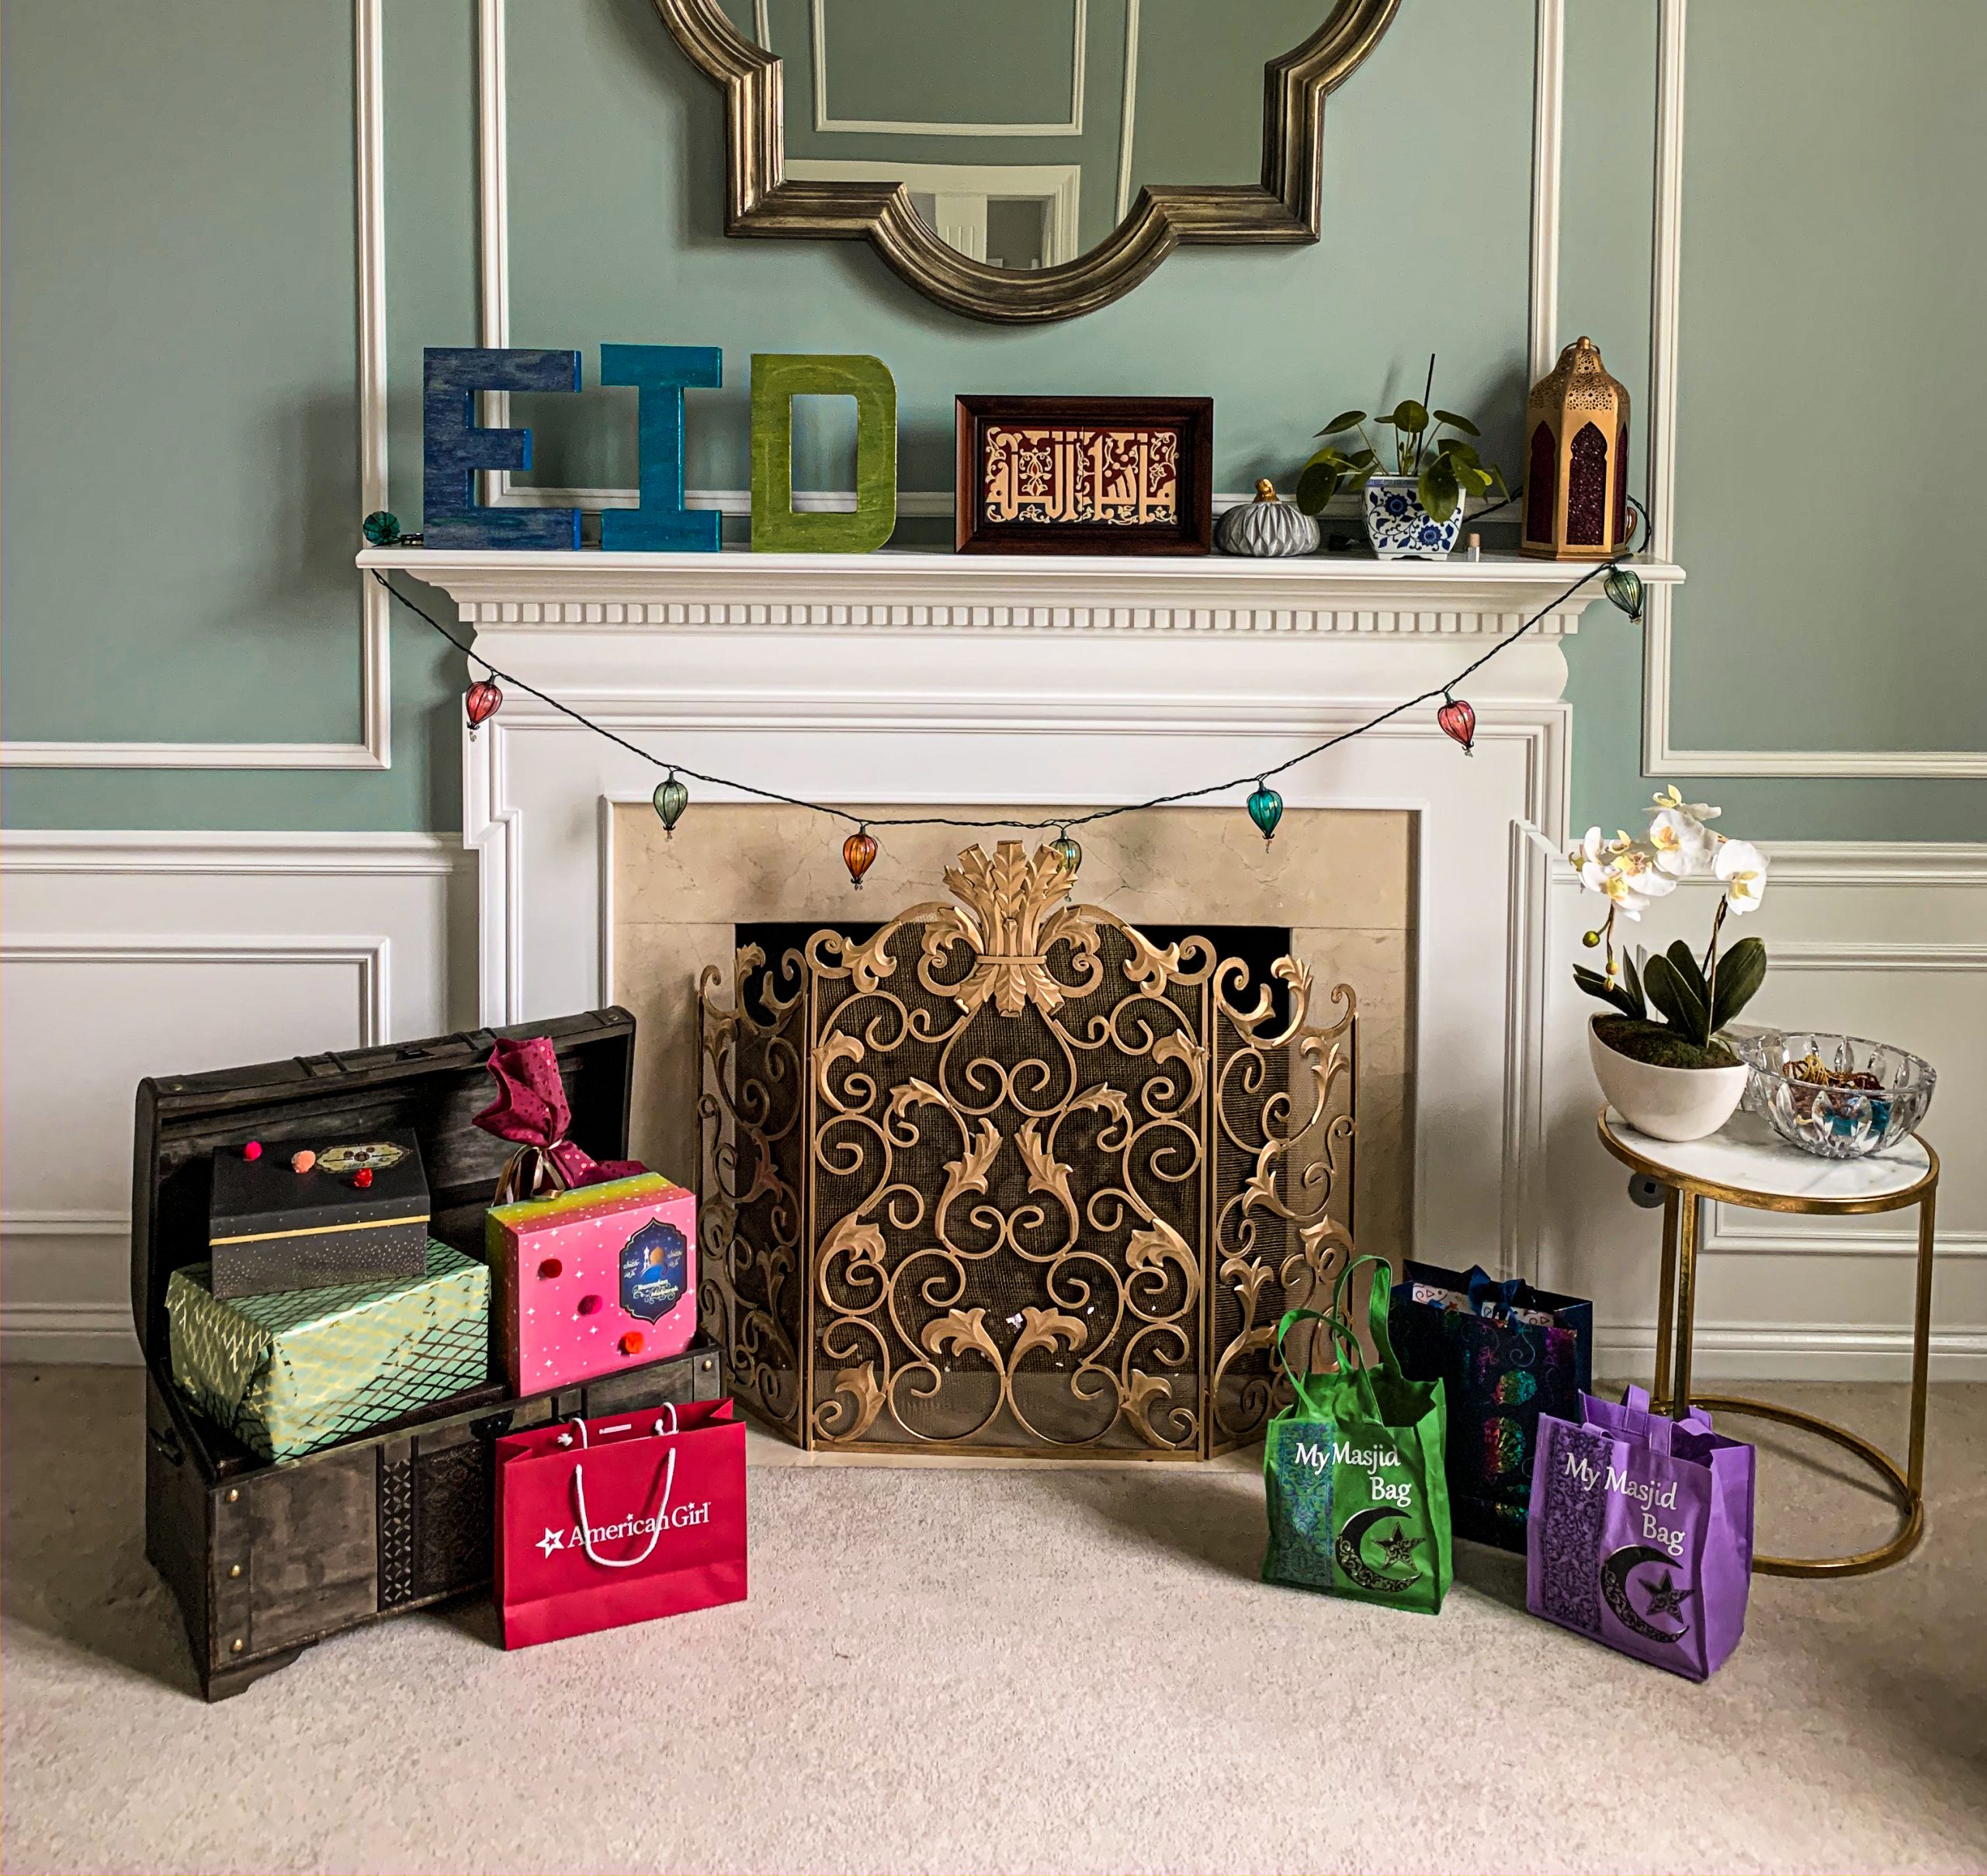
Eid is only 10 days away! Are you ready? For some festive decor ideas and activities, be sure to check my post about Ramadan Fun and how to make Maamoul and Eid cookies with the kids. Most of the decorations and vendors I share are perfect for Eid as well! I made the sign below using cardboard letters, painting them with acrylic paint and then some glitter paint. There is also this festive LED letter option that I love!

Any Amazon products I link in my posts come from my personal use and recommendations. As an Amazon associate, I earn commission from qualifying purchases. Thank you for supporting my work by purchasing through my links! Share this page if you found it useful.
I made this EID sign with my kids, using cardboard letters, painting them with acrylic paint, and then some glitter paint.

Right about now, you may be searching for some fun Eid gift ideas for the family. Well, given our current circumstance of social distancing, most summer programs, camps, and travel is CANCELLED. To keep this Eid holiday exciting and also serve your summer plans, make sure you have some gift ideas to include outdoor play and indoor activities to keep the kids and everyone in the family active and busy! Here is a list of some of our favorites over the years, and some we plan to gift this spring to keep the kids busy all day, all summer!

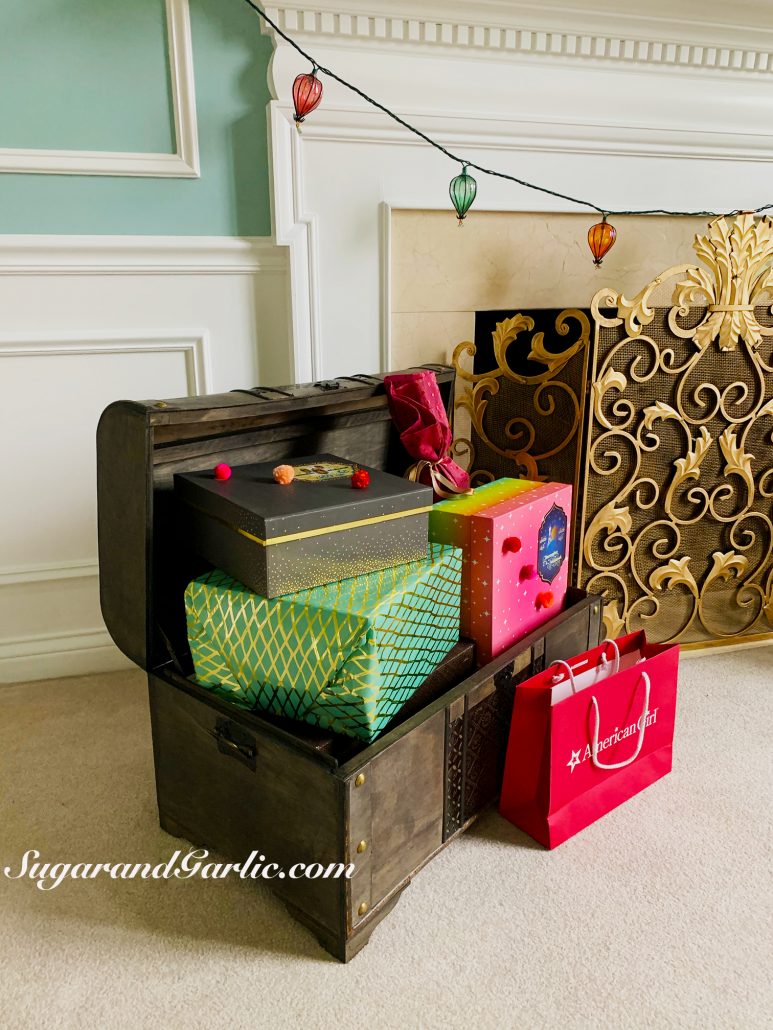
Our family has started this Ramadan treasure chest, which appears at the beginning of the month and triggers a lot of excitement! Once they fill it with toys and clothes in good condition to donate, they start receiving their Eid gifts in here…

Nature Fun and exploration

Like most kids around the world, your child was likely in front of the computer or a screen for most of the remainder of the school year. It is time to get out and dirty with nature! Here are some of our favorites. You don’t need to guide the kids much; their curiosity and excitement will lead the way!

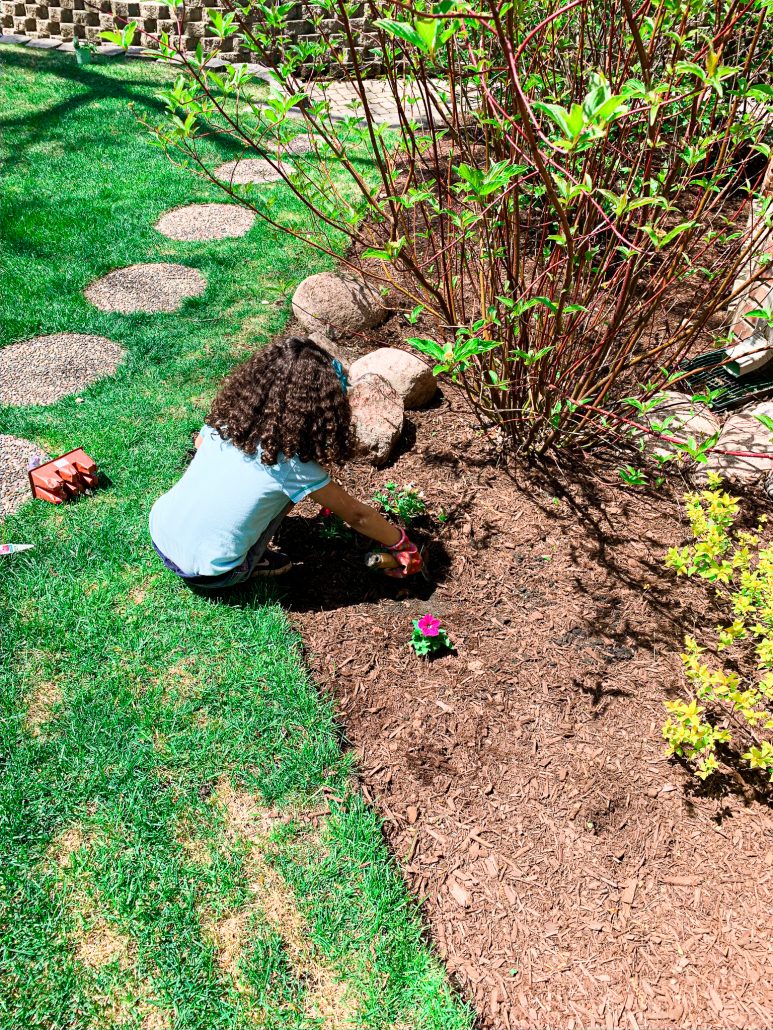
  1. Garden gloves to dig in the dirt! You will definitely want some kid sized gardening gloves such as this set that comes in a multi-pack for several kids, or an individual pair like this Melissa and Doug water proof pair. If your child loves the sensory play of digging in the dirt and mud like mine do, you will especially appreciate these.

2. Garden tools: Plant some seeds or a seedling from a garden center (such as Home Depot) in the dirt or in a pot. Sunflower seeds, leafy greens, cucumbers and cherry tomatoes all grow well if tended to with some good sunlight and enough water. My kids absolutely LOVE harvesting the cherry tomatoes throughout summer. A handy garden kit with a shovel the right size for small hands is another wonderful tool set kids would enjoy for the outdoors, whether planting in a pot or right into the dirt. If your kids are older than age 5, you may want a heavy duty shovel that does get some garden work done. We love this trowel for its large heavy duty grip and purposeful shape to make the digging easier. Just be sure to practice safety first!

3. Another fun way to enjoy and explore nature is with a bug catching kit- just be sure they kids are instructed to let their critters free once they made observations. I really love this simple tool by Carson optics, as it encourages only the observation of critters, and not the capture.

If you are looking for a small container to observe critters for a longer period, this is an excellent carrier:

Active play and sports

There is really a lot you can do outdoors, if you get creative. Here is a list of some of our favorite outdoor games, which are also great to pull out for large play groups or parties:

  1. A volleyball and a net is easy to set up in any backyard, and would offer great fun for the whole family. If you want a durable and quality net, this Baden set is one of the best you can get, and it also includes badminton racquets for 2 games in 1:

2. A basketball to shoot around with either at home, or the neighborhood playground and hoops can offer endless fun! A soccer ball is also very easy to enjoy anywhere.

3. Outdoor games such as bean bag toss or ring toss are always fun, especially for family gatherings or parties. These are also portable fun to take to parks and picnics, because soon we will be able to do this again I hope!

4. With high temps around the corner, you may want to get everyone a water blaster, especially if social distancing is prolonged into the summer. Children and adults alike will have endless fun having a water soaking fight! It’s a sure way to have great fun, from a distance!

5. This climbing dome is a top seller on Amazon and back in stock! It is durable to withstand both the weather and the kids climbing, and it is a great outdoor adventure if you don’t want to commit to expensive and permanent play-set installations.

6. Water bombs are another fun way to stay cool in the heat, while also maintaining social distancing. Water bombs are an eco-friendly solution to water balloons. They are reusable, will not litter the yard or space with latex and plastic, and usually dont hurt as much as a balloon popping on you! ALl you need is a large tub or bucket of water and throw these in and you are set for hours of explosive fun!

Indoor activities

I have always organized all of our play objects in a way that they are conducive to creating, thinking, or problem solving. Storage bins to keep different play toys organized in is a life saver, and makes clean-up easier for kids.

  1. Magnatiles or any magnetic block building set is really fun for almost every kid. We keep them in canvas bins on a toy shelf and pull it out whenever other children are around. They are a sure way to keep kids busy, but they can be expensive, unfortunately. Here is a set we have tried and loved, and the kids would always be thrilled to get more:

2. Legos and a lego table are an excellent way to keep kids busy for a long period of time. The creativity and problem solving is also a wonderful element that goes into building. My kids love their legos, but they are always all over the place which is a real PAIN. I decided to get this lovely table that keeps legos organized in a bin, and also gives the children a clear boundary as to where these little painful blocks may lie around.

3. Building blocks are such a wonderful way to keep kids of all ages. This beautiful FAO Schwartz wooden block set allows kids to use problem solving skills to build a castle! You have the option to purchase a 75 piece set or 150 piece set, for only a $10 difference, so I would definitely go for the set twice as big. Lincoln logs are another favorite both in my home and the classroom. Kids love the open creativity to construct with these interlocking logs to create whatever they please with this set. Bonus fact: Lincoln Logs were developed by a Chicago local, John Lloyd Wright the son of famed Chicago architect, Frank Lloyd Wright!

4. Brain Blox are an awesome building kit that stimulates the imagination and creativity. This educational building set is perfect for all stages of brain development.

Dramatic and Imaginative Play

  1. Play table– a good play table to anchor where kids can color, play, eat snacks has always been integral part of our toddler home. I love this modern white set:

I also love this folding table by Little Tikes; we got it as a birthday gift when my daughter turn 1 and it has been use for all these years after. It also serves as a great outdoor space for painting, bubbles, gardening, and picnics.

  1. A play kitchen is another wonderful way to anchor some play space in the home. This area can be filled with play food and kitchen tools for hours of imaginative play that is great for both social and emotional development as well as cognitive growth.

Sensory Play

  1. Kinetic Sand is an instant way to occupy kiddos of all ages. The sensory experience captivates children and adults alike, and it is not messy (thats a win-win in my book). Just add in some of their favorite animal or dinosaur figurines and you are set for the hours of play! This set below is a great value with 6 lbs of sand in three different colors!

2. Another way we have been keeping busy at home is with polymer clay. Polymer clay has a similar consistency to real pottery clay and it bakes in a home oven. The kids really love seeing their creations come to life, as their work becomes little ceramic pieces. This set comes with a variety of colors, as well as some useful sculpting tools they will need for details.

STEM games

There are a ton of classic board games most people know about. Below I list some of my favorite problem solving and critical thinking games perfect to play at home, while applying mathematical and science concepts.

  1. Crazy Tower is very similar to Jenga, but it has a few more rules making the fun a lot more crazy, literally! Gravity and balance come into play, as does concepts of perimeter and area when kids figure out their strategies and scores. I love this game, hence it is #1 here!

2. Rush Hour is one the best selling problem solving games. The whole family can enjoy this one too. The logic and problem solving skills in your child will come alive here.

3. SmartGames Little Red Riding Hood is an awesome puzzle perfect for preschoolers and up. Adults can use story telling as they play to really engage the child to help Red escape from the wolf. This is another logic based puzzle that serves from beginner level preschoolers, to masters. The puzzle in conveniently sized making it perfect for travel too!

4. SmartGames IQ puzzles is another favorite! We have 2 of them and there are a few other versions available on Amazon. The one below is my favorite, especially because it does not have so many little pieces that can go missing. This compact case holds everything you need, and slips right in my purse so I take it with me on the go (restaurants, someone’s house, travel). This will keep kids occupied with over 120 puzzles starting from easy level to master (where the parents even struggle to solve!)

Maamoul Pastry Cookies

Maamoul Pastry Cookies

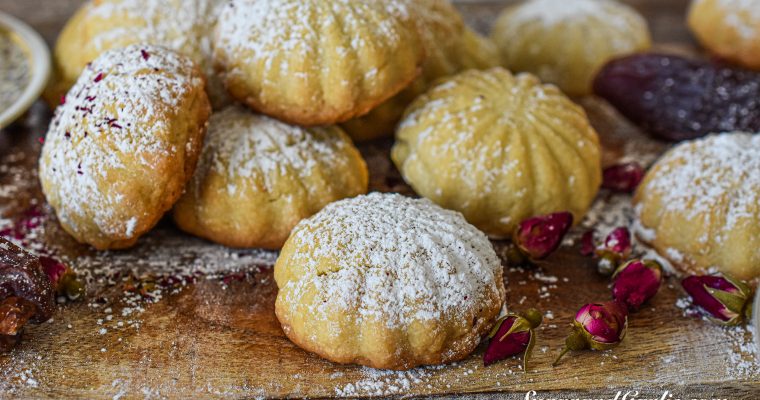
Maamoul is a traditional cookie enjoyed throughout the Middle East come Ramadan, Eid, Spring time, Easter, and basically year round. But it is especially imperative during the holidays! Maamoul is a scrumptious butter cookie made with butter, flour, semolina and some rose extract and filled…

Ramadan during Quarantine

Ramadan during Quarantine

Ramadan for me has always been a beautiful time of the year that brings us all joy. For us, whenever we are home in Michigan, it is basically like Thanksgiving holiday everyday for a MONTH. How amazing is that? Food, parties, gathering with friends and…

Egyptian Massak’aa (Moussaka)

Egyptian Massak’aa (Moussaka)

Jump to Recipe

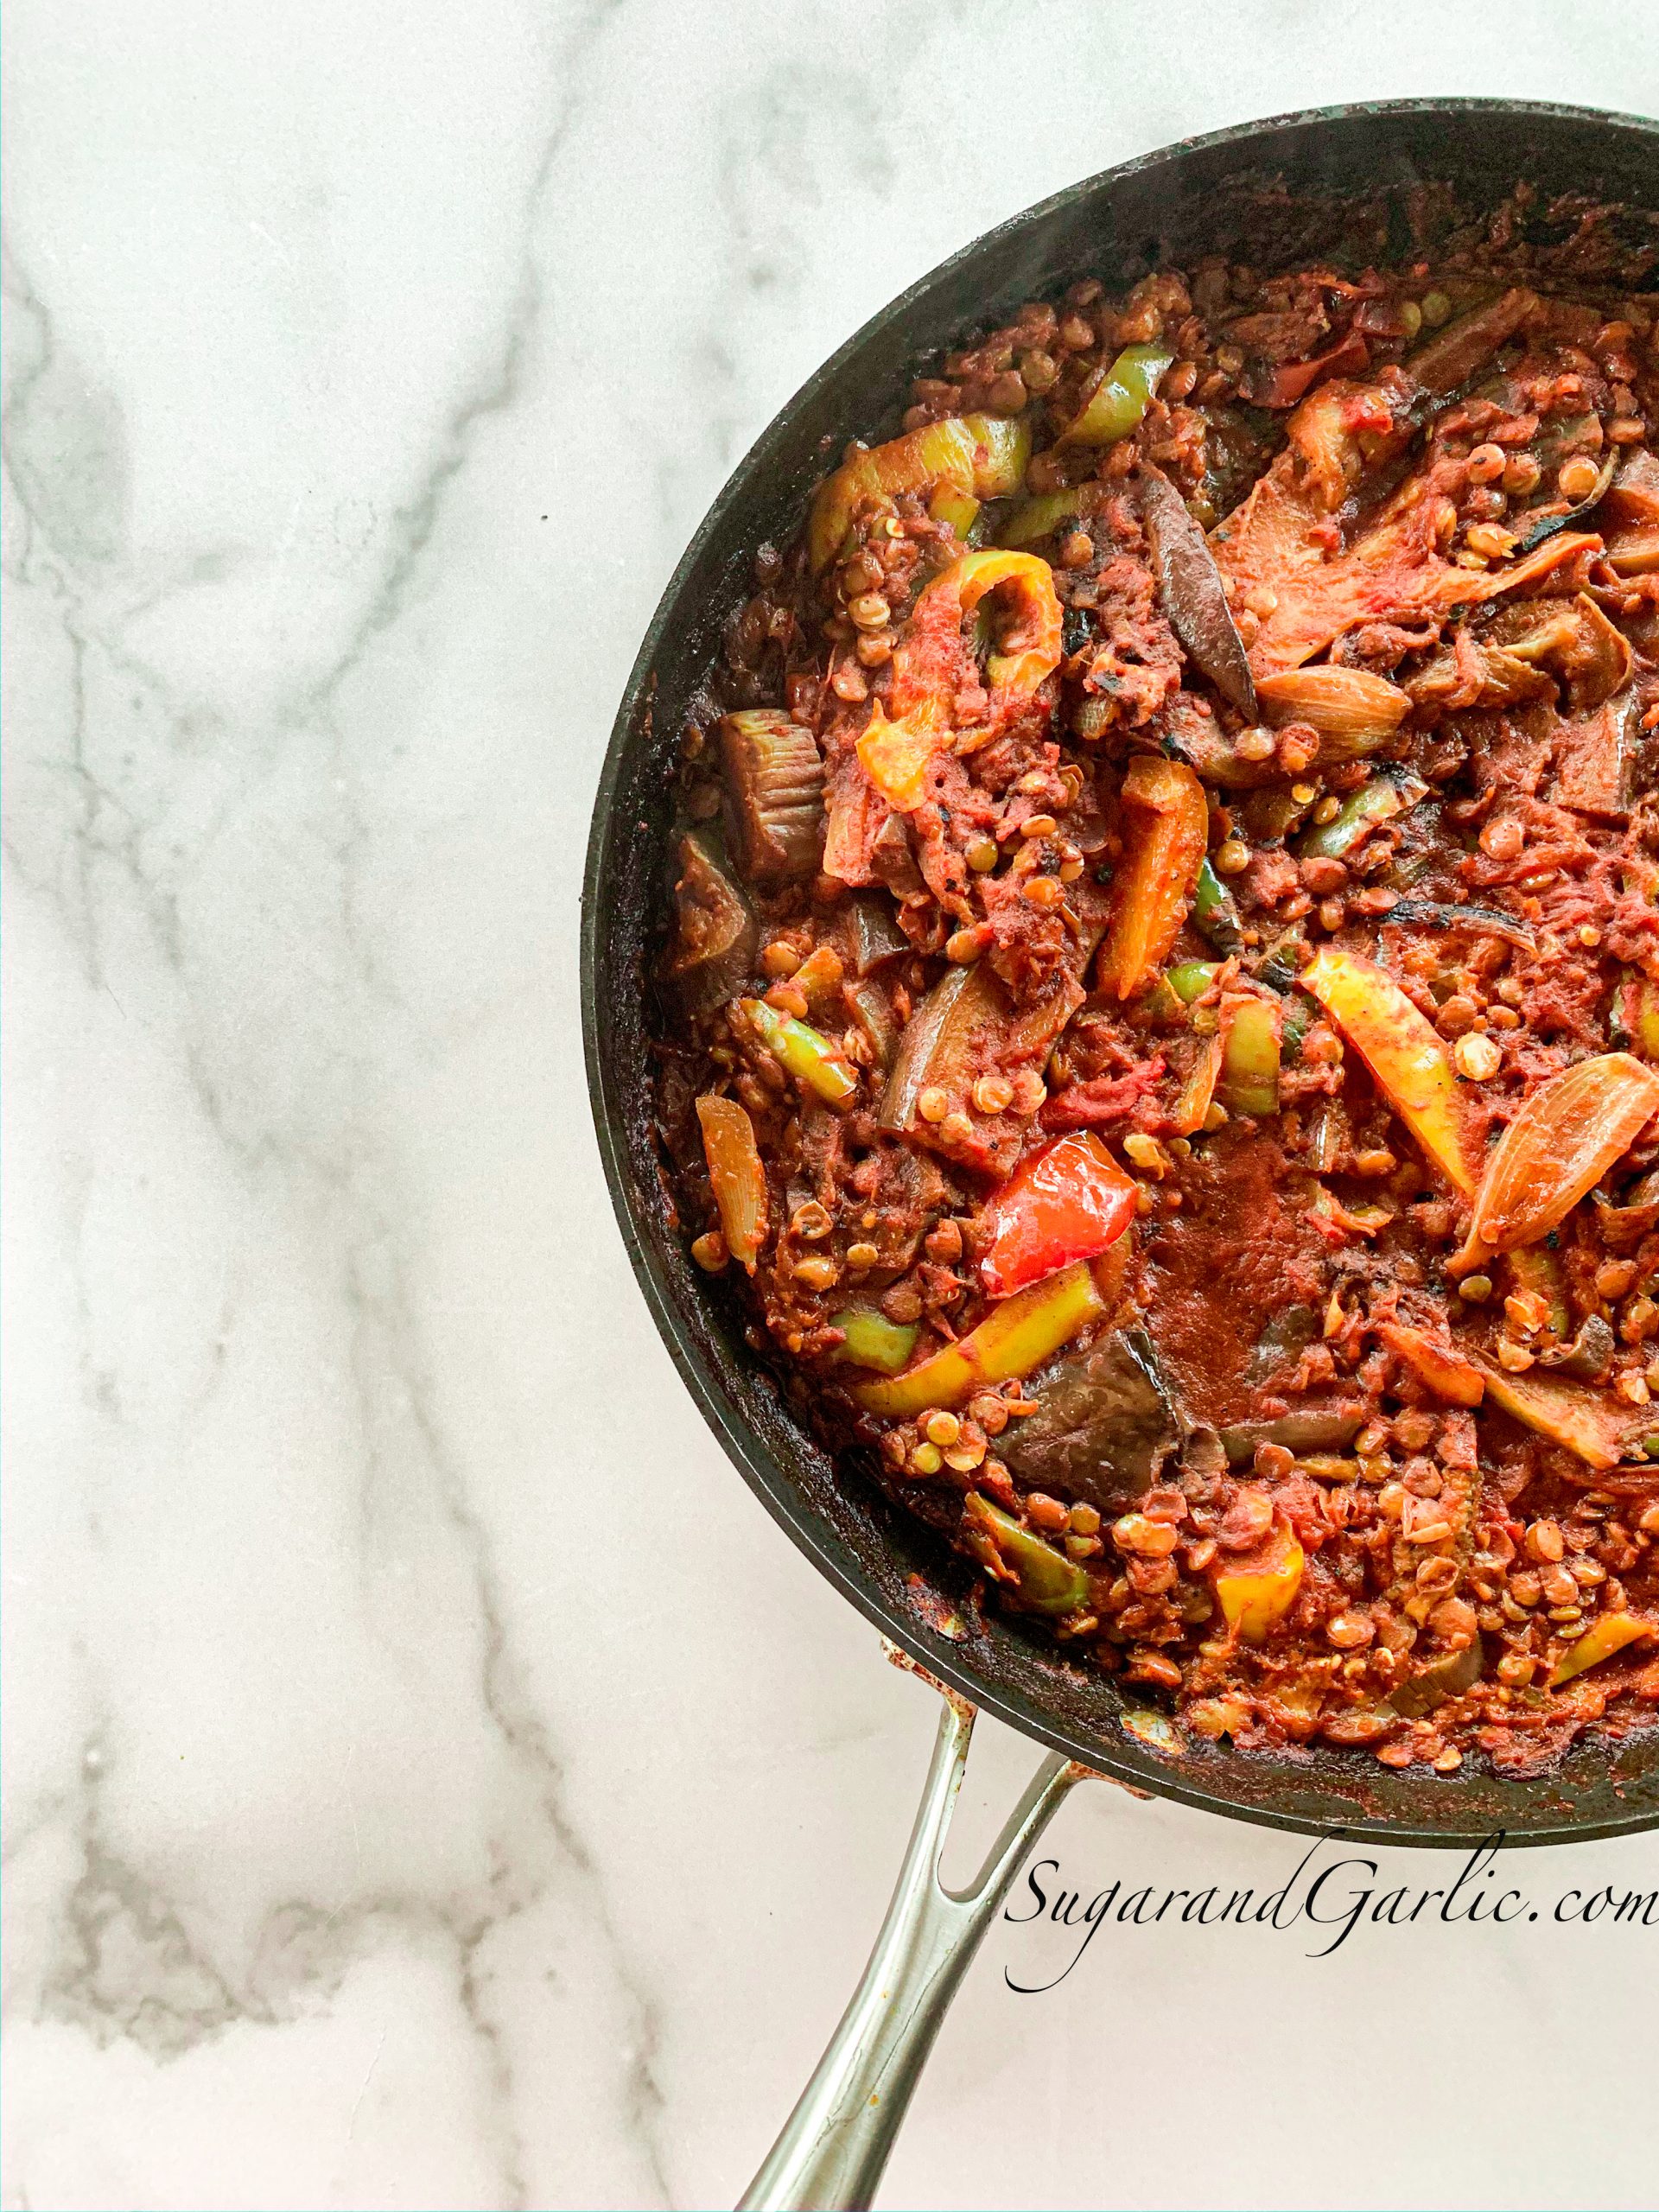
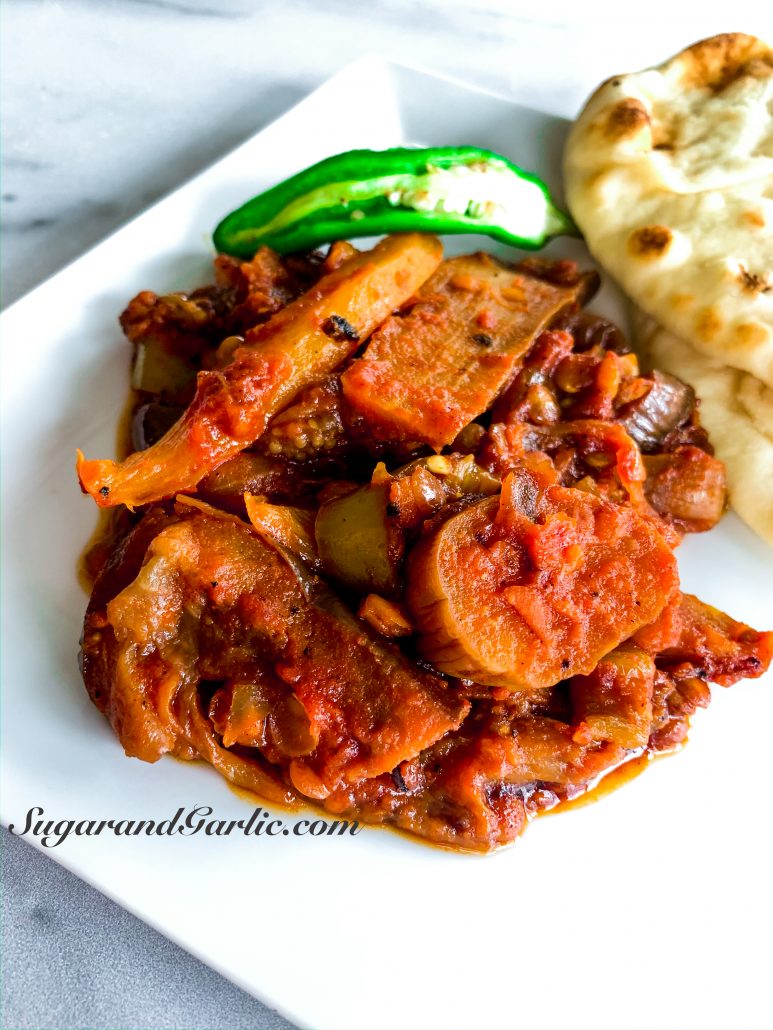
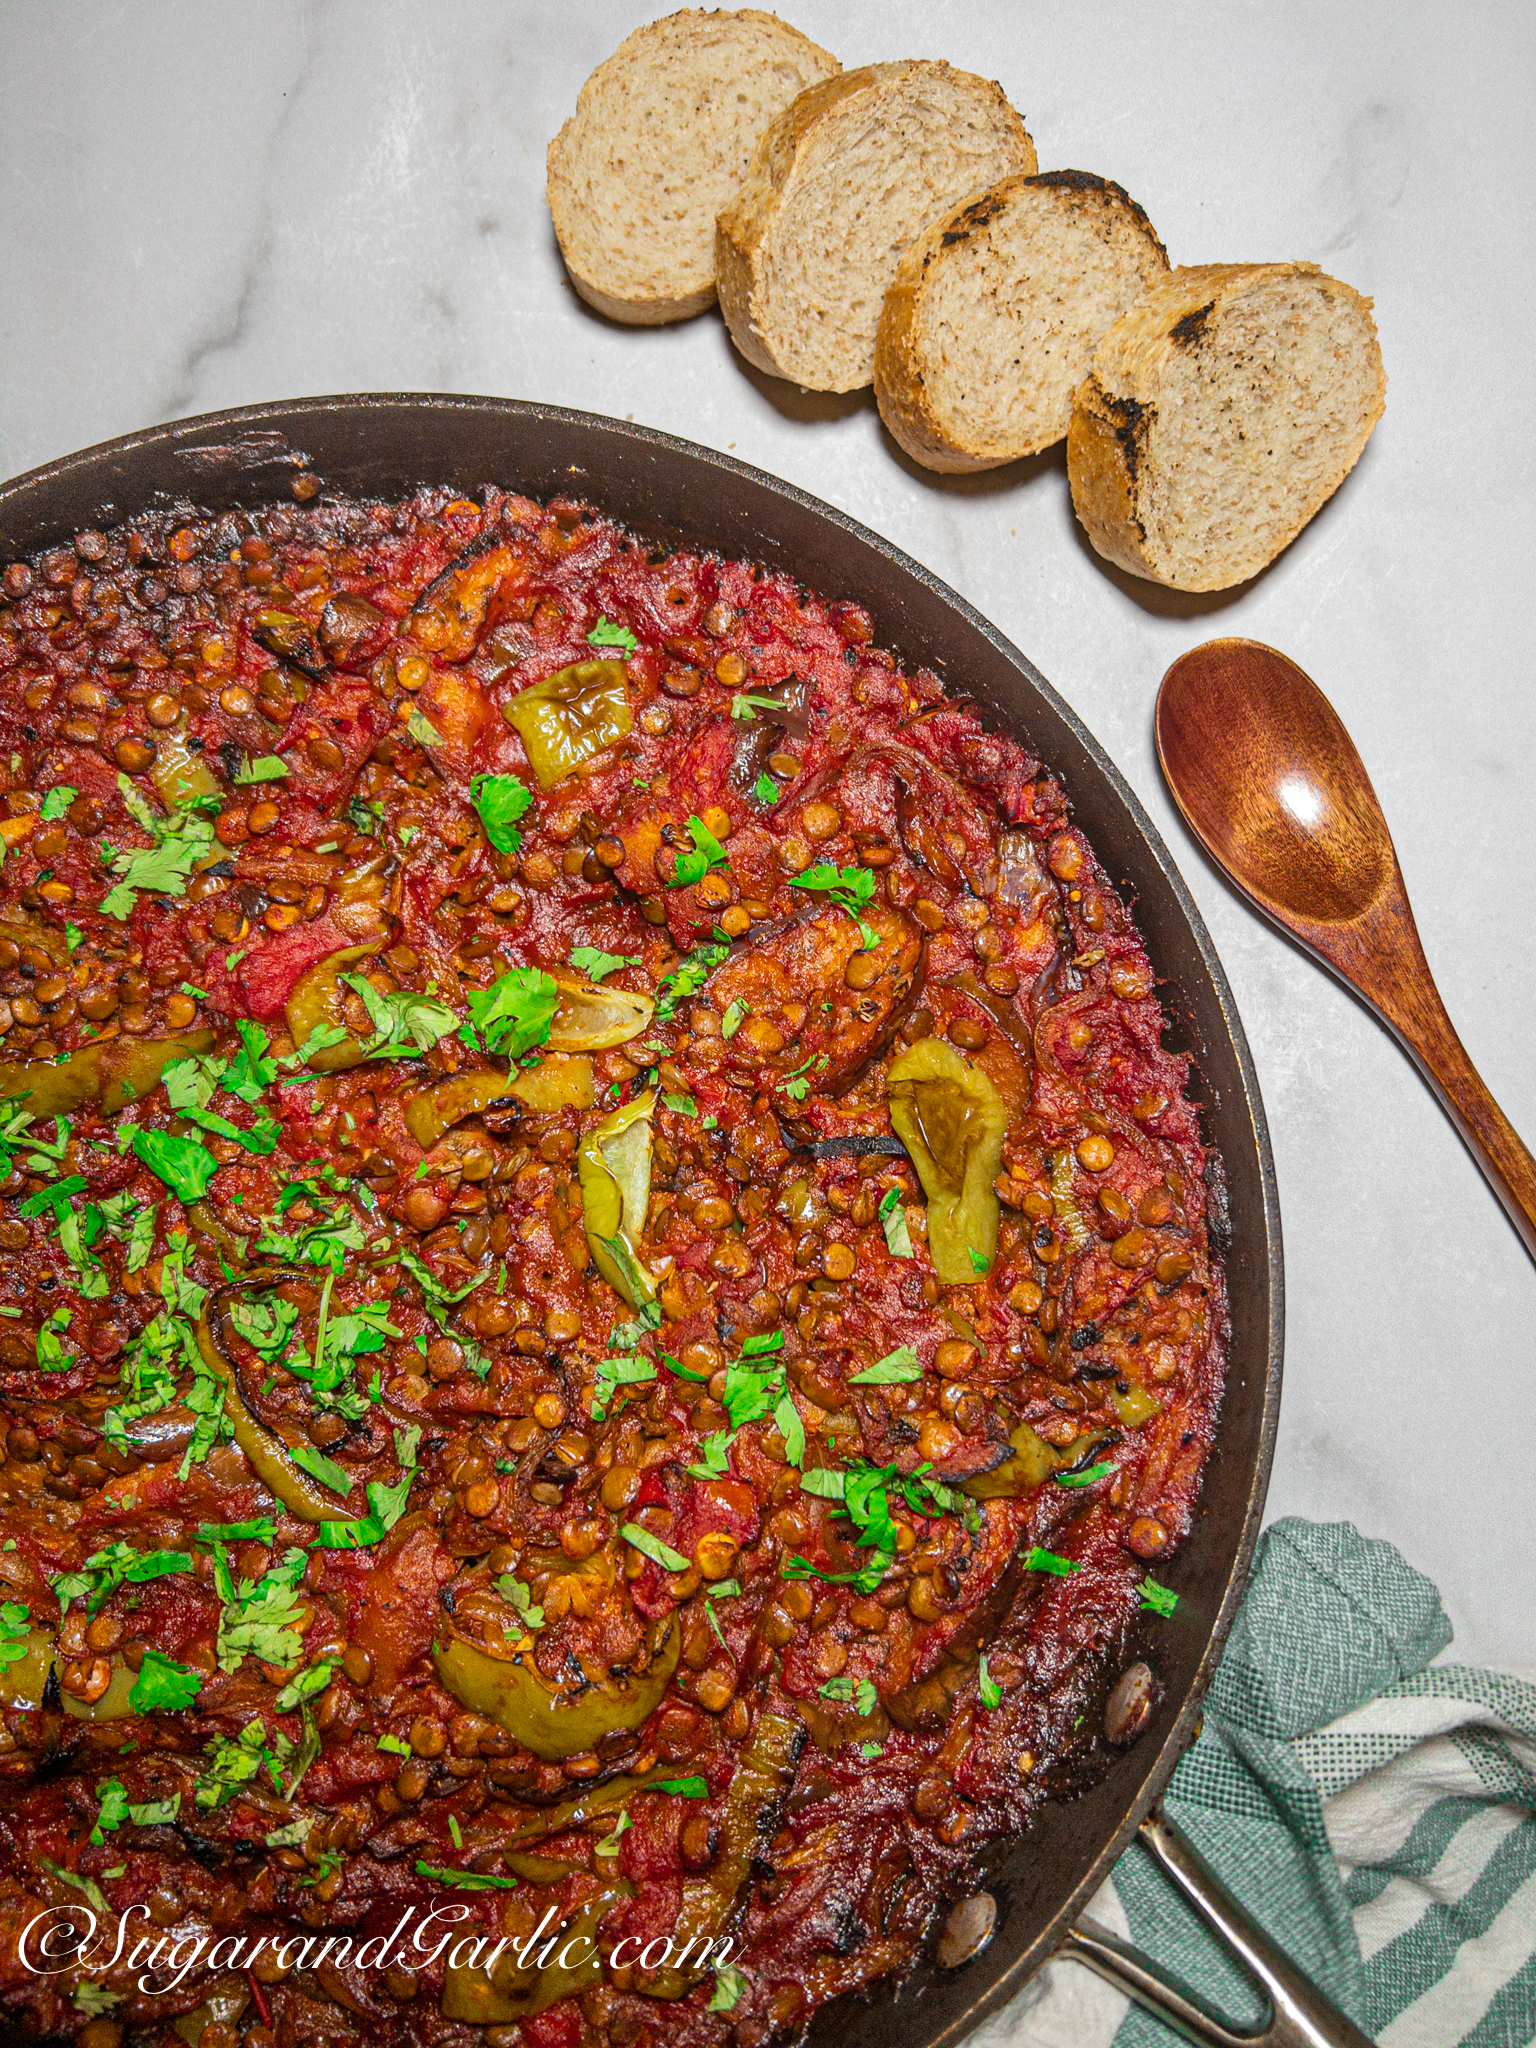
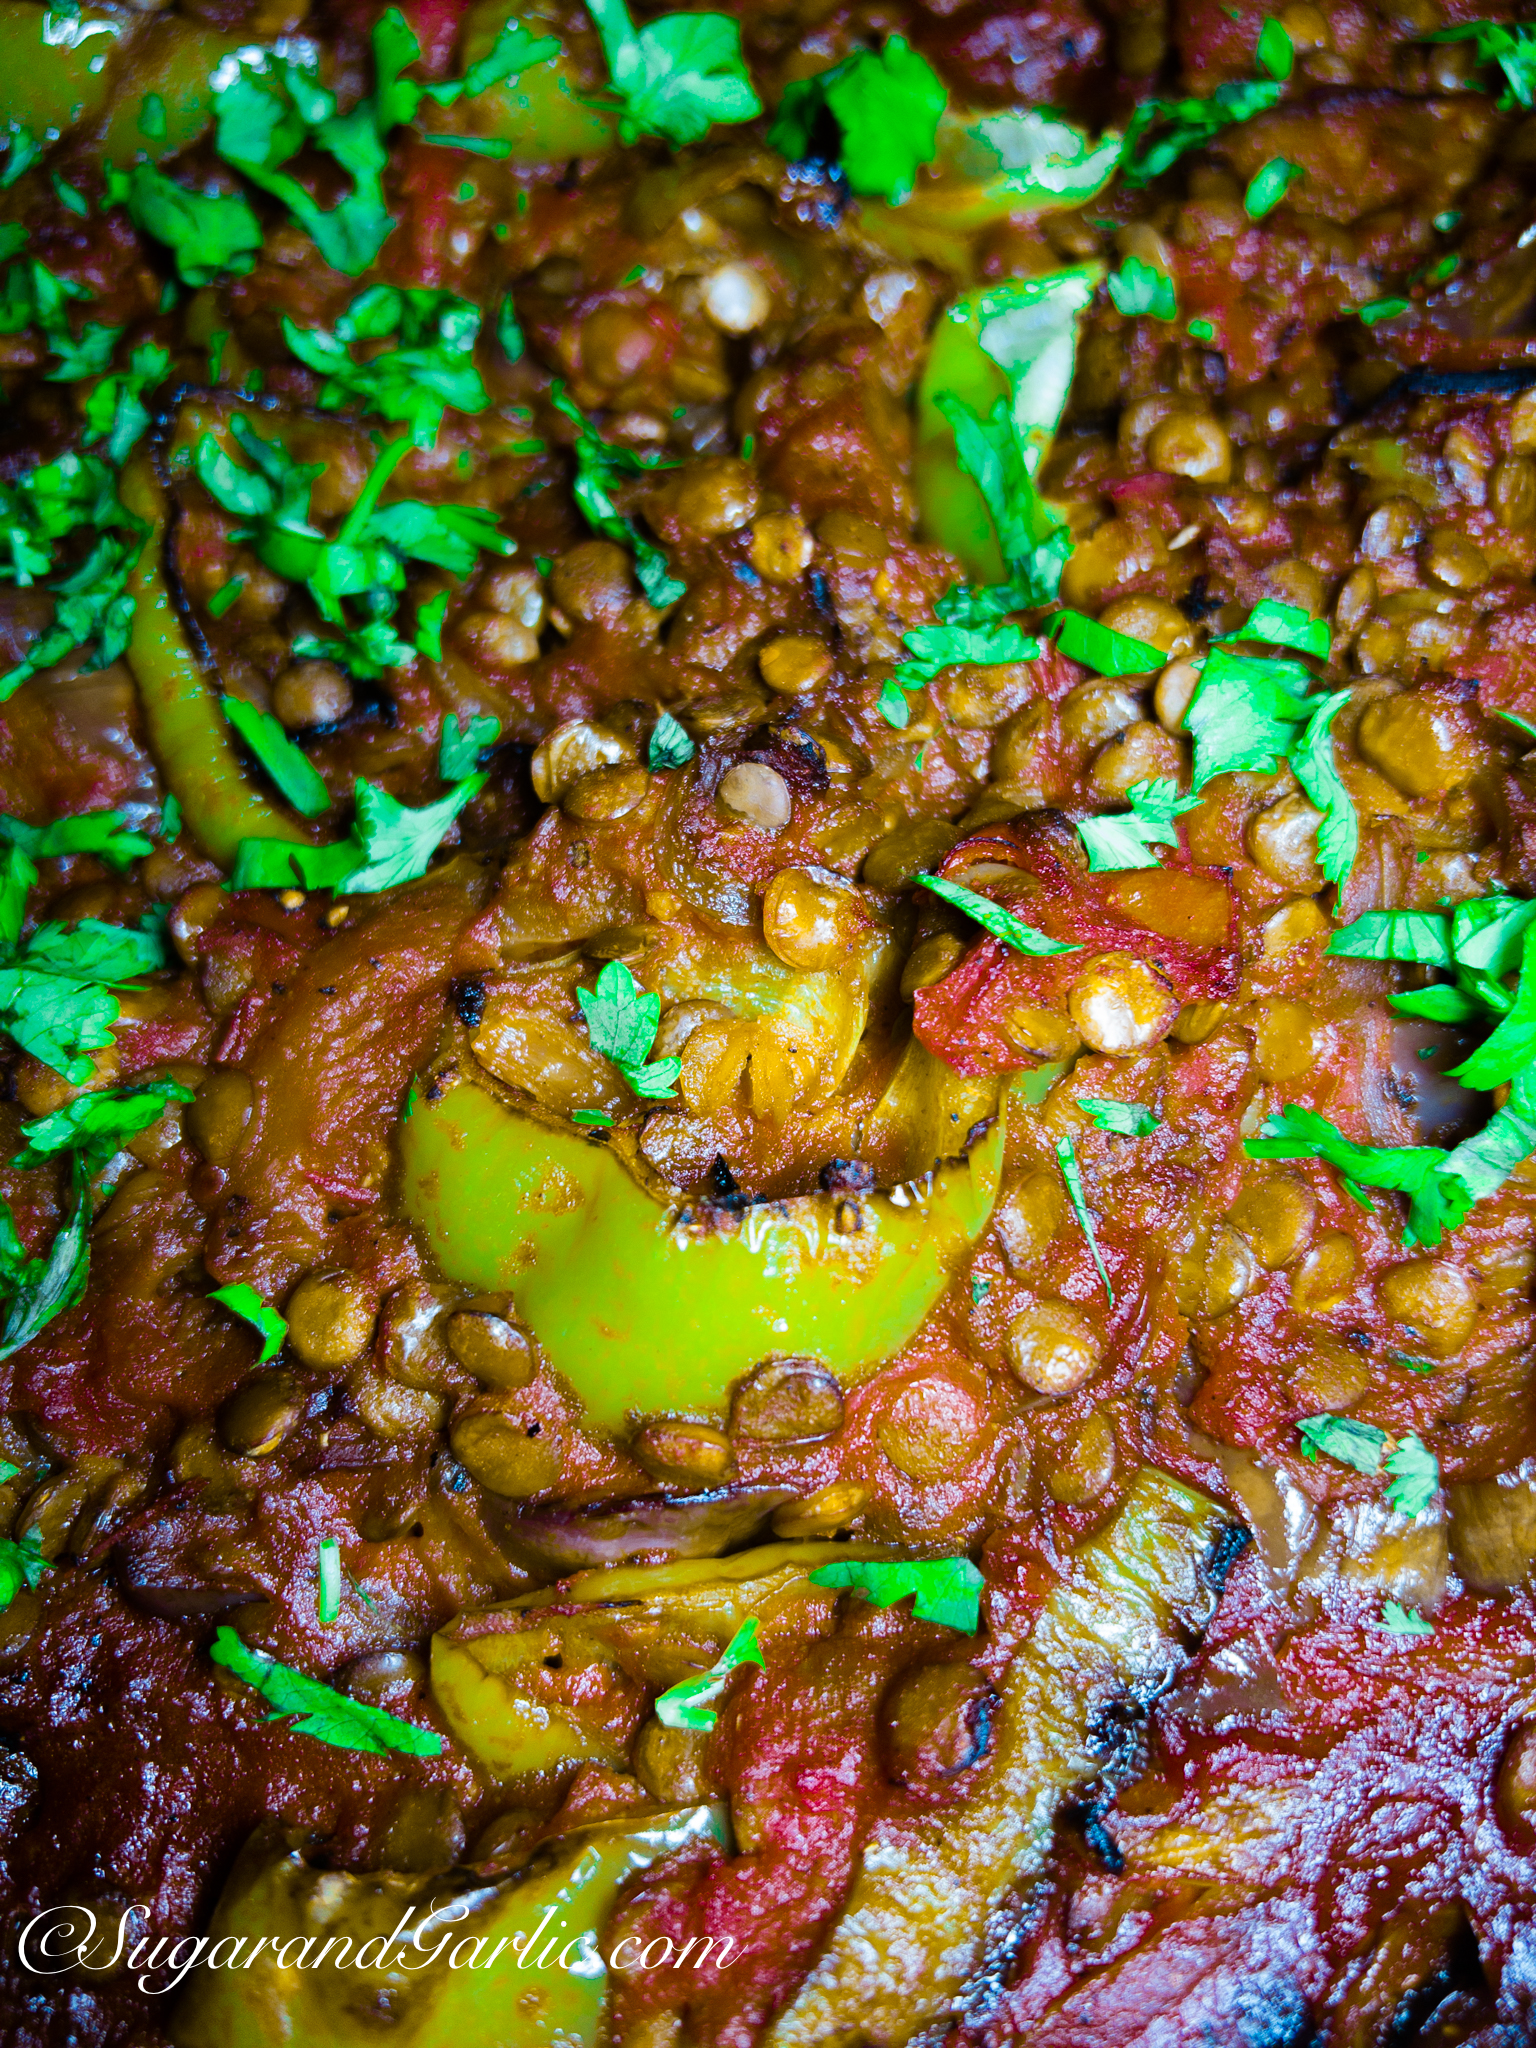
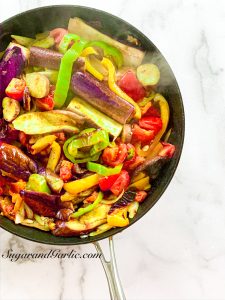
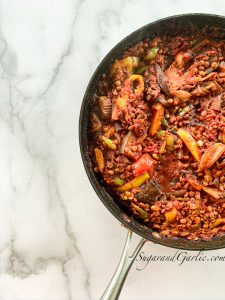
Egyptian massak’aa is easily one the tastiest dishes out there. In this version, sliced eggplants and peppers are lightly fried and then cooked in an irresistible tomato sauce simmering with garlic, onions, cumin, and vinegar. It’s really a simple dish to prepare with complex flavors that will have you mopping your plate spotless with your pita bread. Traditionally, massak’aa is made with ground beef between the layers of eggplant, but the beef can be omitted completely for a vegetarian version. I sub-in parboiled lentils to simmer away with the sauce, so that it is a hearty meal rich in antioxidants and satisfying protein. We love this vegan version and with the pandemic and shortage of beef, I think many of you will enjoy this flavorful option! My version becomes even easier because I make it all in one pan, skipping the deep frying step, but none of the flavor.

During the worldwide pandemic forcing us to stay home and having limited trips to the grocery store, I found myself stocking up on eggplants and peppers as they are among some of the vegetables that hold up quite well first being left outside until it is safe to bring into the home, and then even longer in the refrigerator crisper. Another eggplant favorite recipe that my kids enjoy is the maqlooba, a one pot dish of aromatic spiced rice layered with eggplant, cauliflower, potatoes, and some tomato. So YUM.

Ingredients

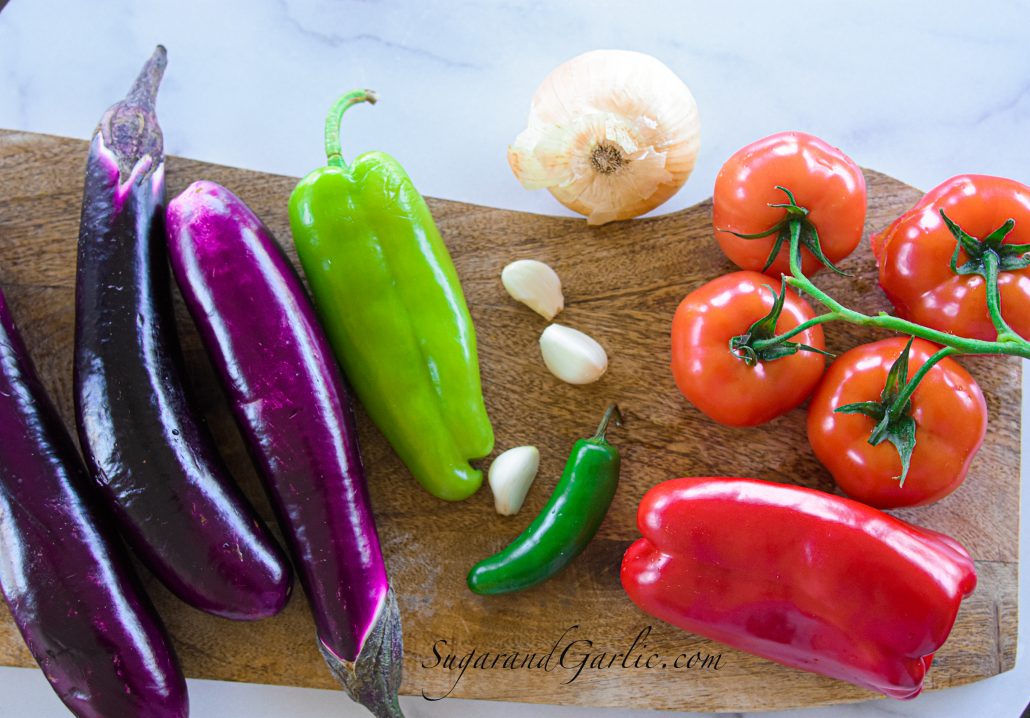
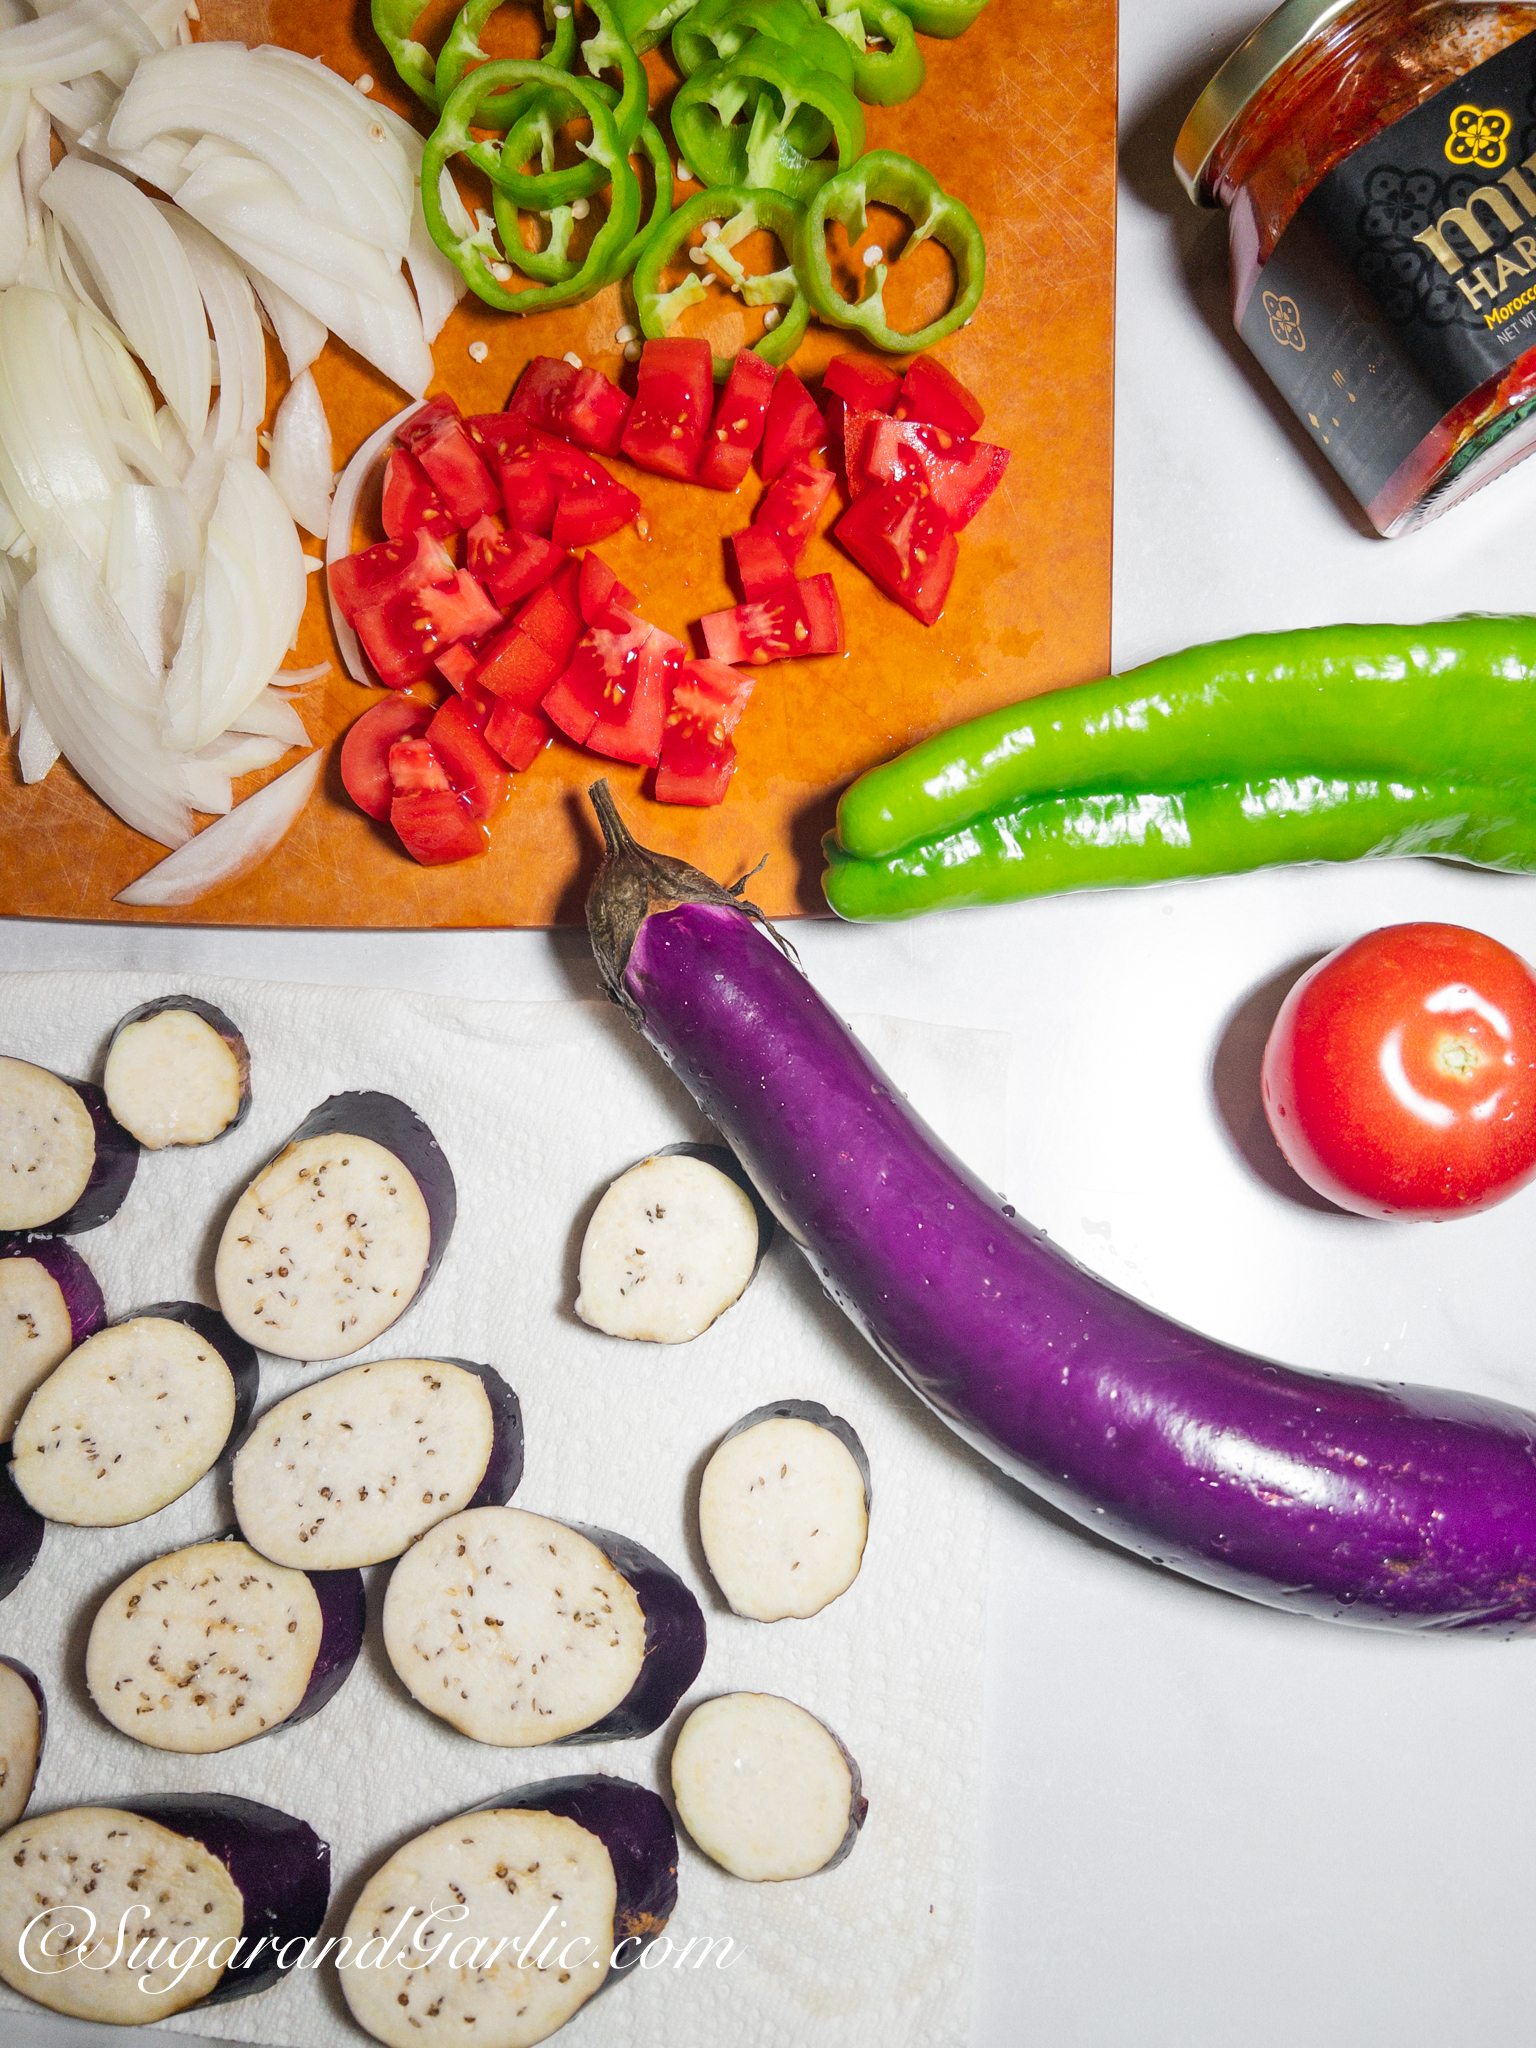
I like to use Asian eggplants because the skin is thinner and they have a milder flavor. You need about 3 Asian eggplants for this recipe, or 2 of the globe variety. Traditionally, Egyptians peel strips of the outer skin, which probably helps the eggplant cook down better, but I like to retain the nutrients as much as possible. I only cut off parts that appear like they need to go. I do strip off a few stripes if it is the fatter, globe eggplant, because the skin is thicker on those. The eggplant can carry a lot of water inside that can make them cook tough, and taste bitter. To remedy this, they need to be sprinkled with salt, which draws out all these bitter juices. They can then be blotted up of those juices before sautéing.

For peppers, you can use any combination of green, red, or yellow peppers. I always have all three types, as I love them all. When I cook Middle Eastern dishes I prefer the longer green cubanelle peppers, as they have a milder flavor that goes nicely with the dish. I throw in one jalapeño, sliced open in half so that it can slightly kick up the flavor of the sauce just a little bit, without making it unbearable for the kids in the house. You could definitely add in 2 more if you like more spice, and dicing it will allow the flavor to permeate throughout more of the dish.

Use a red pepper paste by roasting the red bell peppers, peel them, and puree with olive oil and a dash of cayenne. Or simply use a jar like Mina’s Red Pepper Harissa paste. This really adds dimension and flavor to the dish.

This is the perfect recipe to put your soft, overripe tomatoes to work in. I used about 4 really juicy tomatoes, quartered them, and just let them char and get golden before melting into a flavorful chunky tomato sauce. I then supplement 1.5 cups of tomato sauce when I am ready to let it all simmer together.

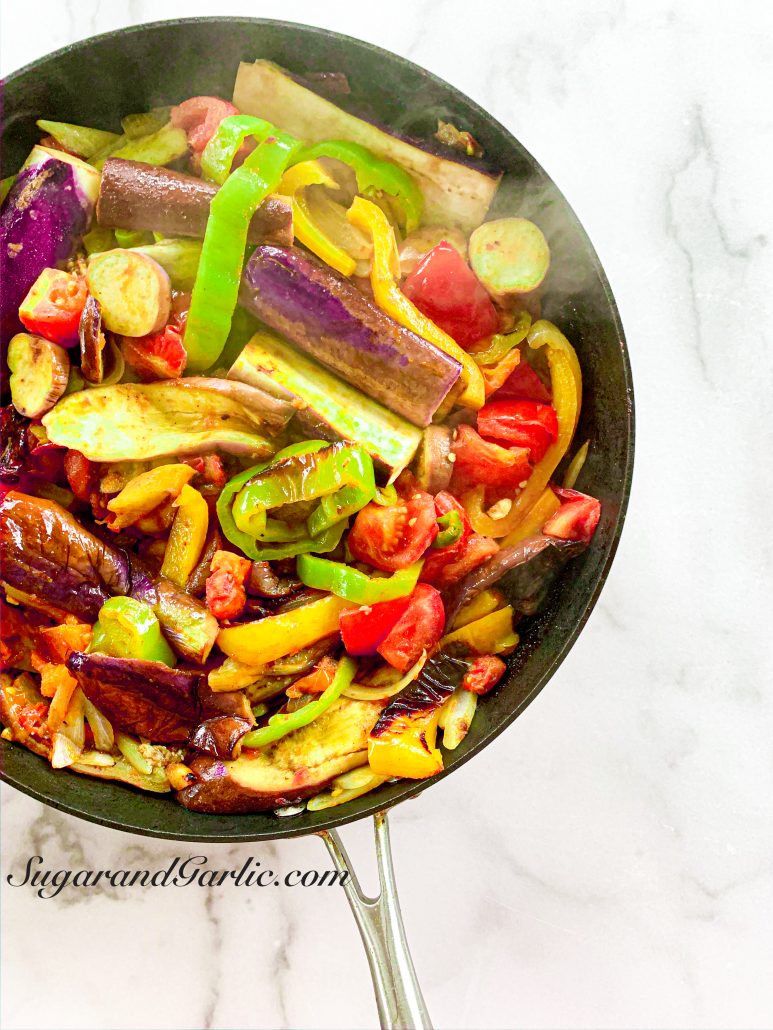
Cumin, garlic, vinegar, salt and pepper are all the essential flavor agents here. The peppers and tomatoes sauté and sizzle in the pan until they char and develop some color, which releases incredible flavor to this dish. It all comes together once I pour on the tomato sauce all over everything and let them simmer away until they are amalgamated into one creamy and flavorful dish ready for the licking–with some pita bread of course!

You can use beef in this recipe, as is the classic Egyptian method. To do so, prepare the beef by cooking it first in a pot with a whole diced onion, some minced garlic, 1 tbsp of all spice, and some finely diced bell pepper. I do not include this step in my recipe because I always make it vegan. Instead, I throw in 1 cup of parboiled green lentils simmered with a teaspoon of cumin. I boil them for about 10 minutes just so they are halfway cooked so they can cook all the way through with the remainder of the massa’kaa pan.

Per Serving: Calories 188 kcal, Carbohydrates 28g, Protein 9.5g, Saturated Fat0.8g, Sodium 423 mg, Fiber 6g, Sugars 4g

Egyptian Massak’a

5 from 1 vote
In this quick and easy version of one-pan Egyptian massak'a, sliced eggplants and peppers are lightly fried and then cooked in an irresistible tomato sauce simmering with garlic, onions, cumin, and vinegar. I make this completely vegan with lentils, but include a description on the blog how to use beef in a classic Egyptian method as well.
Course: Main Course, Side Dish
Cuisine: egyptian, Mediterranean, Middle Eastern
Calories: 188

Ingredients
  

  • 3 medium eggplants, sliced in circles 1/2 inch thick 2 cups
  • 1 green pepper, diced 1/2 cup
  • 1 red or yellow onion, diced 1/2 cup
  • 1/2 onion, sliced 1/2 cup
  • 4 cloves garlic, sliced
  • 4 tomatoes, quartered 1-2 cups, based on preference
  • 1.5 c crushed or strained tomatoes
  • 2 tbsp olive oil or sunflower oil
  • 1 tbsp cumin, ground
  • 2 tbsp white vinegar
  • 2 tsp salt
  • 1 tsp ground black pepper
  • 1 cup brown or green lentils, washed

Method
 

  1. Bring a pot of 6 cups of water to a boil. Add the lentils and allow to boil for about 10 minutes, until halfway cooked, but not completely. Drain completely. If you bite one, it should be soft on the outside but firm on the inside. It will continue to cook once added to the massak'a pan.
  2. Lay the sliced eggplant on a kitchen towel or paper towel and salt it so that the bitter water is drawn out. After about 10 minutes, blot them with a clean towel, brushing off as much salt as possible.
  3. In a large pan, at least 10" in diameter, add 2 tbsp of oil. Place the onions, peppers, and tomatoes, eggplants throughout and leave them for about 3 minutes to build some color and char. Check them to make sure they do not burn, and slowly turn them over once a golden color is achieved.
  4. Once all the vegetables have gained some golden color, sprinkle in the cumin, garlic slices, salt and pepper. Allow them to continue to build color. The tomatoes and onions will be all soft and releasing juices by now.
  5. Add the lentils on top of the sautéed vegetables, and gently fold them in.
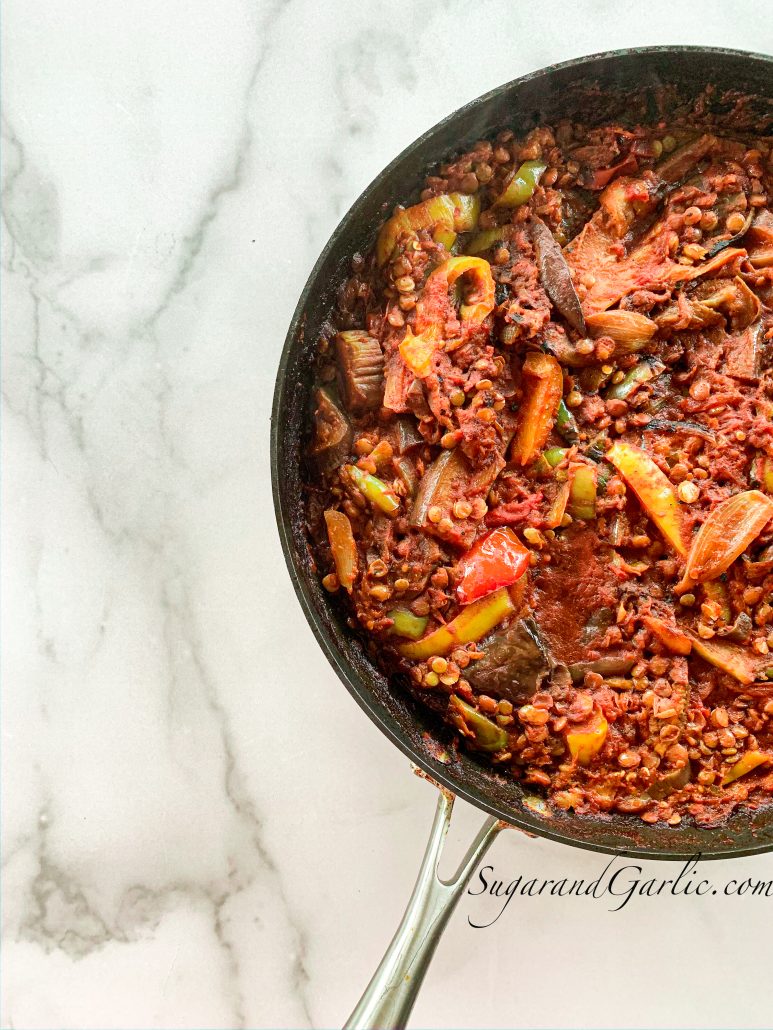
  6. Pour the tomato sauce and vinegar all over the top, gently mix it all in, or simply leave it to cover the top. Cover the pan and continue to simmer for about 15 minutes, until the lentils are cooked through. If you have an oven-safe pan you may also place this in the oven as the classic method bakes the combined layers in the oven at 350 degrees (f).
  7. Serve hot, or at room temperature, or even cold with pita bread. This is a dish eaten with pita bread sopping up all of the delicious flavors. Enjoy!

Gooey Peanut Butter Chocolate Chip Cookies

Gooey Peanut Butter Chocolate Chip Cookies

On about day TWO of isolation, I decided we would need a reliable batch of cookies to get through this pandemic/quarantine/homeschool/work-from-home situation. We love cookies in my household and I will find any excuse to incorporate them from improving lactation to supporting girl scouts! I…

Sambousek (beef, cheese, or eggplant filling)

Sambousek (beef, cheese, or eggplant filling)

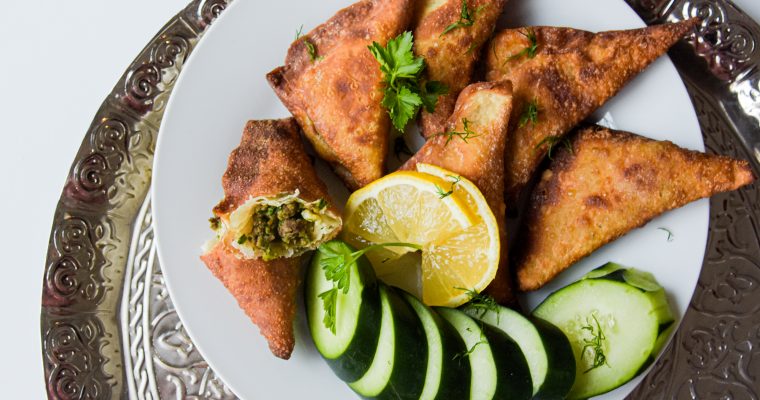
Sambousek is also called Sambouseh throughout Egypt and the Levant regions. It is similar to samosas, but with a different flavor and spice profile for the filling. In the Arab world, it is basically a fried dumpling of flaky and crispy dough filled with beef…

Qatayif with pistachio and rose

Qatayif with pistachio and rose

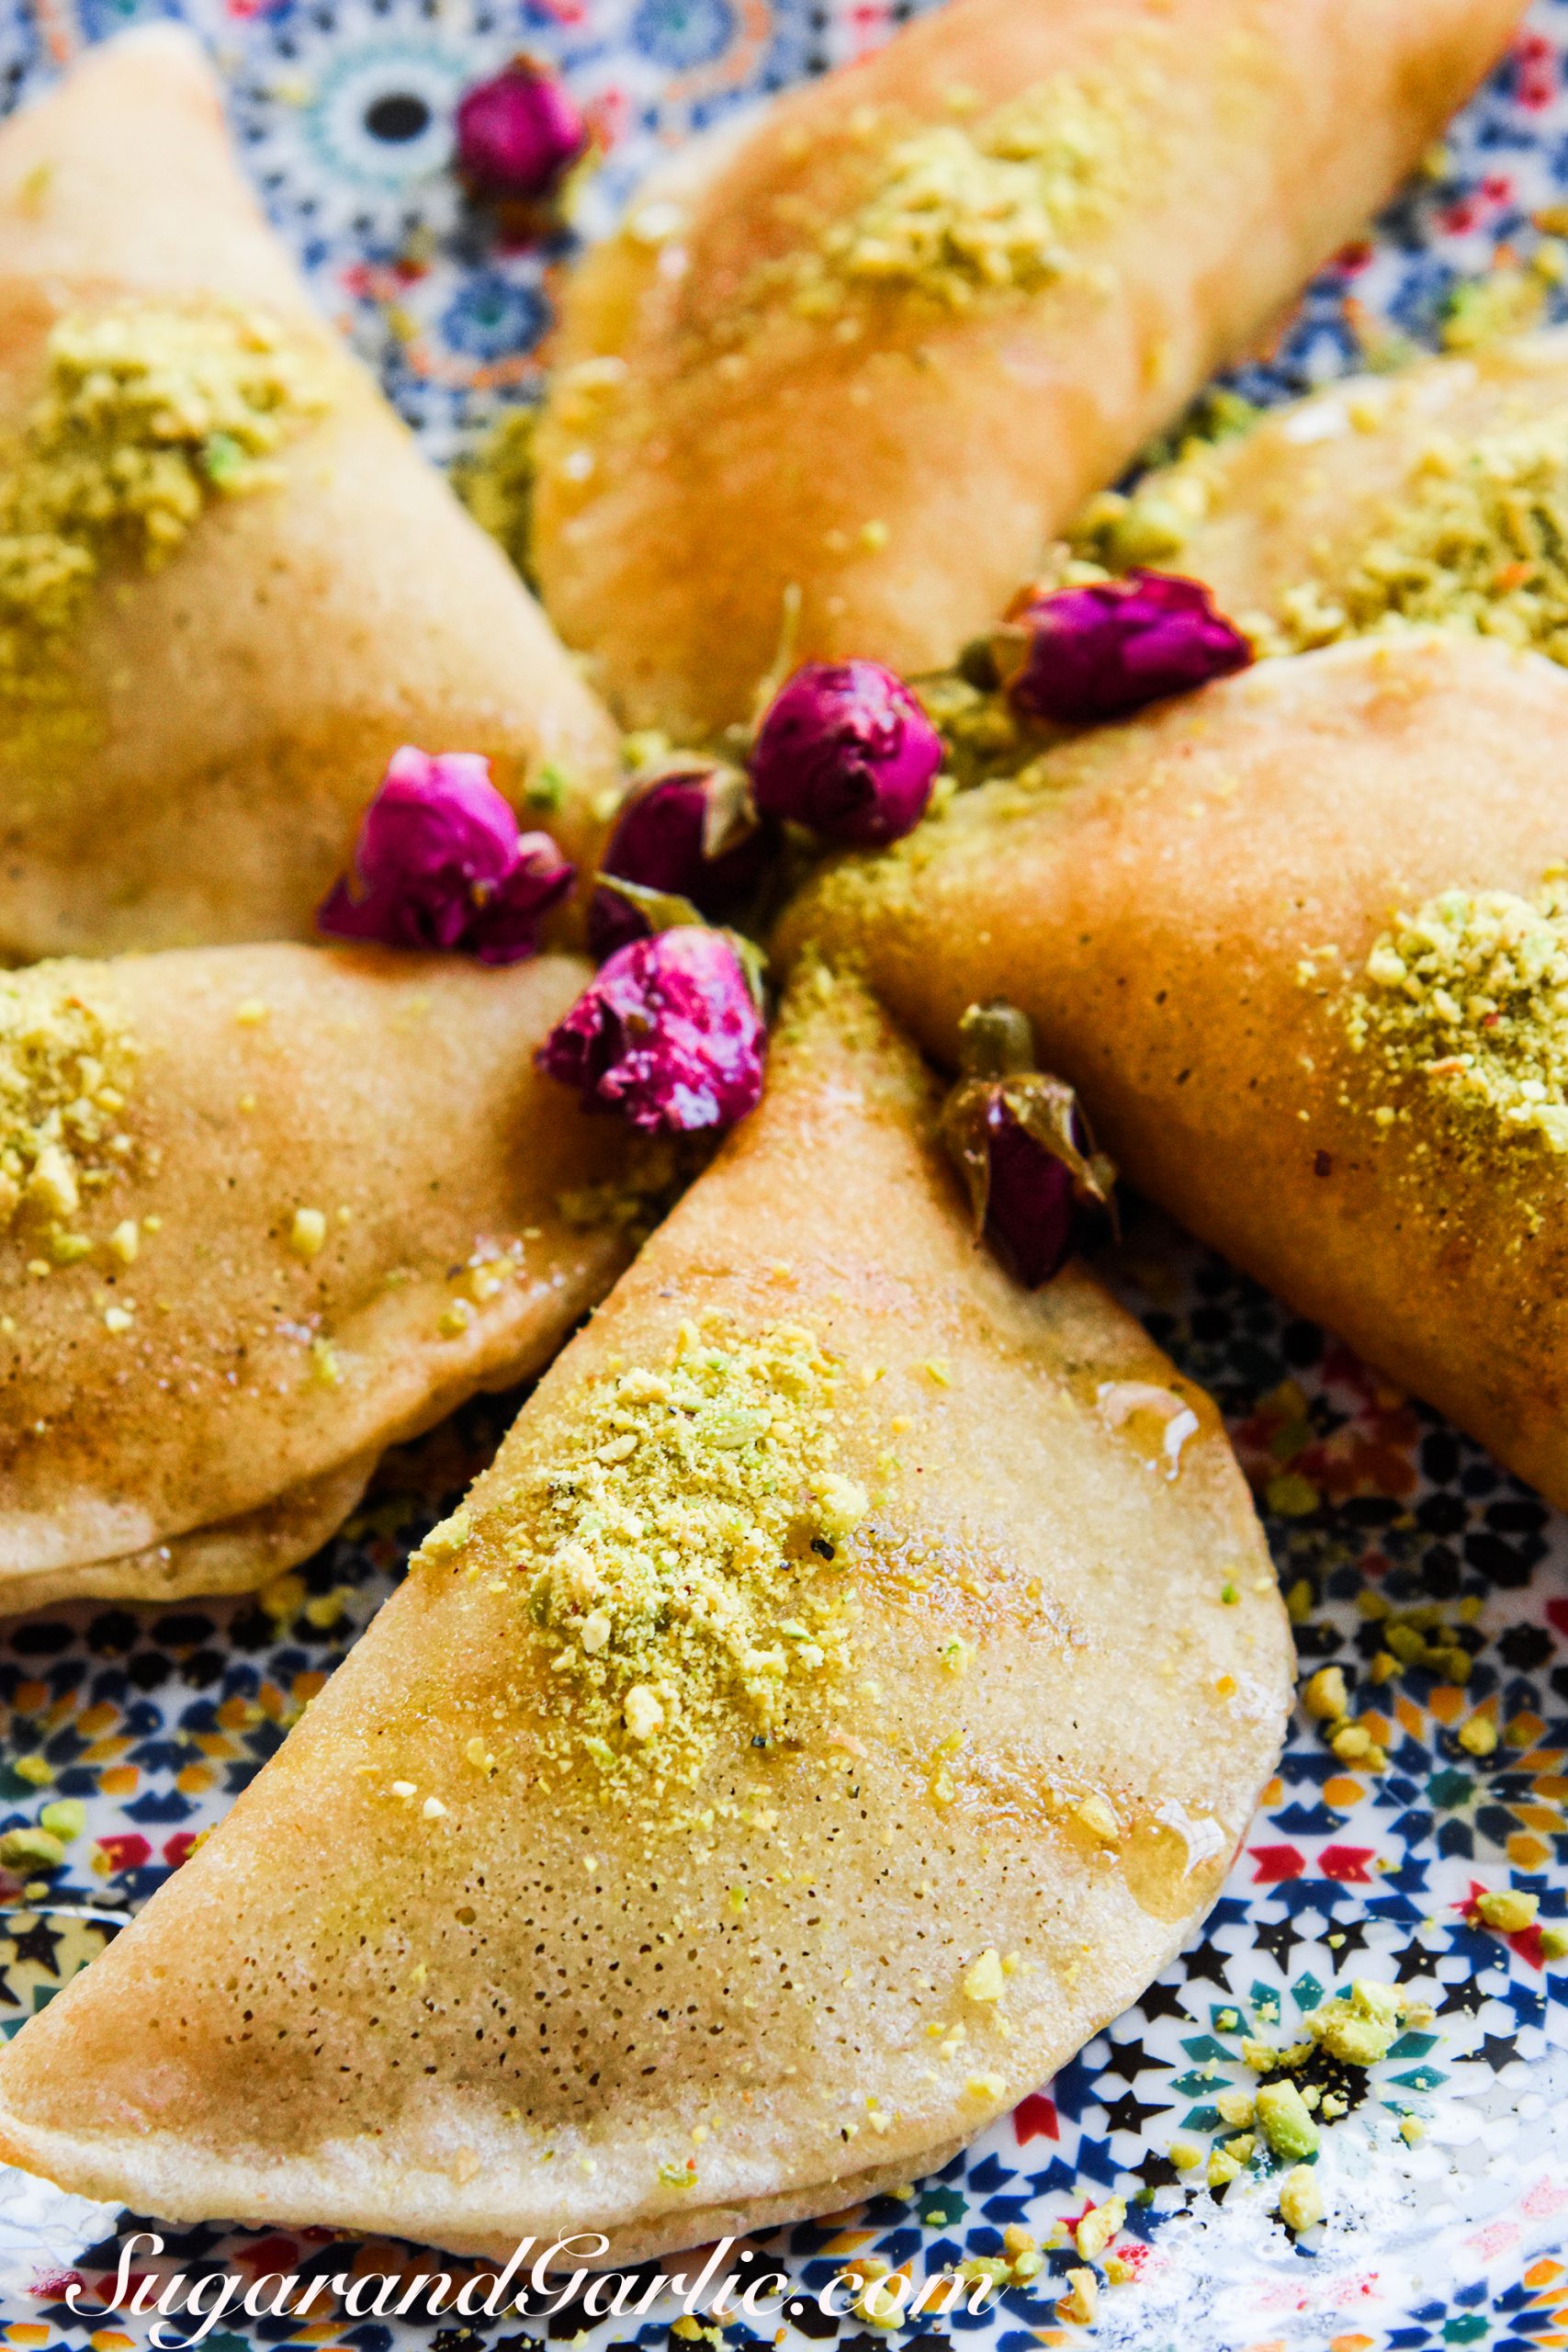
qatayif zoom in
Jump to Recipe

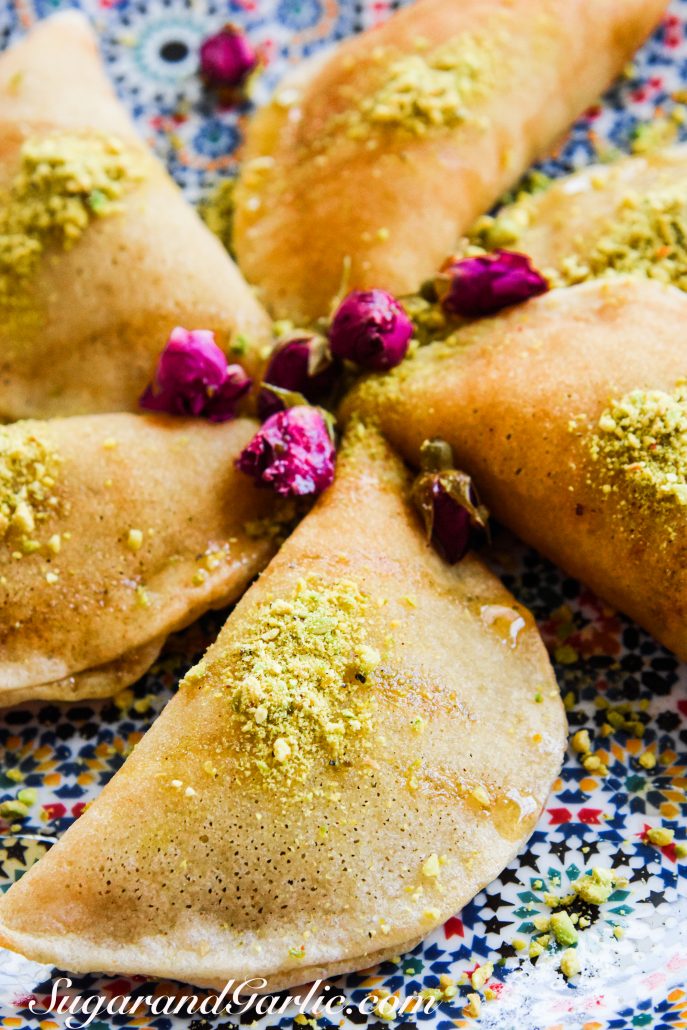
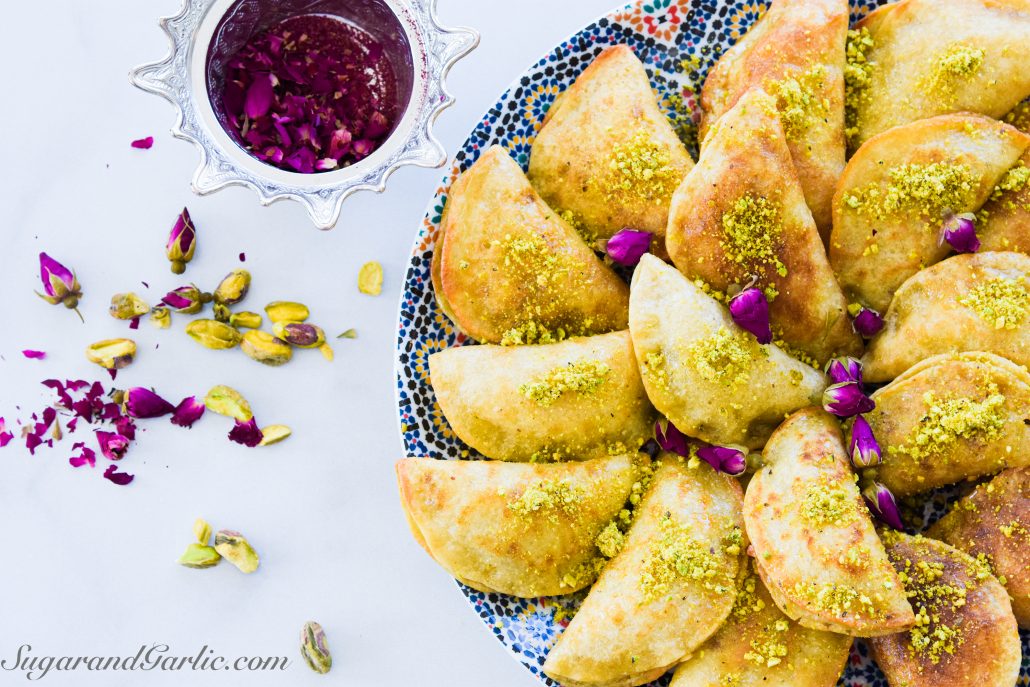
Their scent fill the air on Ramadan nights. The crunchy and gooey pastry that children lick their fingers after devouring, is easily one of Ramadan’s most favorable memories. Qatayif [quh-ta-yif] are a Middle Eastern delicacy that exude everything delicious. They are mini pancakes, folded up into sweet little dumplings. The crispy dough may hold within a variety of delicious fillings. For this recipe, I use my mother’s classic nut mixture. These qatayif are crispy on the outside, yet fluffy and moist at the same time. They embrace a delectable mixture of pistachios with cinnamon and sugar, are fried or baked to a golden crisp, and then drizzled with (ahem ok, doused in) a fragrant rose simple syrup that runs into every nook and cranny of this sweet pastry.

All over the Middle East, but especially in Egypt, qatayif, along with my other favorite, basbousa, are THE classic Ramadan desserts. Something about fasting all day and having blood insulin levels drop so low made the Arabs invent such incredibly scrumptious little pastries that will boost just about anyone’s energy and mood. Also, a lesser known fact is that qatayif are naturally a vegan treat! So go ahead and share this dessertwith a wide variety of your friends!

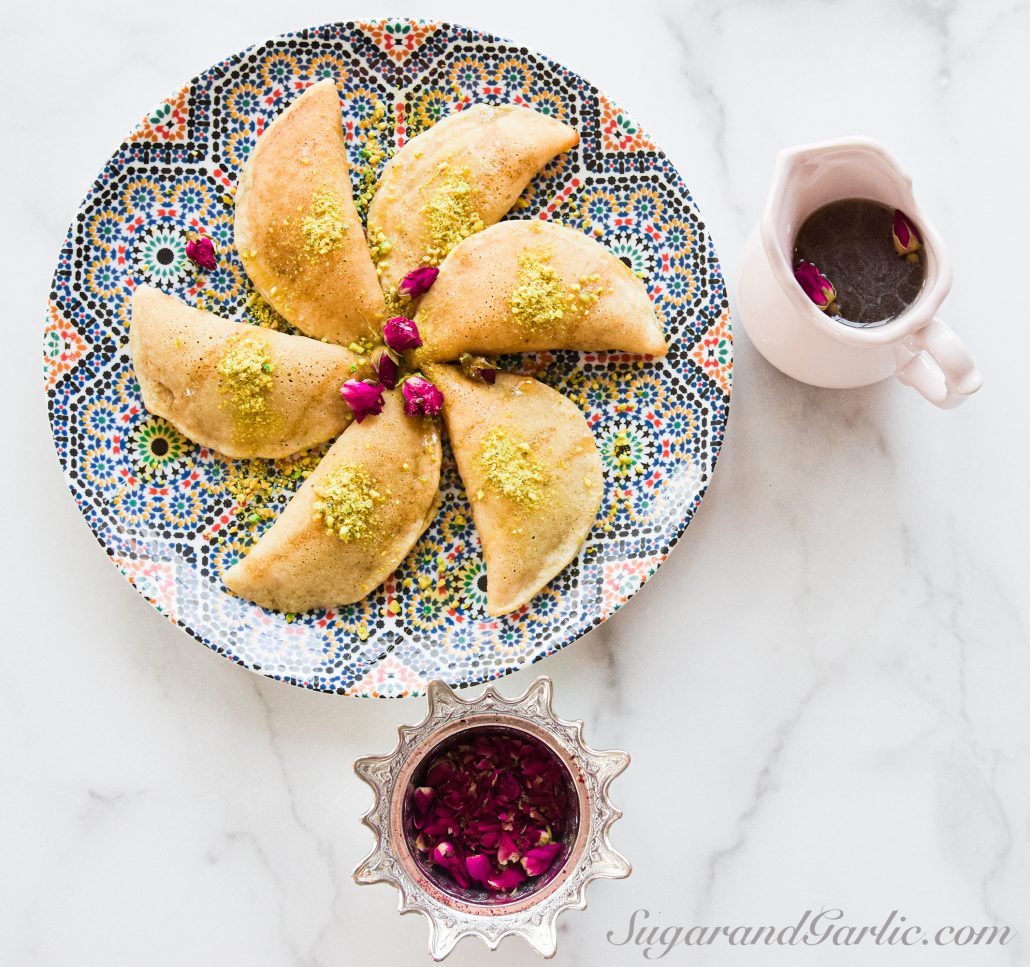
rose qatayif

The Dough

For me, the most challenging part of qatayif is making the perfect circle pancakes. I am not well versed with dough and making things symmetrical. But I have several tips and trick that will make this a cinch for anyone!

First of all, know that you can BUY freshly made qatayif pancakes at a Middle Eastern bakery during Ramadan. For those living in Egypt, it is uncommon to make the qatayif dough at home, because it is so easily accessible from countless bakeries on every street corner. I have found some places locally in Chicago that can make the dough, although it is not exactly inexpensive.

With that said, the dough batter is very easy to make, and whips up quickly in one blender. I do prefer my mom’s recipe more than the ready made dough because it has the perfect texture. The dough remains nice and crispy and when pouring the batter, it does bubble nicely. It is actually surprisingly easy to make the batter; the key is using good instant yeast. I use Red Star platinum yeast.

Check out these tips for success:

  1. Use warm water, not hot and definitely not boiling. You want the yeast to be active and lots of bubbles to form on each pancake, this is how you know you have success with qatayif!
  2. First whisk the warm water, yeast, and sugar and let it foam while you combine the dry ingredients.
  3. As with all my baking tips for success: USE A KITCHEN SCALE! I cannot tell you how many times my batter came out differently and I had to add a little more water, then a little more flour to achieve the correct consistency. Using a scale and measuring in grams will ensure you achieve the best batter, with the same consistency, EVERY TIME. I include measurements in this recipe in grams for you. You’re welcome.
  4. Pour the batter onto a reliable non-stick pan, using a ladle. This ensures that every pancake will be the same size.
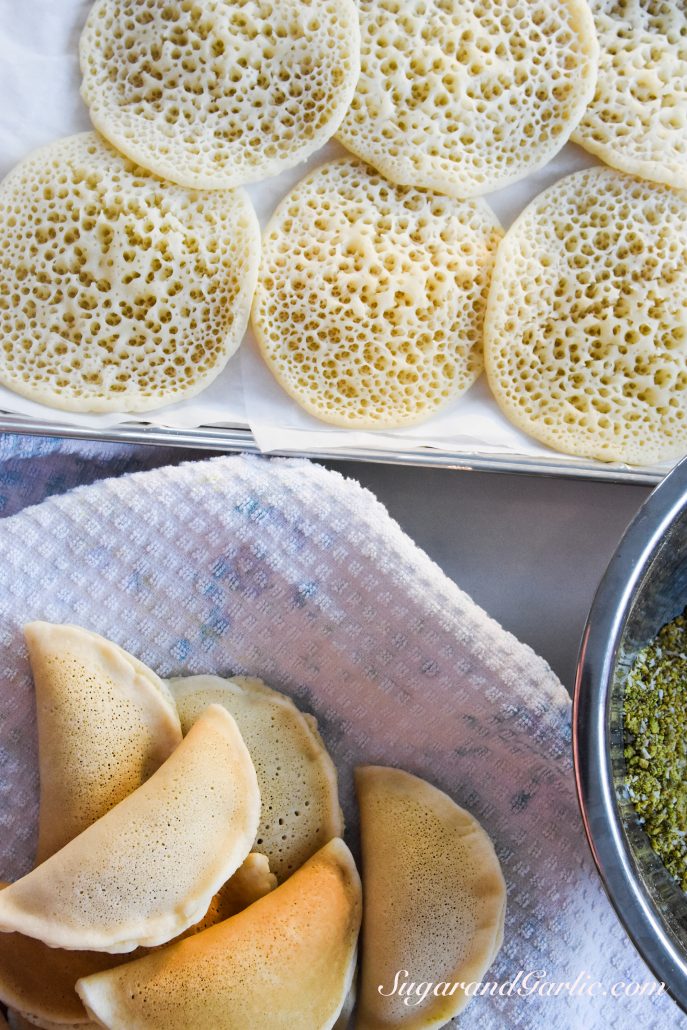
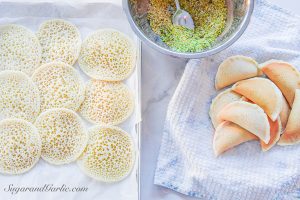
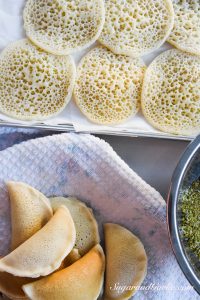
  5. To make the pancakes, you need to cook it on ONLY one side. As soon as the top bubbles and the wet batter is set, remove it. You do not want to completely dry it out because then it will not stick closed when you fold them shut.

The Filling

Traditionally, a combination of walnuts and other favorites can be blitzed to fill qatayif. My husband is allergic to every nut, except pistachios and because most Middle Eastern bakeries have all kinds of nuts all over the place, he can only eat mine, homemade:) I have since loved using pistachios because they have a beautiful, fragrant, and delicate sweet flavor! The ground pistachios should be pulsed until medium-coarse. I combine them with cinnamon, sugar, coconut, and sometimes raisins. I find the raisins to be a nice juicy pop, but one of my girls prefers it without. The filling can truly be as you like it! Another variation of Egyptian qatayif includes ishta, which is a creamy vanilla custard. These are called qatayif asafiri.

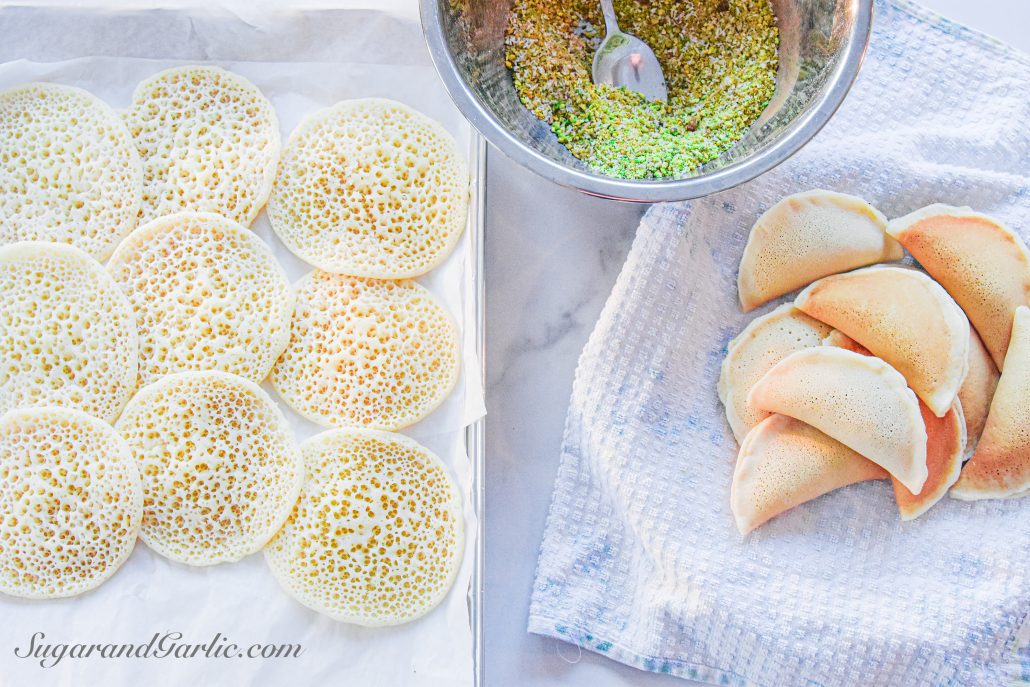
filling qatayif

The Syrup

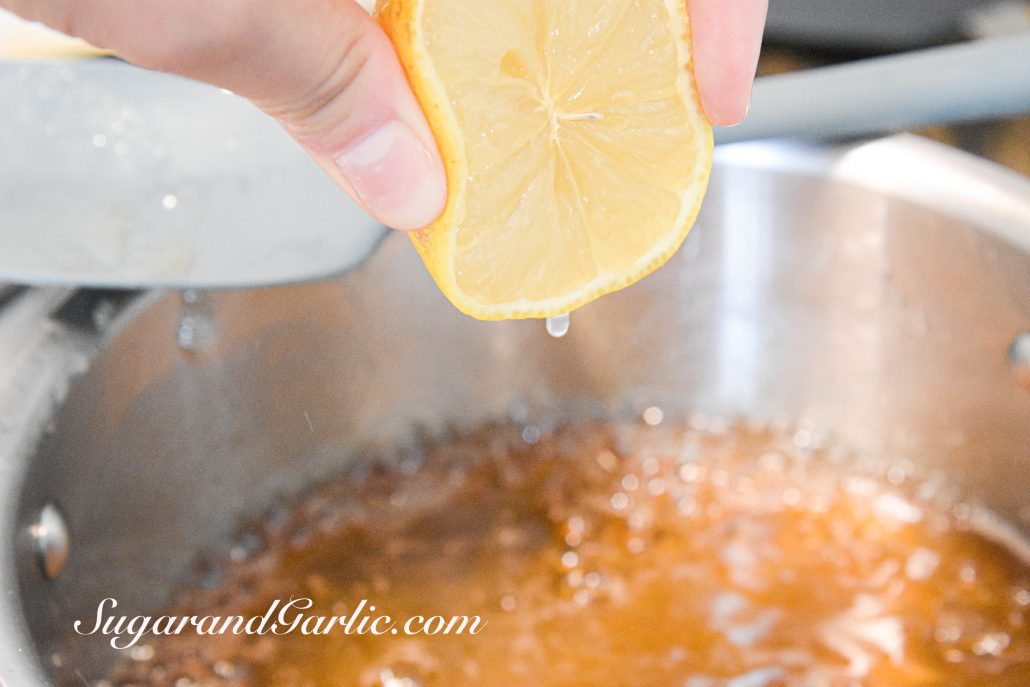
lemon in syrup

Qatayif need a simple syrup made by simmering sugar and water with a dash of lemon juice. Some people add rose water, but every bottle of rose water I have ever bought smells so artificial and I quite frankly hate the taste. I do love rose, and I once received a lovely vial of pure rose oil from a pastry chef from Algeria. It smells so potent of roses, only a drop is needed to infuse an entire recipe! I love to use this in my syrup, or my latest hack of using dried rose petals or rose tea to simmer in my syrup. This imparts such a delicate and fragrant rose scent that complements the pistachio flavors beautifully in this dessert. I simply boil the rose petals in tea bags in the water, before I add the sugar. Then I proceed with the syrup as usual.

The Oil

Qatayif are traditionally fried. This is how you achieve the best results and ensure they are nicely crisp and golden, especially when making large batches. One of my least favorite parts however is how greasy fried qatayif can smell or taste. So my first remedy is to use a lighter tasting oil such as sunflower oil and grape-seed oil ( I usually mix the two). The other trick is to lay them onto a paper towel for about a minute to drain all access oil before dropping into the syrup. This way, I also know the dough is absorbing the syrup better.

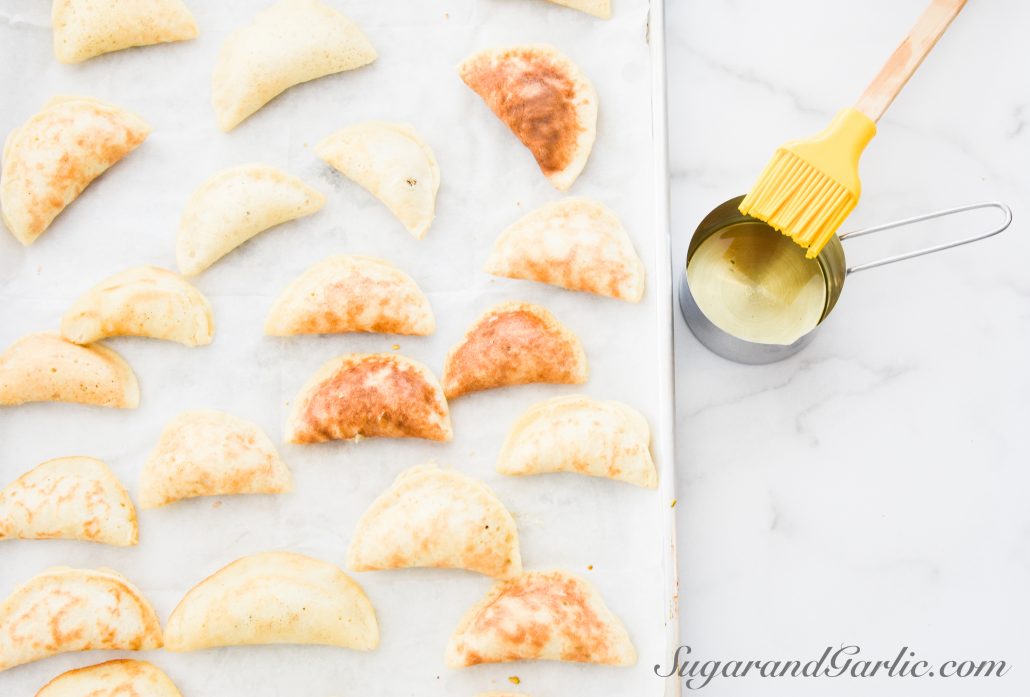
If I am making a small batch for my family, I prefer to simply bake the qatayif in the oven, with a generous brushing of oil on both sides. Many people also swear by the air fryer. I guess that would be an ideal solution!

qatayif in oil

Rose and Pistachio Qatayif

5 from 3 votes
These qatayif are crispy, yet fluffy at the same time, embrace a delectable mixture of pistachios with cinnamon and sugar, are fried or baked to a golden crisp, and then drizzled in a fragrant rose simple syrup that runs into every nook and cranny of this sweet pastry.
Prep Time 1 hour
Cook Time 15 minutes
Servings: 36 pieces
Course: Dessert
Cuisine: egyptian, Mediterranean, Middle Eastern

Ingredients
  

For the Dough
  • 230 g all purpose flour (about 2 cups)
  • 30 g fine semolina (about 1/2 cup)
  • 1/2 tsp salt
  • 2 c warm water
  • 1 tbsp instant yeast
  • 1 tsp sugar
  • 1 tbsp olive oil
For the Filling
  • 1 c pistachio (shelled and unsalted)
  • 1/2 c coconut
  • 1 tbsp sugar
  • 1 tbsp cinnamon
  • 1/4 c golden raisins (optional)
For the Syrup
  • 2 c sugar
  • 2 c water
  • 3 tbsp dried rose petals (in a tea filter) or 3 rose tea bags
  • 1/2 a fresh lemon, juiced (2 tbsp)

Method
 

For the Dough
  1. Whisk the yeast, warm water, and sugar together or blend on low in a blender. Let it sit while you combine dry ingredients.
  2. Combine the flour, semolina, salt in a bowl.
  3. Gradually add the dry mixture to the water and yeast mixture and blend on medium speed until well combined.
  4. Add the oil last. Do not allow the batter to rest for more than 5 minutes. It will bubble and increase in volume.
  5. Use a non-stick griddle or pan and set it on medium heat. Use a small spoon of olive and brush it all around the pan.
  6. Use a ladle to scoop and drop a spoonful of batter onto the pan. Pour in one spot and the batter will expand into a circle. Be sure to watch the video for this part. You could even pour the batter right from the blender pitcher, but achieving the same size circles will require some precision in pouring.
  7. Allow ONLY ONE side of the pancake to cook, watching for the bubbles to form on the top. As soon as the batter sets and is no longer liquid, remove the pancake and set it on a platter or tray. You want the pancakes to remain soft and sticky on the top so that you can fold them closed later, once filled. Cover the pancakes with a towel, and separate layers with parchment paper. You may set the pancakes aside for several hours before filling.
For the filling
  1. Blitz the pistachos in a processor until they are medium-coarse.
    filling qatayif
  2. Combine with all filling ingredients in a small bowl.
For the Syrup
  1. Place the rose tea bags or dried rose petals in a filter in the water and simmer for 2 minutes. Remove the rose petals and discard.
  2. Add the sugar and stir until dissolved. Once sugar is dissolved, squeeze half a lemon into the syrup and allow it to simmer for about 10 minutes, until thickened.
    lemon in syrup
  3. Remove from heat and set aside in a bowl until qatayif are crisped and ready to be dipped.
Assembly
  1. Take one pancake at a time, and fill the center on the sticky and bubbly side that was not browned with a teaspoon of filling. Leave the entire circumference of the pancake clear, so that it can stick together when folded and pressed.
  2. Repeat the filling for all pancakes and set them aside, covered with a towel, until ready to fry or bake. If you wish, you could freeze them at this stage and save for frying later.
  3. To fry, heat enough oil in a small pot on high heat. Make sure the oil has become very hot by dropping a crumb of dough and observing that it sizzles immediately. Place 3-4 qatayif into the pot and allow them to turn a dark golden color before turning over to the other side. You don't want to let it become too dark, but you also do not want to remove it prematurely when it is only yellow, as this will become too soft and soggy later.
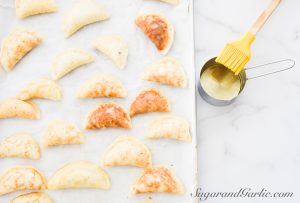
  4. To bake, pre-heat the oven to 450 degrees (F). Dip each qatayif into a shallow bowl of oil, or brush each side generously with a pastry brush. Lay them onto a large sheet pan lined with parchement paper. Bake on the top rack of the oven for 12-15 minutes until golden.
  5. Once it is a reddish golden color on both sides, remove it and set it on a paper towel lined plate to drain for a minute, before moving it to the bowl of syrup. It is important to set the qatayif into the syrup while it is still hot so that the dough absorbs the sweet syrup. Remove with a slotted spoon and arrange onto a platter.
    qatayif in oil
  6. Garnish with crushed pistachios and dried rose petals. Best enjoyed while hot and crispy!

Notes

Unfried or unbaked qatayif can be stored in airtight storage bags in the freezer so that you can simply enjoy them later. Just fry and serve when needed!
Loubiya (Egyptian Black Eyed Pea Stew)

Loubiya (Egyptian Black Eyed Pea Stew)

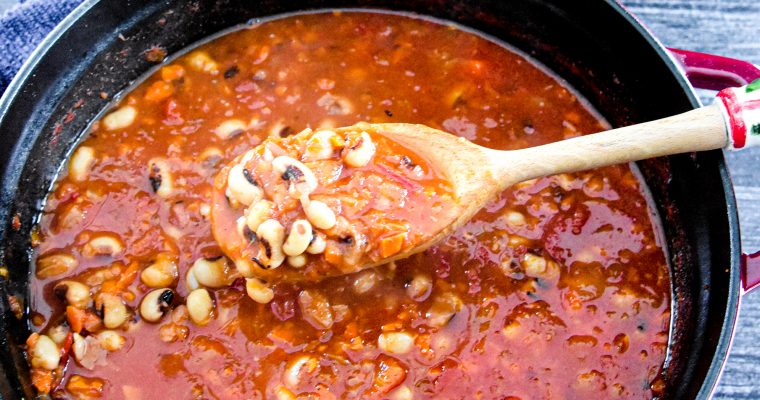
Loubiya has been one of my favorite meals of all time. These beans are so creamy and full of flavor, they really stand out from any other bean I have tried. This Egyptian black eyed pea stew is such a healthy and flavorful comfort dish.…